Professional Kitchen Cleaning Plan Generator
Generate a customized cleaning schedule and tool list based on your kitchen's specific needs and surfaces.
Your Customized Plan
Most people think cleaning a kitchen means wiping down the counters and running the dishwasher. That’s not cleaning; that’s just tidying up. If you want a kitchen that actually looks like it belongs in a high-end restaurant or a freshly renovated home, you need to change your approach entirely. Professionals don’t just scrub harder than you do. They work smarter. They follow a specific sequence, use the right chemistry for every surface, and tackle the hidden grime that builds up over months.
You can achieve this same level of cleanliness without hiring a team. It requires a shift in mindset from "spot cleaning" to "systematic restoration." By following a top-to-bottom, dry-to-wet workflow, you’ll save time, reduce back strain, and end up with a space that feels genuinely fresh. Here is exactly how to execute a professional-grade kitchen clean.
The Professional Mindset: Top-Down and Dry-First
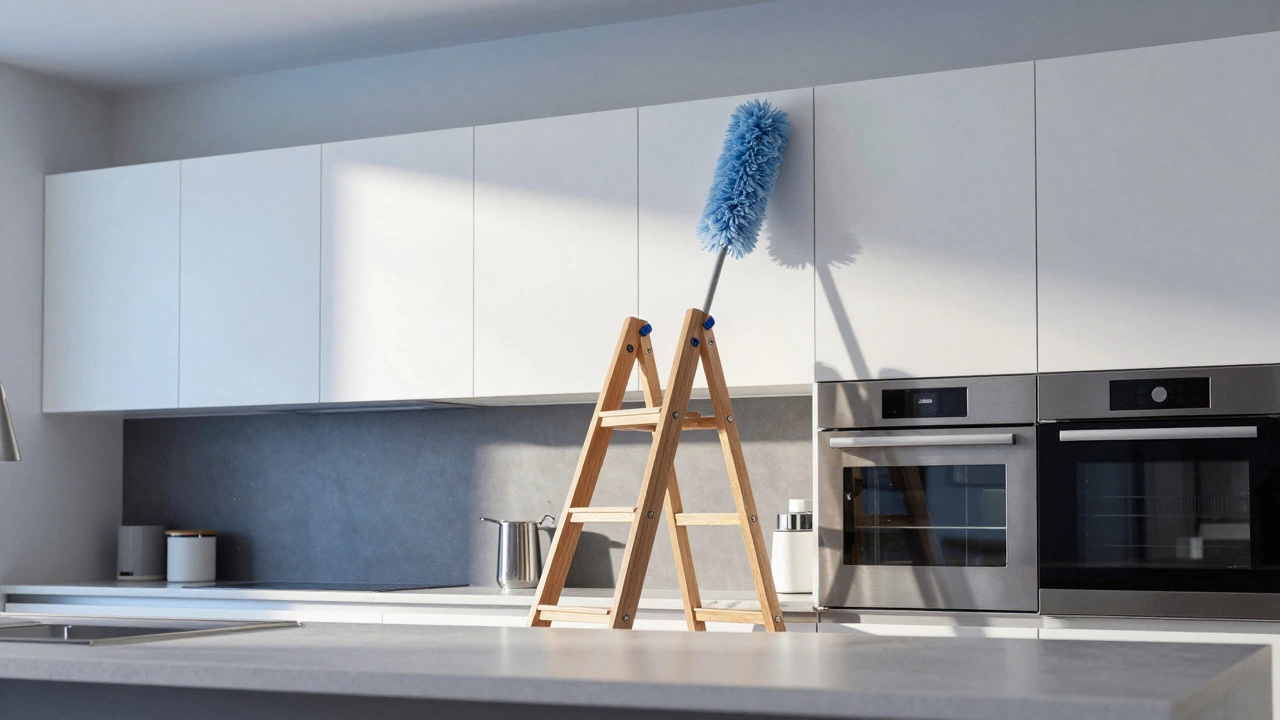
The biggest mistake amateurs make is starting at floor level or grabbing a wet cloth immediately. Gravity works against you if you start low. Dust falls. Grease drips. If you mop first, you’re just walking through dirt you haven’t picked up yet. Professionals always start at the highest point in the room and work their way down. This ensures that any debris dislodged during cleaning lands on surfaces you still plan to clean.
Equally important is the "dry before wet" rule. Before you introduce water or chemicals, you must remove loose dust, crumbs, and dry particles. Wetting dust creates mud. Mud sticks. Then you have to scrub twice as hard to remove it. A microfiber duster or a vacuum with a brush attachment is your first line of defense. Clear the cobwebs from ceiling corners, dust the tops of cabinets, and sweep off shelf surfaces. Only once the room is free of loose debris do you bring out the sprays and sponges.
Why should I clean from top to bottom?
Cleaning from top to bottom prevents gravity from ruining your work. Dust and grease fall downward. If you clean the floors first, dust from the cabinet tops will settle on your clean floor, forcing you to redo the job. Starting high ensures all falling debris lands on surfaces you haven't cleaned yet.
Gathering the Right Arsenal
You cannot clean professionally with a single all-purpose spray and a rag found in a drawer. Different soils require different chemical reactions. Grease needs a degreaser. Hard water stains need an acid. Organic matter needs an enzyme or bleach. Having the right tools makes the difference between pushing dirt around and dissolving it.
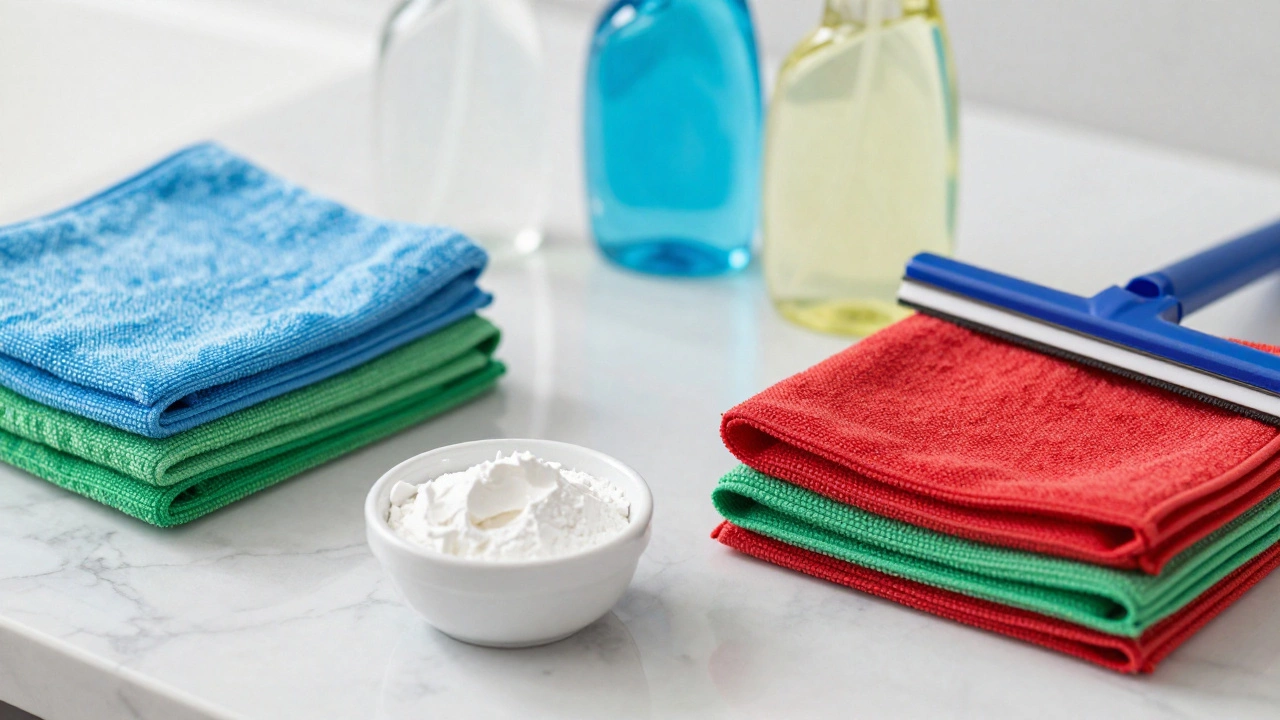
- Microfiber Cloths: Ditch paper towels. They are wasteful and often leave lint. Use color-coded microfiber cloths. For example, use blue for glass, green for general surfaces, and red for sanitizing high-touch areas like handles and faucets. This prevents cross-contamination.
- Heavy-Duty Degreaser: Look for a product containing surfactants designed to break down lipid bonds. Citrus-based solvents are excellent for cutting through baked-on cooking oil.
- Vinegar Solution: A mix of white vinegar and water (1:1 ratio) is perfect for descaling taps and removing soap scum. It’s acidic enough to dissolve mineral deposits but safe for most sealed surfaces.
- Baking Soda Paste: For tough stains on countertops or inside sinks, mix baking soda with a little water to create a abrasive paste. It scrubs without scratching non-porous surfaces.
- Squeegee: Essential for windows and mirrors. It removes water instantly, preventing streaks and water spots.
- Steam Cleaner (Optional): If you prefer eco-friendly methods, a handheld steam cleaner uses high-temperature vapor to kill bacteria and loosen grime without chemicals. It’s particularly effective on tile grout.
Step 1: Declutter and Pre-Treat
A cluttered kitchen is impossible to clean efficiently. You can’t wipe a counter if it’s covered in mail, keys, and fruit bowls. Clear everything off your countertops. Take dirty dishes to the sink or load them into the dishwasher. Wipe down appliances that aren’t currently in use, like the toaster or coffee maker, and move them aside.
Once surfaces are clear, apply your pre-treatment agents. Spray your degreaser on the backsplash, range hood filters, and stovetop. Let it sit. This is called "dwell time." Chemicals need time to penetrate and break down the bond between the grease and the surface. While the degreaser works, you can move on to other tasks. Never spray and immediately wipe; you’re wasting the product’s power.
Step 2: Attack the Appliances
Appliances are the heart of the kitchen and the dirtiest parts if neglected. Start with the oven. If it’s heavily soiled, use a commercial oven cleaner or a baking soda peroxide paste. Leave it overnight for best results. In the morning, wipe away the residue. For the microwave, place a bowl of water with lemon slices inside and heat it for three minutes. The steam loosens splattered food, allowing you to wipe it clean with a single pass of a cloth.
Don’t forget the refrigerator. Remove all shelves and drawers. Wash them in warm soapy water. Wipe down the interior walls with a mild detergent solution. Check the seals around the door; mold often grows in these crevices. Use a cotton swab dipped in rubbing alcohol to clean these tight spaces. Finally, wipe the exterior, including the handle, which collects fingerprints and germs constantly.
| Appliance | Primary Soil | Recommended Cleaner |
|---|---|---|
| Oven | Baked-on grease/carbon | Commercial oven cleaner or baking soda paste |
| Microwave | Splattered food | Steam from water/lemon mixture |
| Refrigerator Interior | Spills/bacteria | Mild dish soap and warm water |
| Dishwasher | Mineral buildup/gunk | White vinegar cycle followed by baking soda sprinkle |
| Toaster | Crumbs/dust | Small brush and vacuum nozzle |
Step 3: Scrub Surfaces and Cabinets
Now that the heavy-duty appliance cleaning is done, return to the surfaces you pre-treated earlier. Wipe down the backsplash, focusing on the area behind the stove where grease accumulates fastest. Use a non-abrasive sponge to avoid scratching tiles or paint.
Cabinets are often overlooked. The fronts collect grease splatters and sticky fingerprints. Mix a few drops of dish soap in warm water. Dampen a microfiber cloth-do not soak it-and wipe each door and drawer front. Follow up with a dry cloth to prevent water marks. If you have wooden cabinets, consider using a wood-specific polish to maintain the finish, but avoid silicone-based products that build up over time.
For countertops, identify the material. Granite and quartz require pH-neutral cleaners to avoid damaging the sealant. Laminate can handle stronger disinfectants. Stainless steel countertops should be wiped with the grain to prevent streaking. Always finish with a quick pass of a dry cloth to ensure no residue remains.
Step 4: Sanitize High-Touch Zones
Cleaning removes visible dirt. Sanitizing kills invisible pathogens. This step is crucial for health. Focus on high-touch areas: light switches, cabinet handles, faucet handles, appliance buttons, and door knobs. Use a disinfectant spray or wipes approved for killing common household viruses and bacteria. Ensure the surface stays wet for the contact time specified on the label (usually 3-5 minutes) to be effective.
Don’t neglect the sink. It’s a breeding ground for bacteria. Pour boiling water down the drain to help clear minor clogs and kill bacteria. Scrub the basin with a dedicated sink cleaner or baking soda paste. Rinse thoroughly. Polish chrome fixtures with vinegar and a soft cloth to restore shine and remove water spots.
Step 5: Floors and Final Touches
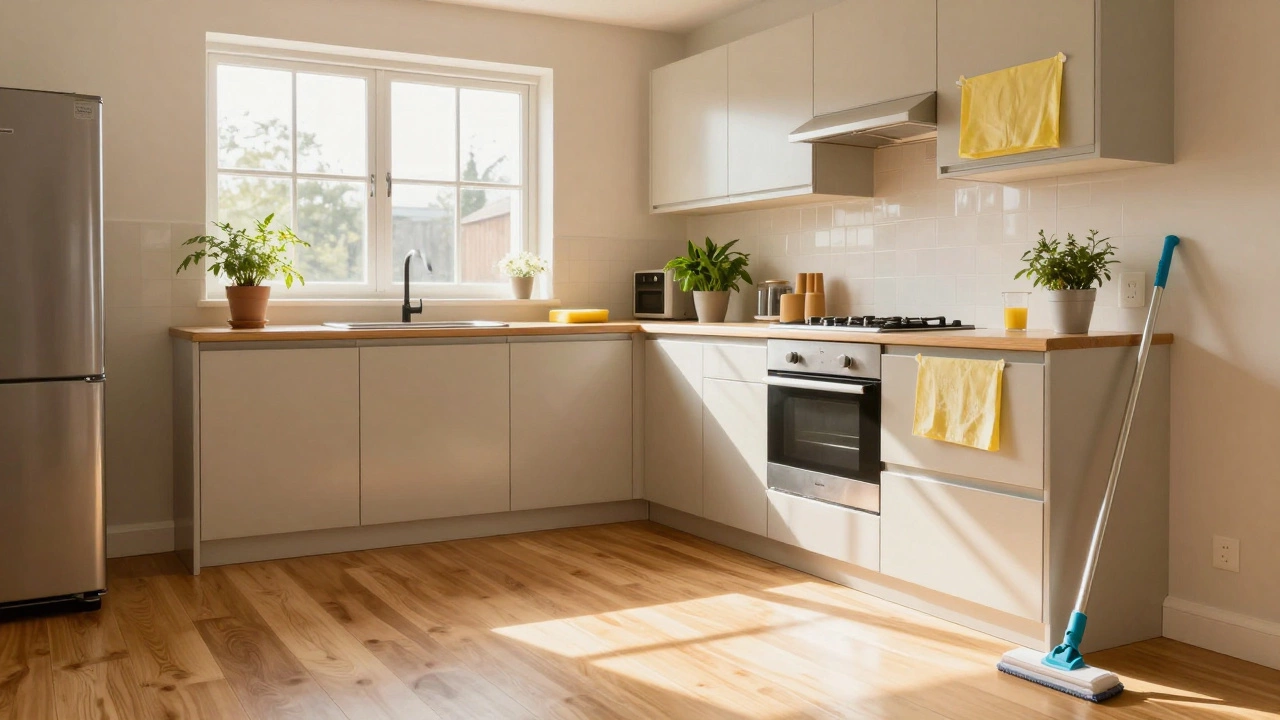
Only now do you address the floor. Sweep or vacuum thoroughly to pick up any debris that fell during the previous steps. Pay attention to corners and under appliances if possible. Mop using a two-bucket system if you’re doing it manually: one bucket for soapy water, one for rinsing your mop. This prevents you from spreading dirty water back onto the floor.
For tile floors, a steam mop is highly effective as it sanitizes while cleaning. For hardwood, use a damp mop specifically designed for wood to avoid warping. Once the floor is dry, open a window to let fresh air circulate. This helps eliminate any lingering cleaning product odors and leaves the kitchen smelling crisp.
Finally, put your items back. But don’t just throw them back randomly. Organize them logically. Keep frequently used items within easy reach. Store rarely used gadgets higher up. A tidy kitchen stays cleaner longer because there’s less surface area for dust to settle on.
How often should I deep clean my kitchen?
A full professional-style deep clean should be done every 1-2 months depending on usage. Daily maintenance includes wiping counters and loading the dishwasher. Weekly tasks should include mopping floors and cleaning the stovetop. Monthly tasks involve cleaning appliances, inside cabinets, and descaling faucets.
Can I use bleach on all kitchen surfaces?
No. Bleach is corrosive and can damage many materials. Avoid using it on granite, marble, stainless steel, and aluminum as it can etch or discolor these surfaces. Stick to pH-neutral cleaners for stone and specialized stainless steel cleaners for metal appliances. Use bleach only on non-porous surfaces like ceramic tile or plastic bins, and always dilute it properly.
What is the best way to remove grease from walls?
Use a degreaser spray or a mixture of warm water and dish soap. Apply it to a microfiber cloth rather than spraying directly on the wall to control runoff. Gently rub the affected area in circular motions. For painted walls, test a small inconspicuous area first to ensure the paint doesn't strip. Rinse with a damp cloth and dry immediately.
Is it better to clean with natural products or chemicals?
It depends on the task. Natural products like vinegar and baking soda are great for general cleaning, descaling, and deodorizing. However, for heavy grease, sanitizing after raw meat handling, or mold removal, chemical cleaners are often more effective and safer due to their proven efficacy and contact times. A hybrid approach using both is usually the most practical strategy.
How do I keep my kitchen smelling fresh after cleaning?
Start by ensuring proper ventilation. Open windows while cleaning and afterward. Clean the garbage disposal regularly by grinding ice cubes and citrus peels. Empty the trash bin frequently and wash it occasionally. Avoid masking odors with strong air fresheners; instead, eliminate the source. A simmer pot with water, cinnamon, and orange peels can provide a subtle, natural scent.
Cleaning a kitchen like a professional isn’t about magic tricks. It’s about discipline, the right tools, and respecting the physics of dirt. By following this systematic approach, you transform a chore into a manageable process. Your kitchen will not only look better but will also be a healthier environment for cooking and living.