New Construction Dust Removal Planner
Click on each step as you complete it. Remember the golden rule: Top-to-Bottom, Dry-to-Wet.
-
Vacuum Cleaner HEPA Filter RequiredPrevents re-emission of PM2.5 particles back into air.
-
Cloths Microfiber OnlyTraps dust mechanically without lint or static attraction.
-
Air Purifier True HEPACaptures airborne particles before they settle on surfaces.
-
Mop Flat MicrofiberAllows controlled rinsing and drying without excess water damage.
Critical Waiting Period
Do not start deep cleaning until at least 48-72 hours have passed since the final walkthrough. This allows the finest microscopic particles (PM2.5) to settle out of the air, preventing you from having to re-clean surfaces immediately.
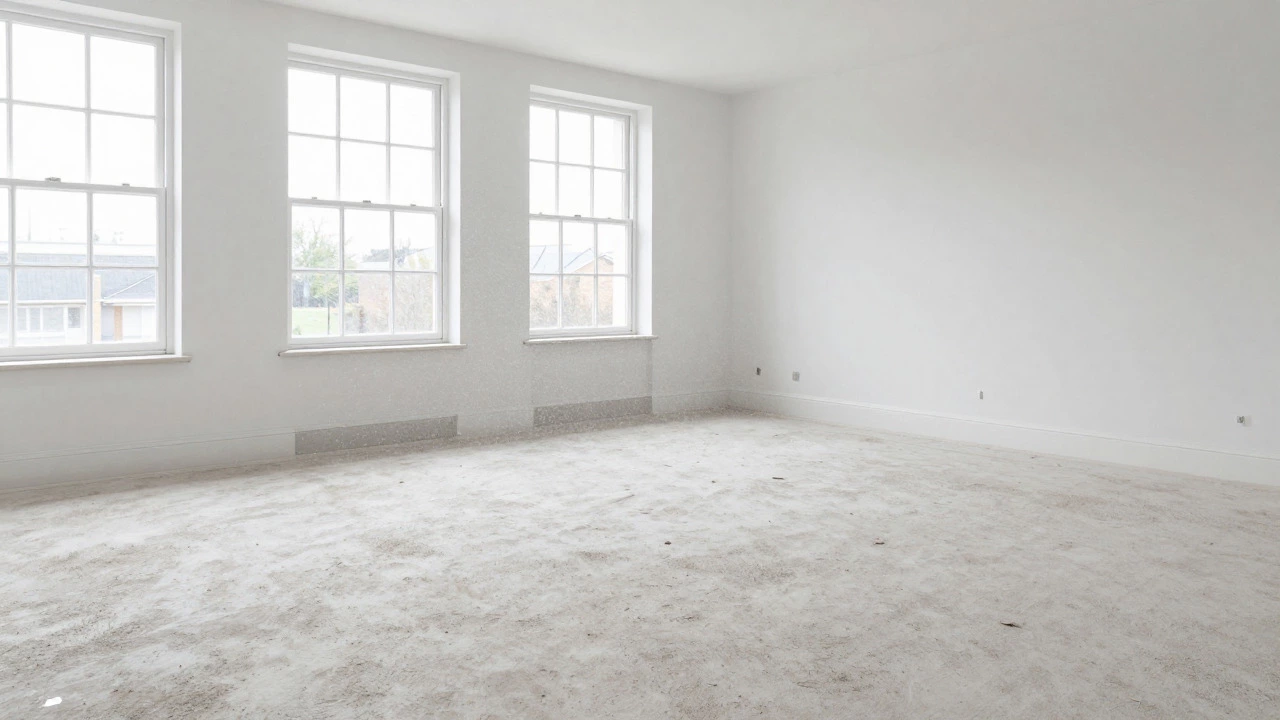
Walk into your brand-new home and you might expect fresh paint and clean floors. Instead, you find a fine layer of grey powder on every surface, including the inside of your new car if it’s parked nearby. This is construction dust, and it is far more stubborn than ordinary household dirt. It consists of microscopic particles from drywall compounds, cement, wood shavings, and adhesive residues that linger long after the contractors pack up their tools.
The challenge isn’t just aesthetics; it’s health and longevity. These tiny particles can clog HVAC filters, settle deep into carpet fibers, and irritate lungs. Simply sweeping with a broom often kicks the dust back into the air, creating a cloud that settles again an hour later. To truly remove this residue, you need a strategy that combines timing, specialized equipment, and layered cleaning techniques. Here is how you tackle the problem effectively without wasting hours on futile scrubbing.
Understanding the Nature of Construction Dust
Construction dust is a complex mixture of particulate matter generated during building processes, including drywall joint compound, cement fines, wood sawdust, and fiberglass insulation fragments. Unlike regular dust, which is mostly skin cells and pollen, construction dust contains abrasive silica and chemical binders. These components are hydrophilic, meaning they absorb moisture but don't dissolve easily, making them sticky when wet and light when dry.
The particle size matters significantly. Most construction debris falls under 10 microns (PM10), but a significant portion is under 2.5 microns (PM2.5). Particles this small can remain suspended in the air for days, traveling through open windows and settling on horizontal surfaces. If you try to clean immediately after the builders leave, you are fighting against gravity and airflow. The dust hasn't fully settled yet, so what you clean now will be covered by what falls next.
- Drywall Compound: The biggest offender. It creates a chalky white/grey powder that is extremely fine.
- Cement Fines: Slightly heavier, often found near concrete work or tile installations.
- Wood Sawdust: Coarser, easier to see, but gets embedded in fabric fibers.
- Fiberglass Insulation: Invisible micro-fibers that cause skin irritation and static cling.
The Critical Role of Settling Time
Before you grab a vacuum, you need to wait. Professional cleaners recommend a minimum of 48 to 72 hours after the final walkthrough before starting deep cleaning. Why? Because the largest particles fall first, followed by medium ones, and finally the finest powders. If you start too early, you’ll spend half your time re-cleaning surfaces as the remaining airborne dust settles.
During this waiting period, keep all doors and windows closed. Do not run the heating or cooling system unless it has a dedicated construction filter installed. The goal is to let the air become still. Once the visible haze clears and no new dust appears on a black cloth held up in the room for ten minutes, you are ready to begin.
Step-by-Step Cleaning Process
Effective removal requires a top-to-bottom approach. Dust falls down, so if you clean the floor first, you’ll dirty it again when you wipe the walls or ceilings. Follow this sequence to minimize re-contamination.
- Preparation: Remove all personal belongings from the rooms being cleaned. Cover furniture with drop cloths if it must stay. Open exterior windows slightly to allow negative pressure if using a fan, but close them if it’s windy outside.
- Air Filtration Setup: Place portable HEPA air purifiers in each major room. Run them on high for at least two hours before you start physical cleaning. This captures airborne particles that haven't settled yet.
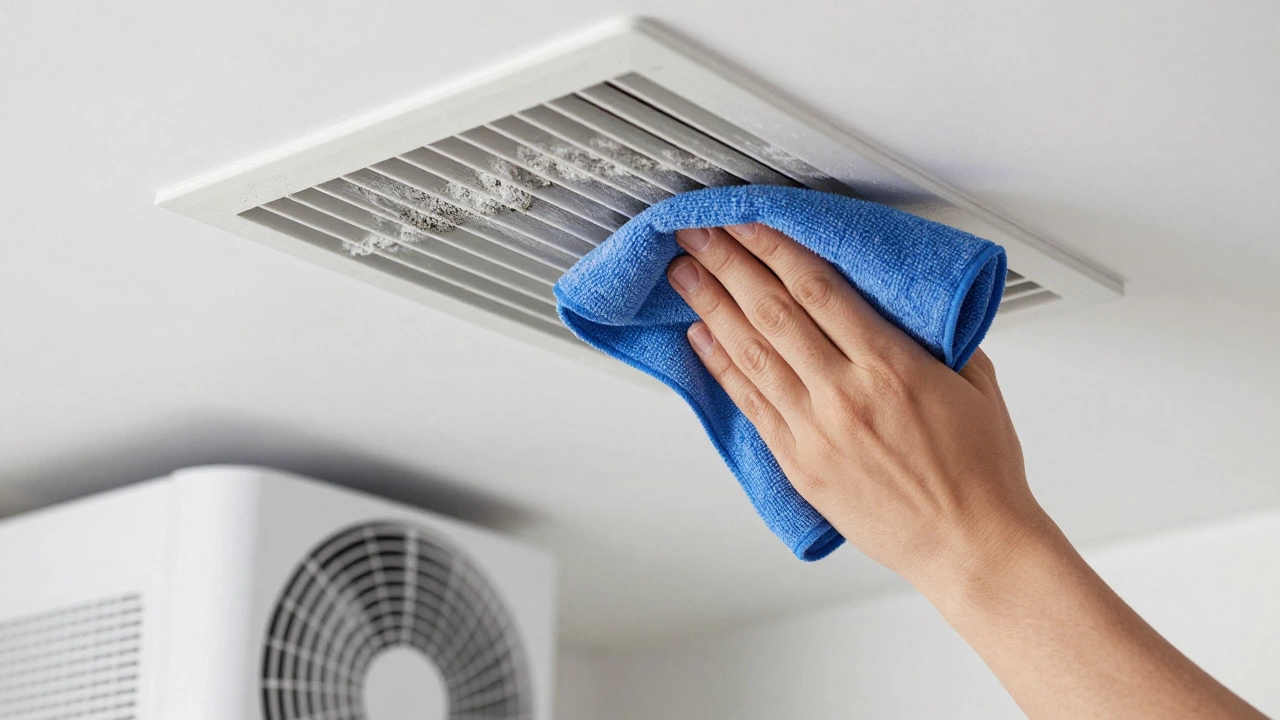
- Top-Down Wiping: Start with ceiling vents, light fixtures, and crown molding. Use a damp microfiber cloth, not a dry one. Dry cloths create static electricity, which attracts more dust rather than removing it. Work from the top of the wall down to the baseboards.
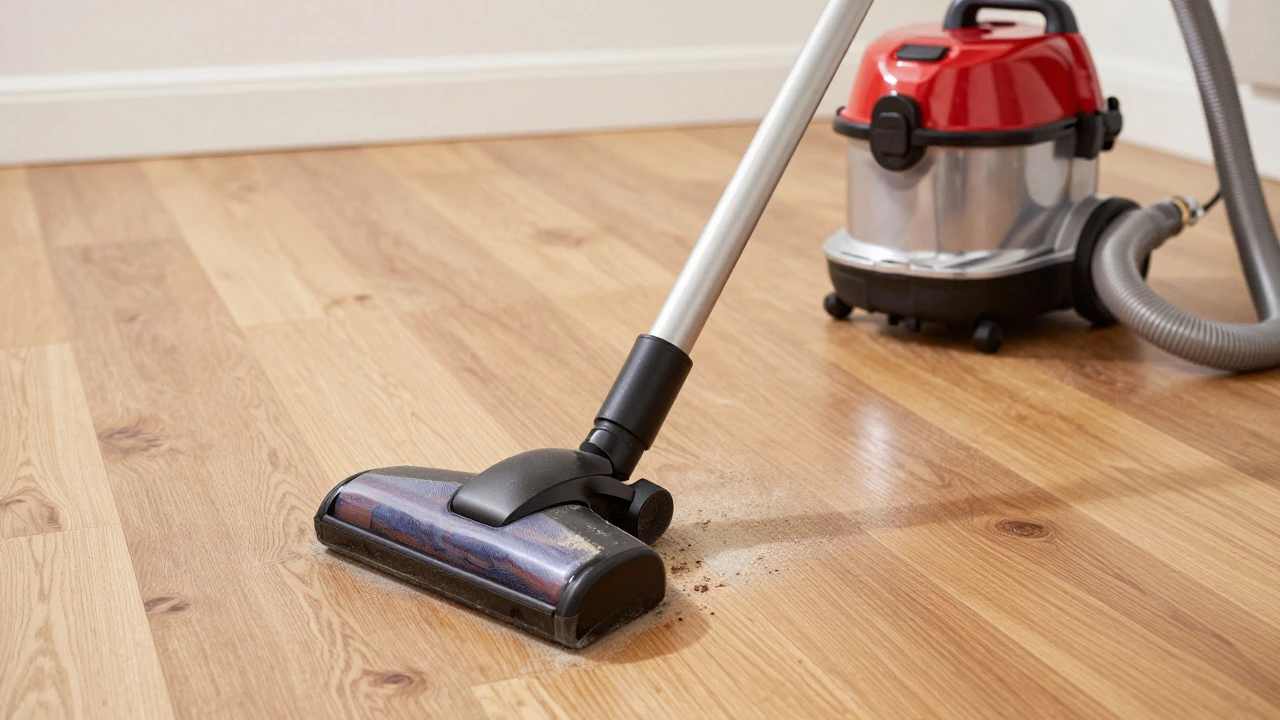
- Vacuuming with HEPA Filter: This is the most critical step. Standard vacuums blow fine dust out of the exhaust port right back into your lungs. You need a vacuum with a true HEPA filter. Vacuum carpets slowly, overlapping strokes. For hard floors, use a brush attachment to lift dust from grout lines and seams.
- Wet Mopping Hard Floors: After vacuuming, mop hardwood or tile floors with a solution of warm water and a pH-neutral cleaner. Rinse with clean water to remove any chemical residue from the construction process.
- Window and Glass Cleaning: Clean interior glass last. Dust tends to stick to glass due to static. Use a squeegee for a streak-free finish. Don’t forget window tracks, where sand and grit accumulate.
Essential Tools and Equipment
You don’t need industrial machinery, but you do need the right tools. Using a standard household vacuum on construction dust is like trying to drink soup with a straw-it works poorly and spills everywhere. Here is what makes the difference.
| Tool | Standard Household Version | Recommended for Construction | Why It Matters |
|---|---|---|---|
| Vacuum Cleaner | Bagged or bagless upright | HEPA-filtered canister or commercial upright | Prevents re-emission of PM2.5 particles |
| Cloths | Old t-shirts or paper towels | Microfiber cloths (various colors) | Traps dust mechanically without lint |
| Air Purifier | Basic carbon filter unit | True HEPA air purifier | Captures airborne particles before they settle |
| Mop | String mop | Flat microfiber mop system | Allows controlled rinsing and drying |
Investing in a HEPA vacuum is non-negotiable. Brands like Dyson or Shark offer consumer models with adequate filtration, but professional-grade units like those from Numatic or Nilfisk provide superior suction and durability. If you rent a house or apartment, consider renting a commercial vacuum for the day to save on purchase costs.
Common Mistakes to Avoid
Even with the right tools, technique errors can ruin your progress. Here are the pitfalls that trap many homeowners.
- Using Dry Brooms: Brooms agitate dust, sending it into the air. They are only useful for large debris like nails or screws, not fine powder.
- Cleaning Bottom-Up: Always go from ceiling to floor. If you clean the floor first, wiping the walls above will drop dust onto your freshly cleaned surface.
- Neglecting Vents and Grilles: Air conditioning vents collect thick layers of dust. If you don’t clean these, the system will blow dust around the house for weeks. Remove the covers and vacuum them thoroughly.
- Over-Wetting Surfaces: Too much water can damage drywall edges or cause warping in hardwood. Use a wrung-out cloth, not a dripping one.
- Skipping the Second Pass: One pass is rarely enough. After the initial cleaning, wait 30 minutes, then inspect. You will likely find residual dust in corners and behind doors. Do a second, lighter pass to catch stragglers.
Maintaining Cleanliness Post-Cleaning
Once the heavy lifting is done, maintenance becomes easier. However, the first few weeks are crucial. Continue running HEPA air purifiers in main living areas for at least two weeks. Change HVAC filters every month instead of every three months during this period. This prevents the system from recirculating trapped dust.
Establish a routine vacuuming schedule. High-traffic areas should be vacuumed twice a week for the first month. Use a crevice tool to get into baseboard gaps and door frames. Over time, as the ambient dust levels drop, you can revert to your normal cleaning schedule.
If you notice persistent dust clouds when opening cabinets or moving furniture, it may indicate that some dust remains trapped in soft furnishings. Consider professional upholstery cleaning for sofas and curtains, as these items act as dust reservoirs.
Frequently Asked Questions
How long does construction dust take to settle completely?
Most visible dust settles within 48 to 72 hours after construction ends. However, microscopic particles can remain suspended for up to two weeks. Waiting 72 hours before starting deep cleaning is the standard recommendation to avoid re-cleaning.
Is a standard vacuum cleaner good enough for new build dust?
No. Standard vacuums lack sufficient filtration to capture PM2.5 particles. They often blow fine dust out of the exhaust port, recirculating it into the air. You need a vacuum with a true HEPA filter to ensure the dust stays trapped in the bag or canister.
Should I wash my clothes separately after moving in?
Yes. Wash all bedding, curtains, and clothing that were exposed to construction dust separately from your existing laundry. This prevents transferring abrasive particles to your other clothes. Use hot water if fabric care allows, as heat helps loosen dried compound residues.
What is the best order for cleaning a new house?
The golden rule is top-to-bottom, dry-to-wet. Start with ceilings and upper walls, move to lower walls and baseboards, then vacuum all floors, and finally mop hard surfaces. Clean windows last because they tend to attract static dust from other activities.
Do I need professional help for after-builders cleaning?
It depends on the scale. For a single-family home, DIY is feasible with the right tools. However, if you have large carpets, high ceilings, or sensitive allergies, hiring professionals ensures thoroughness. They bring industrial-grade equipment and experience in handling specific types of construction residue.