DIY Streak-Free Window Cleaner Recipe Generator
Customize Your Solution
Your Recommended Solution
Select your preferences and click "Generate My Recipe" to see the best mixture for your situation.
There is nothing more frustrating than spending an hour scrubbing your windows only to step back and see a rainbow of soapy residue and water marks. You might think you need expensive commercial products or professional services to get that crystal-clear view, but the truth is simpler. The secret to streak-free window cleaning isn't a magic chemical; it is about chemistry, technique, and timing.
If you have ever wondered why your windows look cloudy after drying, you are not alone. Most people blame the cloth, but often the culprit is the solution itself or the weather conditions. By understanding what causes streaks and using the right homemade mixture, you can achieve professional-grade results in half the time. Here is everything you need to know about creating and using the best window cleaning solutions available.
Why Do Windows Get Streaky?
Before mixing any solution, it helps to understand the enemy. Streaks are essentially dried minerals, soap residue, or oils left behind when water evaporates unevenly. There are three main reasons this happens:
- Hard Water: If you live in an area with hard water (common in many parts of the UK), your tap water contains high levels of calcium and magnesium. When this water dries on glass, it leaves white, powdery spots that look like streaks.
- Soap Residue: Many household cleaners contain surfactants that don't rinse off cleanly on vertical surfaces. They leave a film that catches dust and light, creating a hazy appearance.
- Oils from Hands: Glass accumulates natural oils from touching door handles, window frames, and even air pollution. Regular water won't cut through these oils, leading to smudges.
Understanding these factors changes how you approach the task. It means your solution needs to be acidic enough to break down minerals and oily, yet volatile enough to evaporate quickly without leaving traces.
The Best DIY Streak-Free Solutions
You do not need to buy branded sprays. In fact, many commercial cleaners are just diluted alcohol and water with added fragrances. Here are the top three homemade recipes that consistently deliver clear results.
1. The Classic Vinegar Mix
This is the gold standard for most homeowners. White distilled vinegar is mildly acidic, which helps dissolve mineral deposits and grease. It also evaporates relatively quickly.
- Ingredients: 1 cup white distilled vinegar, 1 cup warm water, and a few drops of dish soap (optional).
- How to make it: Mix the vinegar and water in a spray bottle. Add the dish soap only if the windows are particularly greasy (like kitchen windows). Shake gently to combine.
- Best for: General home windows, bathroom mirrors, and removing light grime.
Note: Avoid using vinegar on stone surfaces around the windows, as the acid can etch granite or marble over time.
2. The Alcohol-Based Formula
If you want faster evaporation and a sharper shine, especially in humid climates, alcohol is your friend. Isopropyl alcohol (rubbing alcohol) breaks down oils effectively and disappears almost instantly upon contact with air.
- Ingredients: 1/4 cup rubbing alcohol (70% isopropyl), 1/4 cup white vinegar, 1 tablespoon cornstarch, and 2 cups warm water.
- How to make it: Combine all ingredients in a spray bottle. The cornstarch acts as a mild abrasive to help lift dirt without scratching. Shake well before every use because the cornstarch will settle at the bottom.
- Best for: High-traffic areas, exterior windows with bird droppings, and quick-dry needs.
3. The Rainwater Hack
In regions with very hard water, even vinegar might leave faint spots. The ultimate solution? Use soft water. Collect rainwater in a bucket during a shower or storm. Rainwater is naturally free of minerals.
- Ingredients: Pure rainwater and a splash of vinegar.
- How to make it: Simply mix them in a spray bottle. No soap needed.
- Best for: Hard water areas where tap water fails.
Technique Matters More Than Product
Even the best solution will fail if applied incorrectly. The method you use is just as critical as the liquid in your bottle. Follow these steps to ensure zero streaks.
- Choose the Right Weather: This is the number one mistake people make. Never clean windows in direct sunlight. The sun heats the glass, causing your solution to evaporate before you can wipe it away, leaving instant streaks. Cloudy days or early mornings are ideal.
- Pre-Rinse: Use a garden hose or a damp sponge to remove loose dirt and dust first. If you spray solution directly onto dirty glass, you create mud that scratches the surface.
- Spray Generously: Saturate the glass. You want the solution to do the work, not your elbow grease. Let it sit for 30 seconds to break down grime.
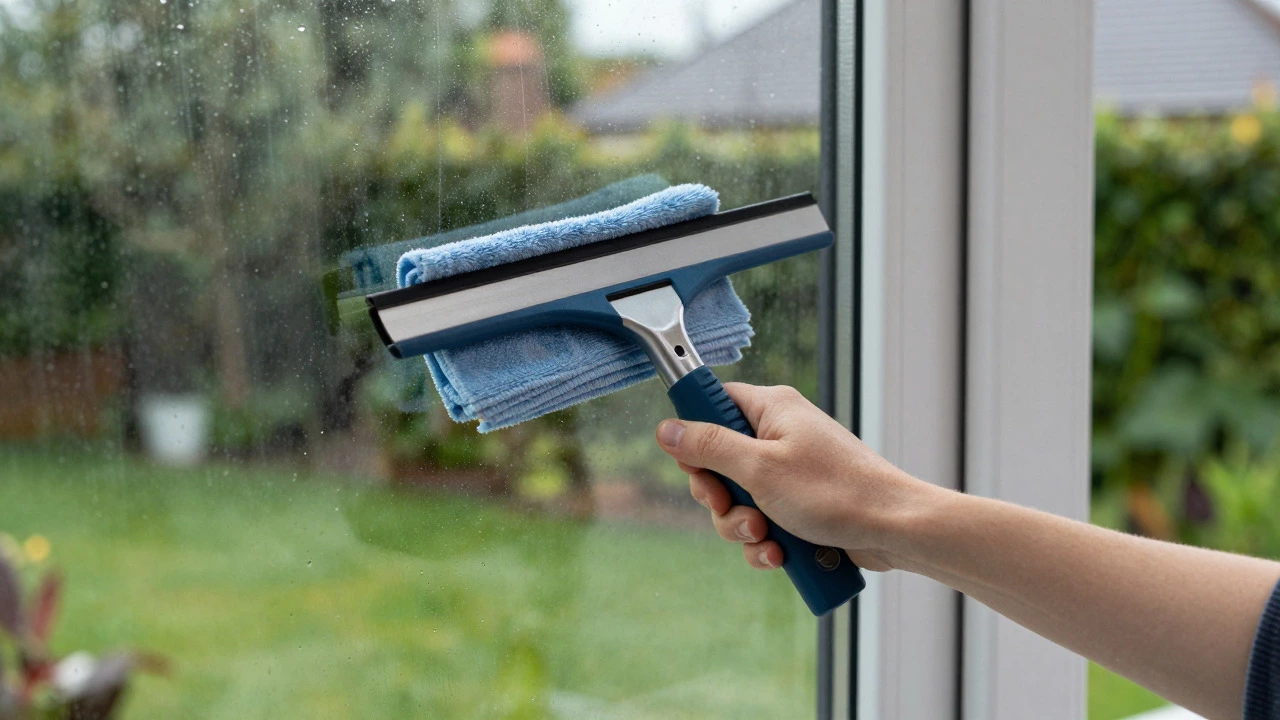
- Use a Squeegee: While microfiber cloths are good, a rubber squeegee is superior for large panes. Start at the top corner and pull horizontally across the entire width. Wipe the blade with a dry cloth after each pass. Then, go vertically down the center. This cross-hatch pattern ensures no spots are missed.
- Detail the Edges: Use a lint-free microfiber cloth to wipe the edges and corners where the squeegee couldn't reach. Always use a dry part of the cloth for final polishing.
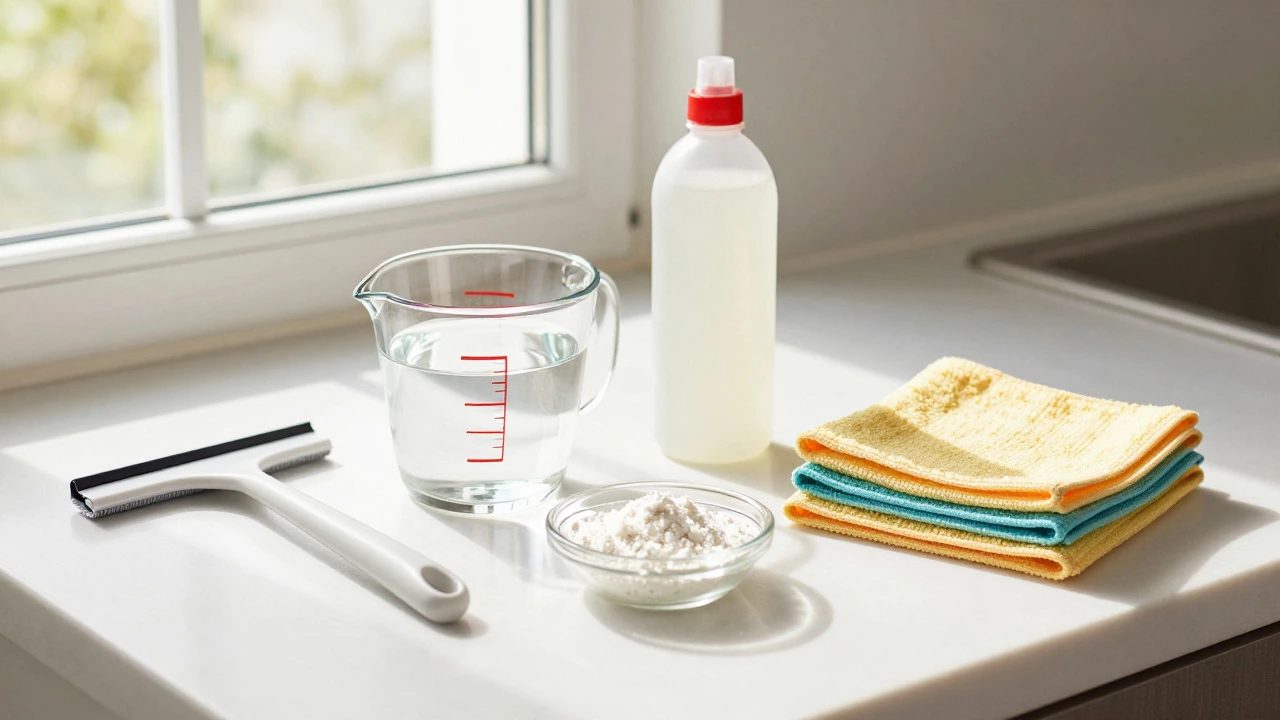
Tools You Actually Need
Your equipment plays a huge role in the outcome. Cheap tools often shed fibers or hold moisture, leading to streaks.
| Tool | Purpose | Pro Tip |
|---|---|---|
| Microfiber Cloths | Absorbing solution and polishing | Use different colors for different rooms (e.g., blue for bathrooms, green for kitchens) to avoid cross-contamination. |
| Rubber Squeegee | Removing liquid without leaving residue | Replace the rubber blade every 6-12 months. A worn blade will tear the water film instead of lifting it. |
| Spray Bottle | Applying solution evenly | Get a trigger spray that mists finely rather than streams heavily. Fine mist covers more area with less product. |
| Ladder/Scaffold | Reaching high windows | Ensure stability. For second-story windows, consider a pole attachment for your squeegee instead of climbing. |
Common Mistakes to Avoid
Even with the right solution, small errors can ruin your progress. Watch out for these pitfalls:
- Newspaper Myth: Old advice suggests using newspaper to polish windows. While the ink does absorb some oil, modern newsprint uses soy-based inks that can smear. Plus, it creates a mess inside your home. Stick to microfiber.
- Over-wetting Frames: Be careful not to soak wooden or uPVC frames excessively. Wood can swell and rot, while uPVC can become discolored over time. Wipe frames separately with a dedicated cleaner.
- Ignoring Screen Mesh: Don't forget the screens! Remove them and hose them down, then scrub gently with a soft brush and soapy water. Dirty screens block light and make clean windows look dull.
- Cleaning Top-to-Bottom Wrong: Always start from the top frame and work down. Gravity pulls dirt downward, so cleaning the bottom first just means you'll re-dirty it immediately.
Maintaining Clean Windows Longer
Once you have achieved that pristine clarity, you want to keep it. Here are some maintenance tips:
- Install Fly Screens: These prevent insects and their droppings from sticking directly to the glass.
- Trim Vegetation: Keep branches and bushes trimmed away from windows. Leaves trap moisture and dirt against the glass, promoting mold and grime buildup.
- Regular Dusting: Use a dry microfiber cloth to lightly dust windows once a week. This prevents heavy buildup that requires aggressive scrubbing later.
When to Call a Professional
While DIY works well for most homes, there are scenarios where hiring a pro makes sense. If you have multi-story buildings, skylights, or stained-glass windows that require delicate handling, professionals have the safety gear and specialized equipment (like water-fed poles with purified water) to handle the job safely and efficiently. In Bristol, for example, local pros often use de-ionized water systems that guarantee zero streaks without any chemicals, which is great for eco-conscious homeowners.
Can I use Windex for streak-free windows?
Yes, Windex and similar commercial brands can provide streak-free results if used correctly. However, they often contain ammonia, which can damage tinted windows or certain types of glass coatings. Homemade vinegar solutions are safer for most surfaces and cheaper in the long run.
Why does my window cleaner leave streaks?
Streaks usually occur due to three reasons: cleaning in direct sunlight (causing rapid evaporation), using a dirty or lint-shedding cloth, or not wiping the squeegee blade dry between passes. Ensure your tools are clean and your technique is consistent.
Is vinegar safe for all types of windows?
Vinegar is safe for standard glass. However, avoid using it on antique leaded glass, as the acid can corrode the lead caming over time. It is also safe for most modern double-glazed units, but check manufacturer guidelines if you have special low-E coatings.
How often should I clean my windows?
For most homes, cleaning windows twice a year (spring and autumn) is sufficient. Kitchens and bathrooms may need monthly attention due to grease and steam buildup. If you live near a busy road or construction site, you might need to clean them quarterly.
What is the best cloth for cleaning windows?
High-quality microfiber cloths are the best choice. They trap dust and absorb water without leaving lint. Avoid paper towels, as they often leave fibers behind, and old t-shirts, which may have detergent residues that cause streaks.