Couch Deep Clean Planner
Follow this interactive guide to ensure a safe and effective deep clean. Check off each step as you complete it.
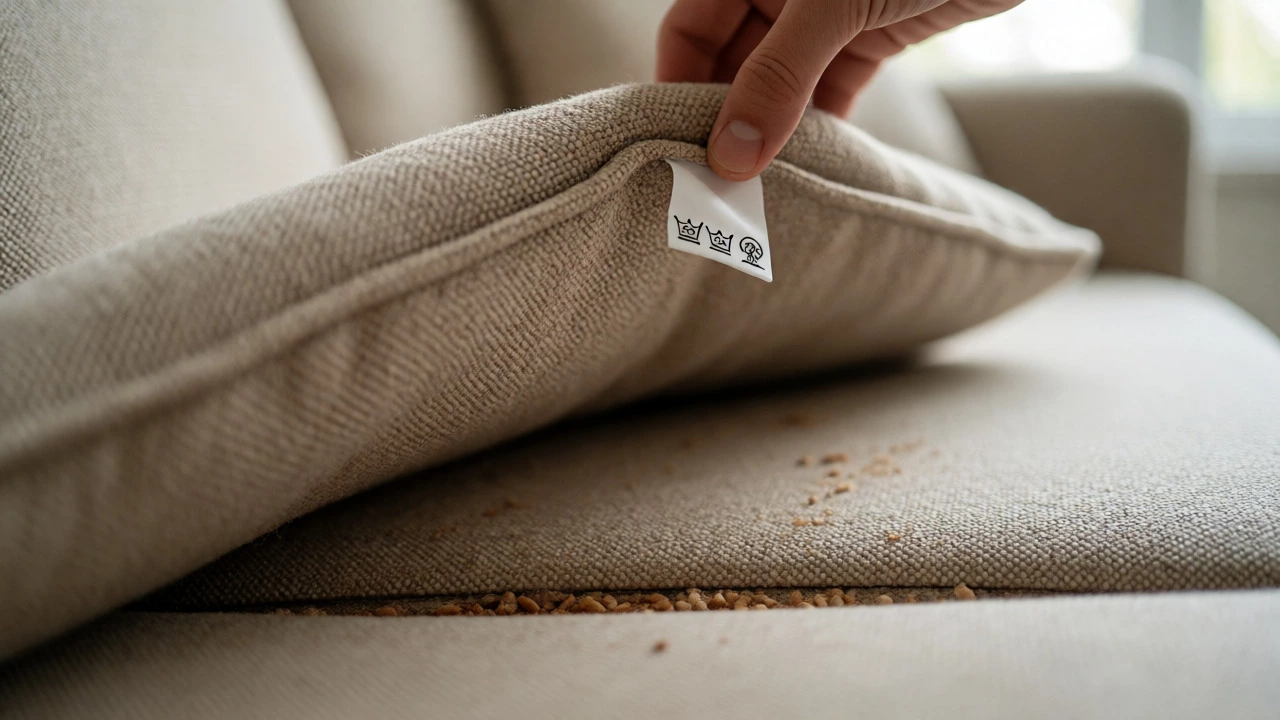
Check the tag on your couch (usually under cushions). If no tag is present, perform a hidden spot test first.
Great Job!
You've completed all the essential steps for hand-cleaning your couch. Remember to keep the area well-ventilated while it finishes drying completely to prevent mildew.
You look at your sofa and see it. The crumbs in the crevices, the faint shadow of last Tuesday’s coffee spill, and that slightly musty smell that just won’t go away no matter how many times you vacuum. You know it needs a proper scrub, but the idea of renting a heavy industrial machine or paying hundreds for a service feels like overkill. Can you actually get results doing it yourself with just your hands and some basic supplies? Absolutely. In fact, hand-cleaning often yields better results than steam cleaners because you control exactly how much moisture hits the fabric, preventing those dreaded water rings and shrinkage.
The central task here is hand cleaning upholstery. This process involves manually agitating fabric fibers to lift dirt and stains using specific solutions and tools, rather than relying on high-pressure extraction machines. Unlike dry cleaning, which uses solvents, or steam cleaning, which uses heat and pressure, hand cleaning relies on mechanical action-your hands, brushes, and cloths-to dislodge particles. It is slower, yes, but for delicate fabrics like velvet, silk blends, or antique cottons, it is the safest method available. According to the Institute of Inspection, Cleaning and Restoration Certification (IICRC), manual agitation combined with appropriate pH-balanced cleaners is effective for most residential textile maintenance when done correctly.
Know Your Fabric Before You Wet It
Before you grab a spray bottle, stop. Check the tag. This is the single most important step that people skip, and it’s why half of DIY attempts end in disaster. Upholstery manufacturers use a simple code system to tell you what the fabric can handle. If you ignore this, you might ruin the piece forever.
- S Code: Solvent-based cleaners only. Water will cause shrinking or staining. Think acetone or dry-cleaning fluid.
- W Code: Water-based cleaners are safe. Most modern synthetic blends fall here.
- WS Code: Either solvent or water works. You have flexibility.
- X Code: Vacuum only. Do not use liquids. Spot testing is risky; usually, professional help is best.
If you don’t see a tag, test a hidden area. Rub a white cloth dampened with mild soapy water on the inside seam or under a cushion. If the color transfers to the cloth, the dye isn’t stable. Stop right there. You’ll need a dry foam cleaner or a professional. If the color stays put, you’re good to proceed with water-based methods.
Gather the Right Tools and Solutions
You don’t need a fancy kit. Most of what you need is probably already in your kitchen or bathroom cabinet. The goal is to create a solution that lifts dirt without saturating the foam underneath, which takes days to dry and can grow mold if left too wet.
| Item | Purpose | Pro Tip |
|---|---|---|
| White Microfiber Cloths | Absorbing moisture and lifting dirt | Never use colored towels; they bleed dye onto light fabrics. |
| Soft-Bristled Brush | Agitating fibers to loosen debris | An old toothbrush works great for tight seams. |
| Mild Dish Soap | Cutting grease and oils | Use clear soap, not creamy ones with lotions. |
| Distilled White Vinegar | Neutralizing odors and breaking down mineral deposits | Mix 1:1 with water for general refreshing. |
| Baking Soda | Dry deodorizing before wet cleaning | Let it sit for at least 30 minutes to absorb smells. |
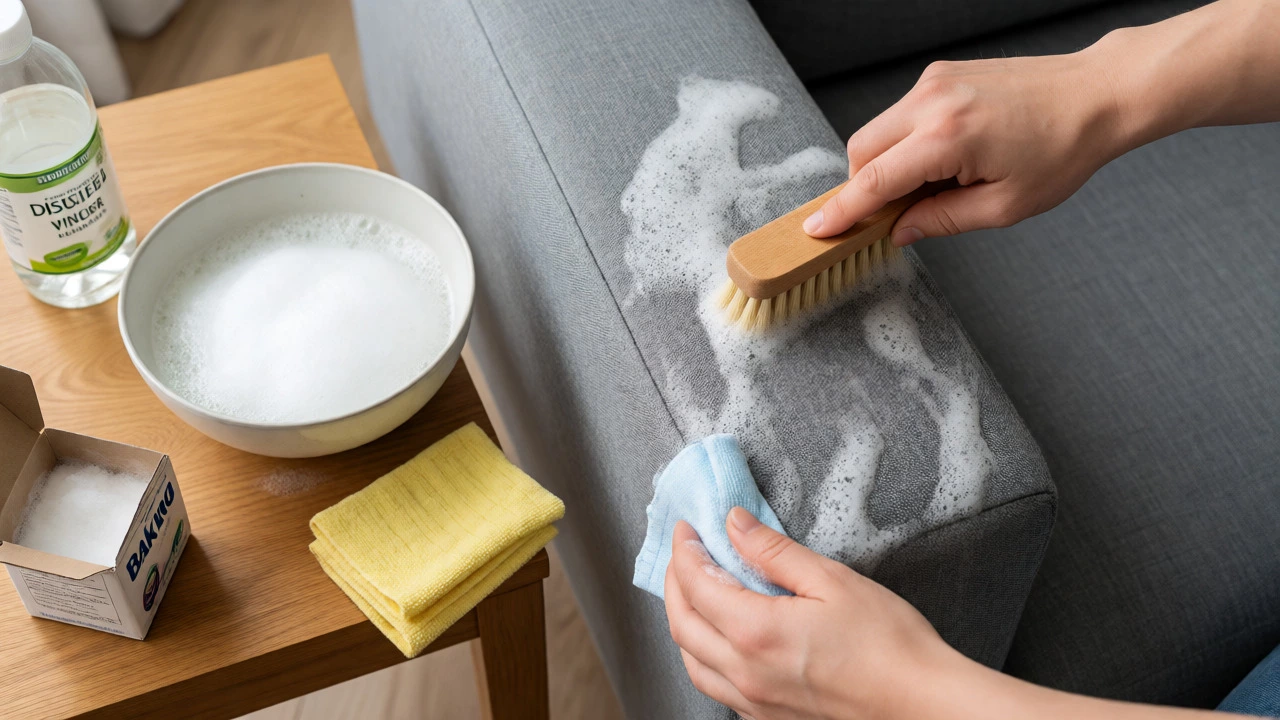
For the cleaning solution, mix one teaspoon of clear dish soap into two cups of warm water. Agitate it until it’s foamy. You want suds, not a bucket of soapy water. Why? Because foam carries the dirt up to the surface where you can wipe it away, while excess liquid soaks deep into the cushions. For tougher stains, add a tablespoon of white vinegar to the mix. It helps break down alkaline stains like urine or sweat residues.
The Step-by-Step Hand Cleaning Process
Now that you’ve prepped, let’s get dirty. Work from top to bottom. Gravity pulls dust down, so if you clean the arms first, you’ll just knock more dust onto them when you tackle the backrest later.
- Vacuum Thoroughly: Use the upholstery attachment on your vacuum. Get into every crevice. Flip the cushions if possible. You’re removing loose hair, crumbs, and skin cells. Skipping this means you’re just making mud out of the dirt later.
- Deodorize with Baking Soda: Sprinkle baking soda generously over the entire surface. Let it sit for 20-30 minutes. It absorbs odors and loosens grime. Then, vacuum it all up again. Yes, vacuum twice. It makes a huge difference.
- Spot Test Again: Even if you checked the tag, do a quick spot test in an inconspicuous corner with your soap solution. Wait five minutes. Check for color change or texture damage.
- Apply Foam, Not Liquid: Dip your soft brush into the soapy foam, not the liquid. Scrub gently in circular motions. Focus on high-touch areas: armrests, seat fronts, and headrests. Don’t soak the fabric. The fabric should feel damp, never dripping.
- Blot, Don’t Rub: Take a clean, dry microfiber cloth and blot the area. Press down firmly to lift the dirt-laden moisture. Never rub back and forth aggressively, as this can fuzz up the fibers or spread the stain.
- Rinse with Damp Cloth: Wipe the area with a cloth dipped in plain water (wring it out until it’s barely damp). This removes soap residue, which attracts more dirt if left behind.
- Dry Immediately: Blot with a dry towel again. Open windows or run a fan. Airflow is critical. Standing water leads to mildew.
Tackling Stubborn Stains Without Damage
Some stains fight back. Red wine, ink, or pet accidents require specific tactics. Here’s how to handle common culprits without turning your sofa into a science experiment.
Red Wine: Act fast. Blot up excess liquid immediately. Mix three parts hydrogen peroxide with one part dish soap. Apply carefully. Note: Hydrogen peroxide can bleach dark fabrics, so test it first. On light fabrics, it’s a miracle worker.
Ink: Isopropyl alcohol (rubbing alcohol) is your friend. Dab it on a cotton ball and press against the stain. Change the cotton ball frequently as it picks up ink. Do not rub; you’ll spread it. Once lifted, clean the area with your standard soap solution to remove alcohol residue.
Grease/Oil: Cornstarch or baby powder works wonders. Sprinkle it on the fresh grease spot. Let it sit for 15 minutes to absorb the oil. Vacuum it up. Then apply your dish soap solution. Dish soap cuts grease naturally, so this combo is highly effective.
Drying and Final Fluffing
You’re almost done, but the job isn’t finished until the couch is bone dry. Dampness hides in the seams and under the cushions. If you sit on a damp sofa, you compress the foam, trapping moisture inside. This causes that sour, mildewy smell weeks later.
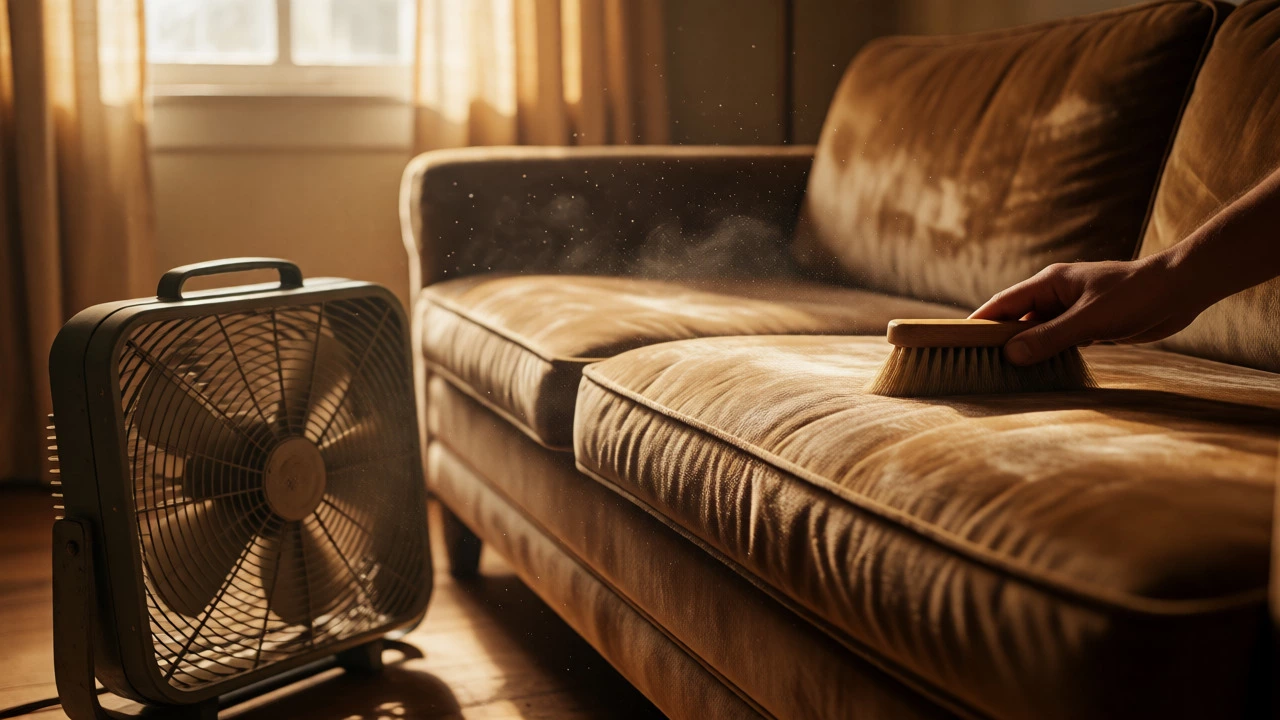
Speed up drying by pointing a fan directly at the cleaned areas. Keep windows open if the weather allows. Avoid direct sunlight, which can fade colors unevenly. Once the surface feels dry to the touch, wait another hour. Then, take a stiff-bristled brush (dry) and gently brush the fabric nap. This restores the texture and prevents matting. For velvet or chenille, brushing is essential to keep the pile looking plush rather than flattened.
When to Call a Professional
Hand cleaning handles about 90% of household wear and tear. But sometimes, you’re out of your depth. If the fabric is labeled 'X' (vacuum only), or if you have a massive pet accident that has soaked through to the frame, call a pro. Also, if you notice mold spots or persistent bad odors after drying, professionals have ozone treatments and enzymatic cleaners that penetrate deeper than hand methods allow.
Can I use a steam cleaner instead of hand cleaning?
Yes, but with caution. Steam cleaners inject hot water and extract it, but they often leave fabrics damper than hand cleaning does. For delicate fabrics or older sofas with fragile frames, hand cleaning is safer because you control the moisture level. Always check the manufacturer's warranty first, as some void warranties if steam is used.
How often should I deep clean my couch?
For households with pets or children, aim for a deep clean every 3-6 months. If you live alone and smoke-free, once a year is sufficient. Regular vacuuming weekly extends the time between deep cleans significantly.
Will baking soda discolor my fabric?
Rarely, but it can leave a white residue on very dark fabrics if not vacuumed thoroughly. Always vacuum meticulously after letting it sit. For dark velvet, consider using a specialized upholstery powder instead, as baking soda granules can be harder to fully remove from dense piles.
What is the fastest way to dry a couch after hand cleaning?
Combine airflow and absorption. First, blot heavily with dry towels to pull out moisture. Then, position a box fan blowing directly across the surface. If humidity is high, run a dehumidifier in the room. Avoid using a hair dryer on high heat, as it can scorch synthetic fibers.
Can I use vinegar on all types of upholstery?
Vinegar is generally safe for most synthetic and cotton blends (W and WS codes). However, avoid it on leather, suede, or silk unless diluted heavily and tested first. The acidity can strip natural oils from leather and alter the finish of delicate silks.