Oven Glass Cleaning Assistant
Follow this step-by-step assistant to clean your oven glass safely. Select the correct tools and use the built-in timer for the best results.
Click on the items you have ready. We recommend using only non-abrasive tools.
Pro Tip: The Vinegar Reaction
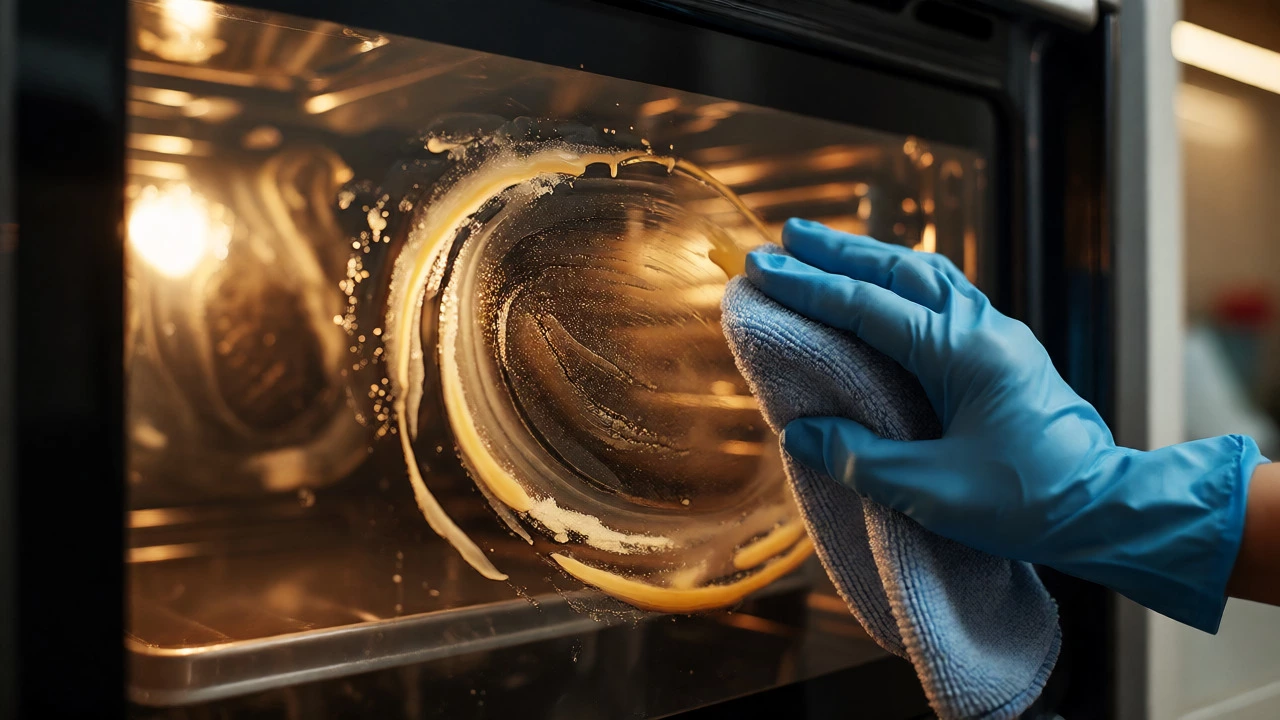
After soaking, spray a mix of 50% water and 50% white vinegar onto the baking soda paste. The fizzing action helps lift debris from crevices. Wipe away with a damp microfiber cloth. Never let the paste dry completely on the glass.
You know that feeling. You’ve just spent two hours scrubbing the inside of your oven until your knuckles are red and your back aches. You step back, wipe your brow, and look at the result. It’s clean. But then you glance at the window. That stubborn, yellowed haze of baked-on grease staring back at you ruins the whole job. It’s the one part everyone forgets until it’s too late, or worse, they ruin it by using the wrong tool.
Cleaning oven door glass is different from cleaning the enamel walls. The glass is often double or triple-layered, meaning grime gets trapped between the panes where your sponge can’t reach. And if you use an abrasive scourer on tempered glass, you’re not just cleaning it-you’re scratching it forever. Once those micro-scratches are in, dirt sticks to them permanently. So, how do you get that crystal-clear shine back without damaging the unit? Here is exactly how to tackle the inside, the outside, and the tricky middle layers.
Why Your Oven Glass Gets So Dirty (And Why Scrubbing Hard Doesn't Work)
Before we start scrubbing, let’s understand the enemy. Modern ovens, especially self-cleaning ones, rely on high heat. When fat splatters onto the hot glass during roasting or baking, it doesn’t just sit there; it polymerizes. This chemical reaction turns liquid oil into a hard, plastic-like residue bonded to the surface. Standard dish soap breaks down fresh oil, but it does absolutely nothing to polymerized grease. That’s why you need chemistry, not muscle.
Most people make the mistake of using steel wool or harsh abrasives. Tempered glass is tough against impact, but it is surprisingly soft against scratches. A steel wool pad acts like sandpaper. You might remove the grease, but you leave behind a cloudy trail of micro-abrasions. Next time you cook, grease fills those scratches instantly, making the glass look dirty even after washing. The goal is dissolution, not abrasion.
The Best DIY Paste for Burnt-On Grease
You don’t need expensive branded cleaners. In fact, most professional cleaners I speak with in Bristol prefer simple household items because they work better and cost pennies. The gold standard for cleaning oven door glass is a basic baking soda paste. Baking soda (sodium bicarbonate) is mildly alkaline and slightly abrasive-just enough to lift dirt without scratching glass.
Here’s the recipe that works every time:
- 1/2 cup baking soda: Ensure it’s fresh, not clumped up from six months ago.
- 1-2 tablespoons water: Add slowly until you reach a spreadable toothpaste consistency.
- Optional: White vinegar: For extra fizzing power on really thick buildup.
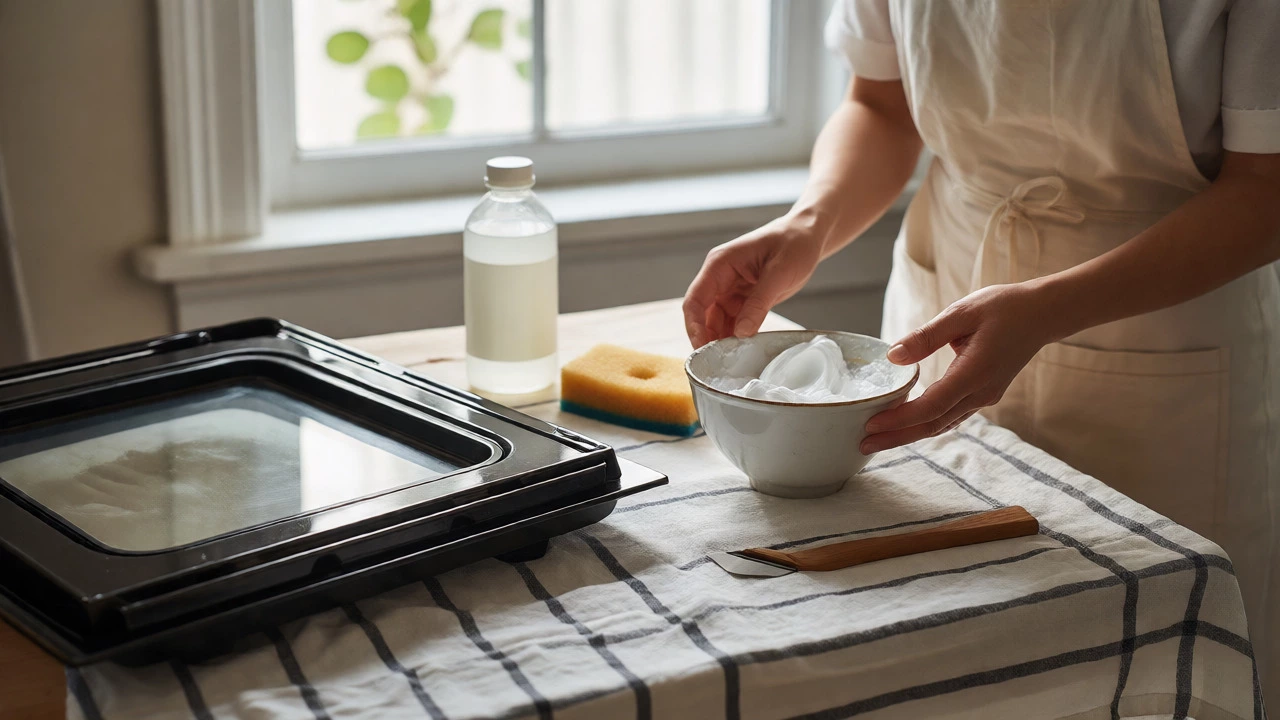
Mix the baking soda and water in a small bowl. Spread this thick paste generously over the glass surfaces. Don’t be shy; cover all the stained areas. Now, here is the secret step most people skip: wait. Let the paste sit for at least 30 minutes, or ideally overnight if the grime is severe. During this time, the alkaline paste begins to break down the bonds holding the polymerized grease to the glass. If you try to scrub immediately, you’ll just push the dirt around.
Step-by-Step: Cleaning the Inside Glass Panel
If your oven has a removable inner glass panel (check your manual-most modern ovens allow this), take it out. This makes life infinitely easier. Lay the glass flat on a towel-covered table. Apply your baking soda paste to both sides. Use a non-scratch sponge or a microfiber cloth to gently agitate the surface. Work in circular motions. For stubborn spots, use a single-edge razor blade held at a 45-degree angle. Yes, a razor blade. On smooth glass, it shaves off burnt carbon without scratching, provided the glass is wet with soapy water or paste. Never use a dry blade.
Rinse the panel thoroughly under warm running water. Dry it completely before putting it back. Any moisture left between the panels will turn into steam when you next use the oven, leaving white mineral deposits that look like new stains.
If your glass panel isn’t removable, you have to clean it in place. Open the oven door fully. Spray a mixture of equal parts water and white vinegar onto the paste you applied earlier. The vinegar reacts with the baking soda, creating a foaming action that helps lift debris from crevices. Wipe away with a damp microfiber cloth. Repeat if necessary. Do not spray liquid directly into the gaps between the glass panels, as it can seep into the electronics or insulation.
Tackling the Trapped Grime Between Glass Layers
This is the nightmare scenario for many homeowners. You look through the window and see brown streaks on the *inside* of the glass, but you can’t touch them. They are trapped between the outer and inner panes. Over time, grease vapors condense on the cooler inner surface of the outer pane and bake on. Since you can’t reach it, it accumulates layer after layer.
To fix this, you usually need to disassemble the door. Don’t panic-it’s rarely complicated. Most oven doors are held together by screws along the top edge or hidden under plastic caps. Remove these screws carefully. Separate the outer metal frame from the glass assembly. Be careful; the glass is heavy and slippery.
| Tool | Purpose | Tip |
|---|---|---|
| Phillips Head Screwdriver | Removing frame screws | Keep screws in a magnetic tray so they don’t roll away. |
| Flathead Screwdriver | Prying off plastic trim caps | Wrap the tip in tape to avoid marring the paint. |
| Microfiber Cloths | Cleaning exposed glass layers | Use lint-free cloths to prevent fibers sticking to wet glass. |
| Razor Blade Scraper | Removing hardened carbon | Always keep the glass wet while scraping. |
Once separated, you’ll likely find three or four layers of glass. Some have a mesh pattern for aesthetics. Clean each layer individually using your baking soda paste method. Pay special attention to the edges where grease seals in. Wipe everything dry. Reassemble the door, ensuring any rubber gaskets or seals are seated correctly. If a seal looks cracked or brittle, replace it now. A bad seal lets heat escape and makes future cleaning harder.
Commercial Products vs. Natural Solutions
Should you buy that £8 bottle of "Heavy Duty Oven Cleaner"? Sometimes yes, sometimes no. Commercial cleaners often contain sodium hydroxide (lye). Lye is powerful. It eats through grease fast. However, it is also caustic. If it drips onto your skin, it burns. If it gets into the hinges or electronics, it can corrode metal components over time. Furthermore, the fumes can be overwhelming in a small kitchen.
Natural solutions like baking soda and vinegar are safer for you and your appliance. They won’t damage seals or discolor stainless steel handles. The trade-off is time. Lye works in 15 minutes; baking soda needs an hour or more. If you have a self-cleaning cycle coming up, stick to natural methods. The high heat of the self-clean function can react with residual chemicals from commercial cleaners, producing toxic fumes.
For light maintenance, a simple glass cleaner (ammonia-free) works well. Ammonia can cloud certain types of coated glass. Always check your manufacturer’s guidelines. If the manual says "use only mild detergent," believe them. Ignoring this can void your warranty.
Preventing Future Buildup
Cleaning is reactive; prevention is proactive. How do you stop the glass from getting filthy again in three months?
- Wipe spills immediately: If soup boils over onto the glass, wipe it up once the oven cools enough to touch. Fresh grease wipes off easily. Baked grease requires surgery.
- Use a splash guard: Place a baking sheet on the rack below dishes prone to bubbling over. Catch the mess before it hits the glass.
- Monthly quick wipe: Every month, mix a little dish soap with warm water. Wipe the glass down. This takes two minutes and prevents the polymerization process from starting.
- Avoid aerosol sprays near the seal: Cooking sprays often leak past pots and land on the glass. They create a sticky film that attracts dust. Use a brush or spoon to apply oil instead.
Another trick is to line the bottom of your oven with a silicone mat or foil (if allowed by your model) to catch drips. Less drip means less vapor, which means less residue on the upper glass.
Troubleshooting Common Issues
White Haze After Cleaning: Did you rinse thoroughly? Leftover baking soda dries into a white powder that looks like haze. Rinse again with plain water and buff with a dry coffee filter. Coffee filters are excellent for glass because they don’t shed lint like paper towels.
Grease Won’t Come Off Even With Razor: Is it actually grease? Sometimes it’s mineral deposit from hard water, especially if you use steam functions. Use a solution of 50% distilled white vinegar and 50% water. Let it soak for ten minutes. Vinegar dissolves calcium carbonate (limescale).
Cracked Glass: If you see a crack, do not attempt to clean it aggressively. Thermal shock from cold water on hot glass causes cracks. If the crack is small, monitor it. If it spreads, call a professional. Replacing an oven door glass is cheaper than buying a new oven, but it requires precise fitting.
Frequently Asked Questions
Can I use a magic eraser on oven glass?
Yes, but with caution. Magic Erasers (melamine foam) are micro-abrasive. They work well on the outer frame and handles, but test them on a small corner of the glass first. If the glass has a special coating, the eraser might dull it. For bare tempered glass, it’s generally safe and effective for removing scuff marks.
How do I clean grease between oven glass layers without taking the door apart?
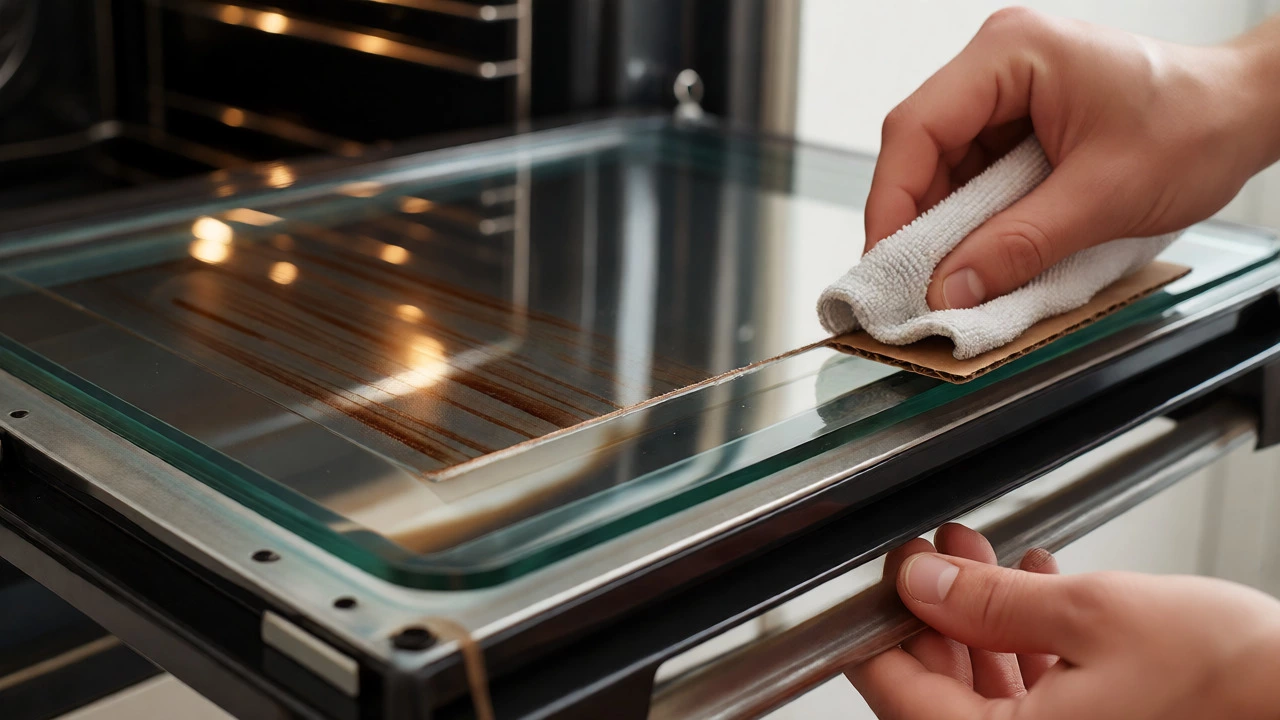
You can try inserting a thin piece of cardboard wrapped in a damp microfiber cloth into the gap between the glass and the frame. Slide it up and down to wipe the inner edges. Alternatively, some people use a long-handled squeegee designed for tight spaces, but results vary. Disassembly is the only guaranteed way to fully clean trapped grime.
Is it safe to use oven cleaner on the glass window?
Check your user manual. Many manufacturers advise against using strong alkali-based oven cleaners on the glass window because they can damage the seals or cause discoloration. If you must use it, apply it only to the interior walls and racks, keeping it away from the glass. Neutral pH cleaners are always safer for windows.
Why is my oven glass still cloudy after cleaning?
Cloudiness is usually caused by either microscopic scratches from abrasive cleaning tools or mineral deposits from hard water. If it’s scratches, the damage is permanent, though polishing compounds for automotive glass can sometimes reduce their visibility. If it’s minerals, a vinegar soak will clear it up.
How often should I clean my oven door glass?
Ideally, give it a quick wipe-down with soapy water once a month. Perform a deep clean with baking soda paste every three to six months, depending on how much you cook. Regular maintenance prevents the heavy buildup that requires hours of scrubbing.