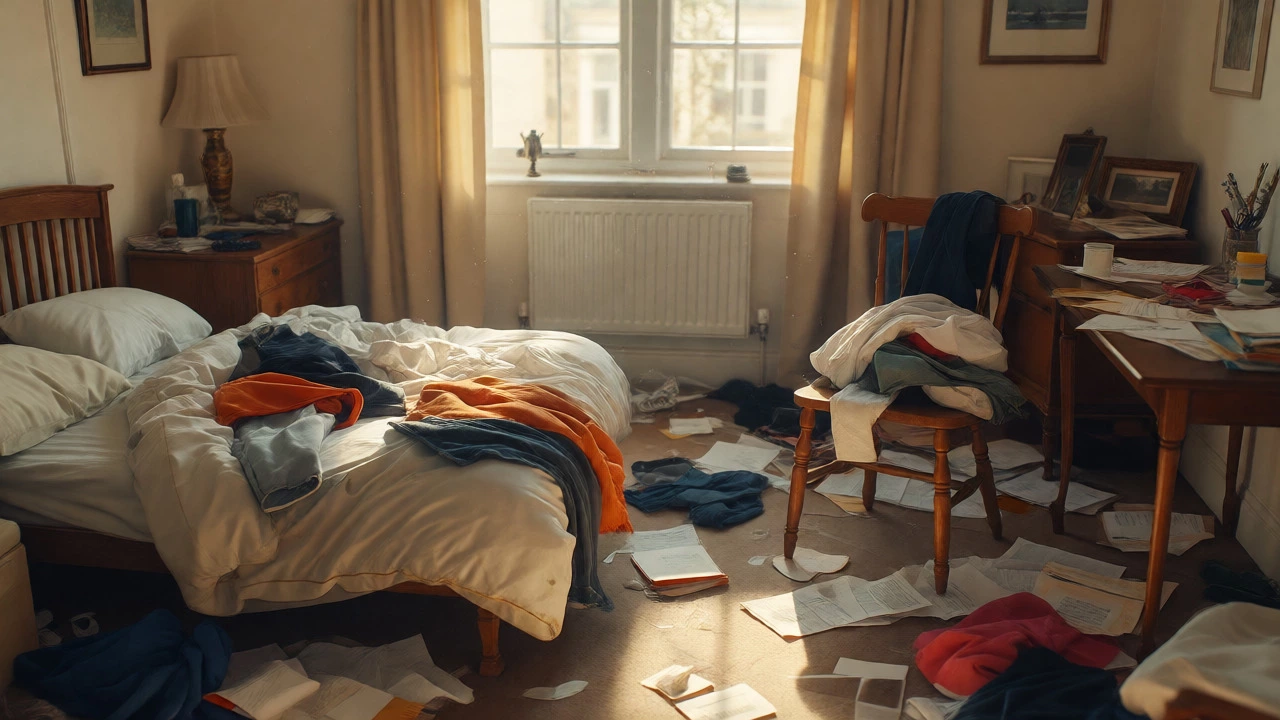
Room Cleaning Sequence Tracker
Follow this step-by-step guide to clean your room efficiently. Tap each step as you complete it to track your progress.
Declutter First
Remove laundry, papers, and objects from surfaces. Clear the decks before wiping.
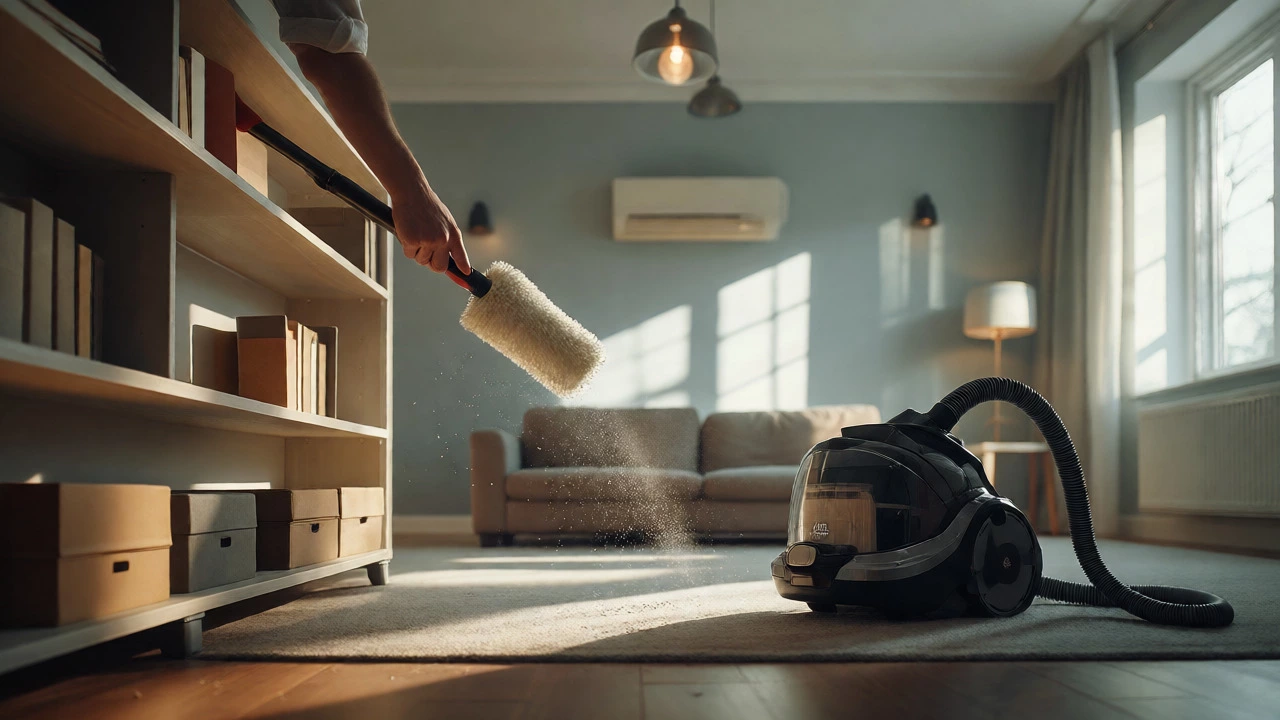
Dust Top to Bottom
Start with ceiling fans/light fixtures, move to shelves/sills, end with baseboards.
Dry Wipe Surfaces
Use dry microfiber or electrostatic duster to lift loose dust and hair before wetting.
Wet Clean & Disinfect
Wipe down sticky spots, handles, switches, and electronics (spray cloth, not screen).
Vacuum Floors
Now that debris has fallen, vacuum carpets slowly in overlapping rows or sweep hard floors.
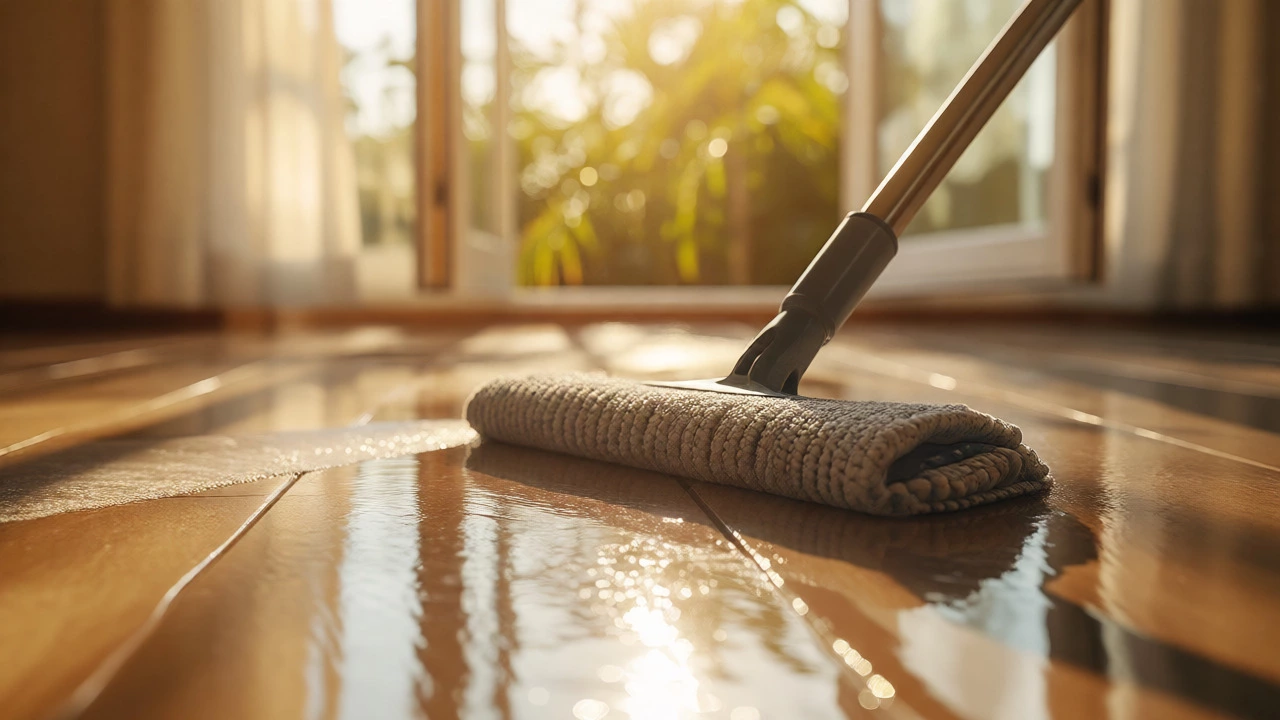
Mop Hard Floors
Mop using a well-wrung mop, starting from the farthest corner toward the exit.
Ventilate Room
Open windows for 15 minutes to clear VOCs and dry remaining moisture.
You walk into your bedroom or living room, look at the pile of laundry, the dust on the shelves, and the crumbs on the floor, and you freeze. Where do you even start? Most people grab a vacuum and blast around randomly, only to realize ten minutes later they’ve just redistributed the mess. The secret to an efficient clean isn’t speed; it’s sequence. If you want to know what is the correct order to clean a room, the answer lies in working with gravity and logic, not against them.
This guide breaks down the exact workflow used by professional cleaners. It’s not about scrubbing harder; it’s about stopping yourself from doing the same job twice. By following this specific order, you’ll cut your cleaning time nearly in half and actually enjoy the process more. Let’s get your space sorted.
The Golden Rule: Declutter Before You Dust
Before you touch a single cloth or spray bottle, you have to clear the decks. This is the step everyone skips, and it’s why their rooms still feel chaotic after a "deep clean." You cannot effectively wipe down surfaces that are covered in knick-knacks, papers, and random objects. Moving items around creates more work than picking them up and putting them where they belong.
Spend the first five to ten minutes doing a rapid declutter sweep. Grab a laundry basket for clothes, a recycling bin for paper, and a box for things that don’t belong in the room. Don’t sort through old photos or sentimental items right now-just move physical obstacles off the surfaces. If a surface is empty, you can clean it in one swipe. If it’s cluttered, you’re moving every object, wiping underneath, and moving it back. That’s three times the effort for the same result.
Work From Top to Bottom (Gravity is Your Friend)
Once the surfaces are clear, the next rule is non-negotiable: always clean from the highest point in the room down to the lowest. Think about what happens when you dust a ceiling fan or a high bookshelf. Gravity pulls that dislodged dust and debris downward. If you’ve already vacuumed the carpet, you’re going to end up with a fresh layer of grey fuzz on your freshly cleaned floor.
Start with the ceiling corners, light fixtures, and tops of wardrobes. Use a microfiber duster or a vacuum with a brush attachment to capture the particles rather than just swirling them into the air. Next, move to the mid-levels: window sills, mirror frames, picture rails, and table tops. Finally, tackle the lower levels like baseboards and door handles. By the time you reach the floor, all the falling debris has already landed there, waiting for you to pick it up in one go.
Dry Wipe Before Wet Clean
A common mistake is grabbing the all-purpose cleaner and a wet rag immediately. But if you spray water onto a dusty surface, you don’t get a clean surface-you get mud. Wetting dust turns it into a paste that smears across wood and glass, requiring multiple rinses to remove.
Always dry wipe first. Use a dry microfiber cloth or a electrostatic duster to lift loose dust, pet hair, and cobwebs. Once the loose particulate matter is gone, then you bring out the damp cloth. Now, when you wipe a shelf, you’re removing sticky residues, fingerprints, and grime, not creating sludge. This two-step approach ensures a streak-free finish, especially on glass and polished wood.
Clean Surfaces in Logical Zones
Now that the room is decluttered and dusted from top to bottom, focus on the specific surfaces. Instead of running back and forth, break the room into zones. For example, if you’re cleaning a bedroom, start with the bedside tables, then the dresser, then the desk. In a living room, tackle the coffee table, side tables, and TV stand as a group.
| Surface | Best Tool | Cleaning Solution |
|---|---|---|
| Glass/Mirrors | Microfiber Cloth | Vinegar & Water Mix |
| Wood Furniture | Soft Damp Cloth | Mild Soap & Water |
| Electronics | Compressed Air | 70% Isopropyl Alcohol |
| Upholstery | Upholstery Brush | Fabric Cleaner Spray |
When wiping electronics like TVs or monitors, avoid spraying liquid directly onto the screen. Spray your cloth instead. Excess moisture can seep into the bezel and damage internal components over time. For wooden furniture, remember that less is more. Too much water can warp the wood or leave white rings. Always dry the surface immediately after wiping it with a damp cloth.
Don't Forget the "Invisible" Spots
People often clean the obvious stuff but miss the areas that contribute most to the feeling of a dirty room. These are the spots you see out of the corner of your eye but ignore because they seem too tedious. Door handles, light switches, and remote controls are germ hotspots. Wiping these down takes seconds but makes a huge difference in hygiene.
Also, check behind and under large furniture if you can easily access it. You don’t need to move the sofa every week, but during a thorough clean, sliding a duster along the edge of the bed frame or behind the TV stand removes accumulated lint and dust bunnies. These hidden pockets of dirt affect air quality and can trigger allergies, so give them attention every few weeks.
Vacuum and Mop Last
We’ve arrived at the floor. Because we worked top-to-bottom, all the dust, hair, and debris from the upper levels have settled here. Now, you can finally tackle the ground without worrying about ruining your hard work.
If you have carpets, vacuum slowly. Fast passes push dirt deeper into the fibers. Move the vacuum in overlapping rows, ensuring you cover the entire area. Pay special attention to edges and corners where dust accumulates. For hard floors, sweep or vacuum first to remove grit that could scratch the surface during mopping. Then, mop using a well-wrung mop. Excess water leaves streaks and can damage laminate or engineered wood. Start from the farthest corner of the room and work your way toward the door so you don’t trap yourself or step on wet patches.
Air It Out
The final step is often overlooked: ventilation. After using cleaning products, even eco-friendly ones, the air in the room can feel heavy. Open windows for at least fifteen minutes to let fresh air circulate. This helps dry any remaining moisture on surfaces and clears out volatile organic compounds (VOCs) from sprays. A breezy room feels instantly cleaner and fresher than a sealed one, completing the sensory experience of a clean space.
Do I really need to declutter before cleaning?
Yes. Clutter traps dust and prevents you from reaching surfaces. Trying to clean around objects takes significantly longer than moving them aside once. A quick declutter session saves time and results in a deeper clean.
Why should I clean from top to bottom?
Gravity causes dust and debris to fall. If you clean the floor first and then dust the shelves, the floor gets dirty again. Working top-down ensures that all falling debris ends up on the floor, which is the last thing you clean.
Can I use the same cloth for everything?
It’s better to use separate cloths for different tasks. Use a dry cloth for dusting, a damp one for general surfaces, and a dedicated disinfectant cloth for bathrooms or kitchens. Mixing them spreads bacteria and dirt rather than removing it.
How long does it take to clean a standard bedroom?
For a standard bedroom, following this method usually takes between 30 to 45 minutes. This includes decluttering, dusting, wiping surfaces, and vacuuming. Speed comes from efficiency, not rushing.
Should I wash curtains while cleaning the room?
Only if they are visibly stained or smell musty. Curtains hold a lot of dust but don’t need washing every time you clean. Vacuum them with an upholstery attachment monthly, and wash them seasonally or annually depending on usage.