Kitchen Deep Clean Planner & Tracker
Estimated Time Remaining
Tasks Completed
0 / 0Most of us wipe the counters after dinner and maybe scrub the sink if it looks particularly grimy. But that’s surface maintenance, not a kitchen deep clean. A true deep clean goes beyond the visible mess. It targets the hidden grease traps, the bacteria breeding grounds behind appliances, and the grime that accumulates in places you rarely touch. If you haven’t done one in months, your kitchen is likely harboring more than just dust.
Doing this yourself can take an entire weekend, but understanding exactly what needs to be done helps you prioritize or hire professionals with confidence. Here is the breakdown of what a comprehensive kitchen deep clean actually consists of, from top to bottom.
The Top-Down Approach: Why Order Matters
You might think you can start with the floor because it’s the dirtiest, but that’s a mistake. Gravity works against you. When you dust cabinets or wipe down range hoods, debris falls. If you’ve already cleaned the floor, you’re just redoing work. Professional cleaners always start at the highest point and work their way down to the ground.
This method ensures that every particle of dust, grease, and food residue lands on a surface that hasn’t been cleaned yet. It saves time and prevents streaks on freshly wiped floors. Before you even pick up a spray bottle, clear the countertops. Remove small appliances like toasters and blenders. Take everything off the shelves. You need bare surfaces to see what you’re dealing with.
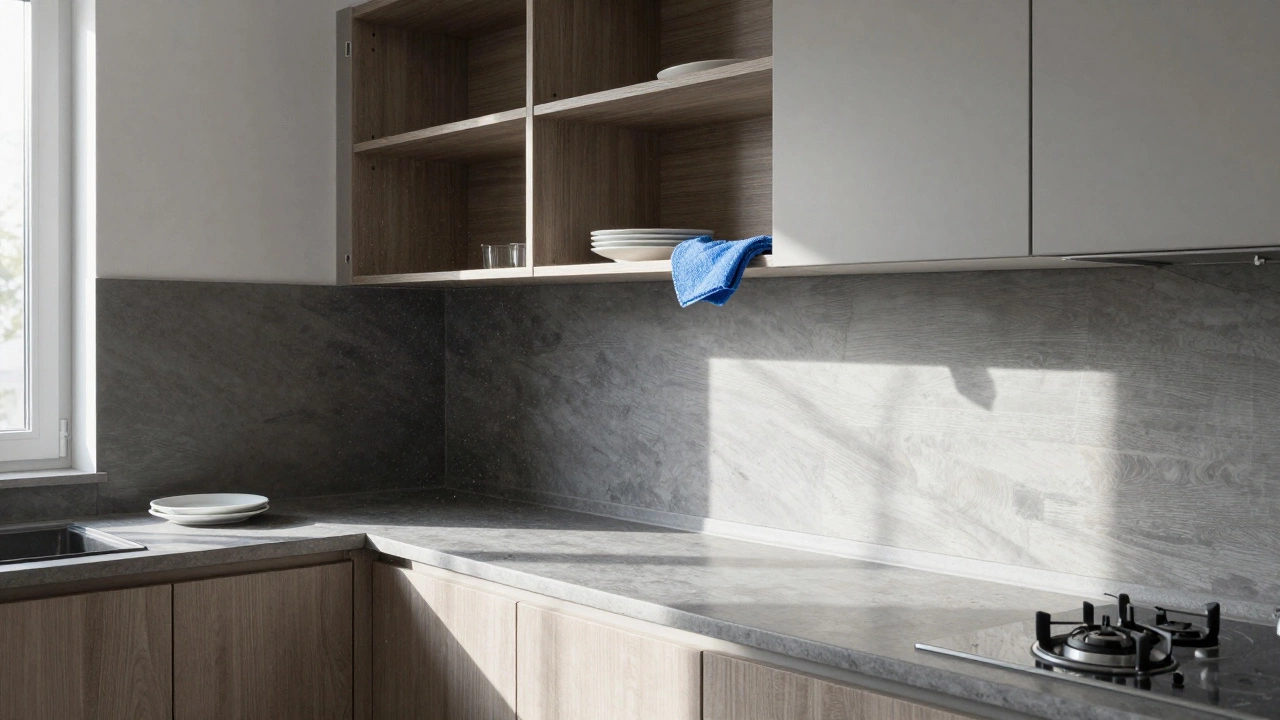
Cabinets and Shelves: The Hidden Dust Magnets
Kitchen Cabinets are storage units that accumulate significant amounts of dust and cooking grease over time. We open them daily, but we rarely look inside until we’re searching for a specific spice jar. Over time, the tops of upper cabinets become dust collectors. Inside, crumbs from past meals settle into corners.
To deep clean these areas:
- Empty everything out. Check expiration dates while you’re at it. It’s a good opportunity to donate unopened items you’ll never use.
- Dust the interior. Use a microfiber cloth or a vacuum attachment to remove loose debris from shelves and corners.
- Wipe with a mild detergent solution. For wooden cabinets, use a wood-safe cleaner. For laminate or painted finishes, a mix of warm water and dish soap works well. Avoid soaking the wood, as moisture can cause swelling.
- Clean the exterior faces. This is where finger oils and grease build up. Pay special attention to handles and knobs, which are high-touch points for bacteria.
Don’t forget the space above the cabinets. That narrow gap between the cabinet top and the ceiling is often neglected. It collects thick layers of dust and sometimes spider webs. A long-handled duster or a vacuum extension is essential here.
Appliances: Beyond the Exterior Wipe
Applances are the heart of the kitchen, and they generate the most heat, steam, and grease. A quick wipe-down misses the internal buildup that affects performance and hygiene.
| Appliance | Key Focus Areas | Cleaning Method |
|---|---|---|
| Oven | Interior walls, racks, door seal, drip tray | Baking soda paste or professional enzymatic cleaner; run self-clean cycle if available |
| Microwave | Turntable, interior walls, vent filter | Steam cleaning with lemon water; wipe vents with soapy water |
| Refrigerator | Shelves, drawers, door seals, condenser coils (back/bottom) | Remove all food; wash shelves in warm soapy water; vacuum coils |
| Dishwasher | Filter, spray arms, interior walls, rubber gasket | Remove and rinse filter; run empty cycle with vinegar or dishwasher cleaner |
| Range Hood | Grease filters, fan blades, exterior housing | Soak metal filters in hot soapy water; wipe fan area with degreaser |
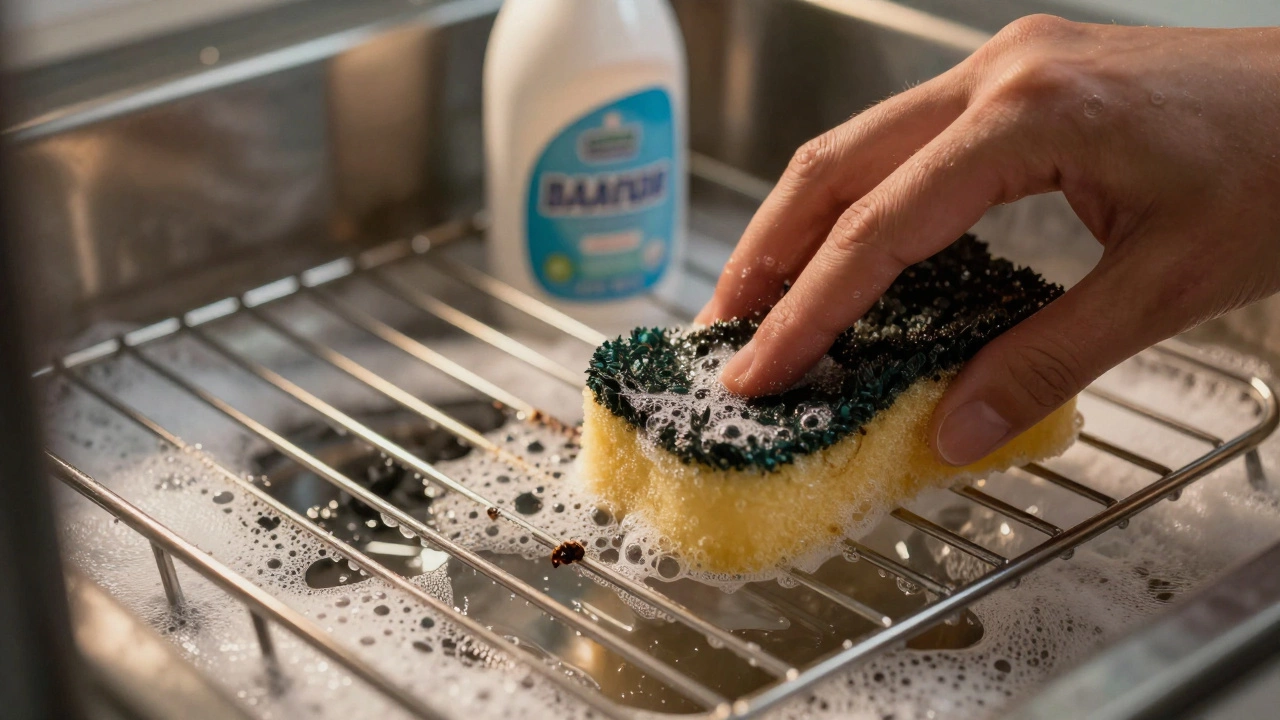
The Oven is a large appliance used for baking and roasting that requires periodic deep cleaning to remove baked-on food residues. Baked-on grease and sugar can smoke during future uses, affecting taste and air quality. If you don’t have a self-cleaning function, make a paste of baking soda and water. Apply it thickly to the interior, let it sit overnight, then scrub and wipe away. For the racks, soak them in a bathtub filled with hot water and dish soap for several hours before scrubbing.
The refrigerator’s condenser coils are often ignored. Located either at the back or underneath the fridge, these coils get dusty and reduce efficiency. A coil brush or vacuum attachment can remove the dust bunnies that trap heat. Cleaning these coils can lower energy bills and extend the life of the compressor.
Countertops and Backsplashes: Grease and Stain Removal
Countertops see constant action. Spills happen, and splatters fly. Even with daily wiping, a film of oil and starch builds up. The backsplash, especially behind the stove, is prone to sticky grease spots that harden over time.
For granite or quartz countertops, use a pH-neutral cleaner designed for stone. Acidic cleaners like vinegar can etch the surface. For laminate, a non-abrasive cleaner works best. Scrub the entire surface with a soft sponge, paying attention to seams and edges where grime hides. Don’t forget the sides of the counters that face the wall or adjacent cabinets.
Backsplashes made of tile require attention to the grout lines. Grout is porous and absorbs stains. Use a grout brush and a mixture of baking soda and hydrogen peroxide to lift discoloration. Rinse thoroughly to prevent residue buildup. Glass or stainless steel backsplashes need a dedicated glass cleaner or stainless steel polish to remove fingerprints and water spots without leaving streaks.
The Sink and Faucet: High-Touch Hygiene Zones
The sink is arguably the germiest place in the kitchen. Water splashes everywhere, and food particles get trapped in the drain and around the faucet base. A deep clean here involves more than just scrubbing the basin.
Start by removing the pop-up stopper if possible. Soak it in a mixture of bleach and water to kill mold and mildew. Scrub the underside of the faucet, where mineral deposits and soap scum accumulate. Use a toothbrush to reach tight spaces around the aerator. For stainless steel sinks, sprinkle baking soda and scrub with a non-scratch pad. Finish with a rinse of white vinegar to disinfect and shine. Let it fizz for a few minutes before rinsing with cold water.
Check the disposal unit. Run a cup of ice cubes followed by citrus peels to sharpen the blades and freshen the smell. If it’s clogged or smelly, use a specialized disposal cleaner or a blend of baking soda and vinegar followed by hot water.
Floors and Baseboards: The Final Layer
Now that everything above is clean, you can tackle the floor. Sweep or vacuum thoroughly to pick up any debris that fell during the earlier steps. For hard floors, mop with a suitable cleaner. For tile, ensure the grout is dry before mopping to prevent slipping. For vinyl or laminate, avoid excessive water that can seep into seams.
Baseboards collect dust and scuff marks from chairs and feet. Wipe them down with a damp cloth or a magic eraser for stubborn marks. Don’t forget the corners where the wall meets the floor-these are prime hiding spots for spiders and cobwebs.
If you have rugs or mats, shake them out outside or vacuum them deeply. Consider washing machine-washable mats in the laundry. Non-washable mats may need professional cleaning or replacement if they’re heavily soiled.
When to Hire Professionals vs. DIY
While a deep clean is manageable for most homeowners, some situations call for experts. If you have limited mobility, allergies to cleaning chemicals, or simply lack the time, hiring a professional service makes sense. In Bristol, many cleaning companies offer specialized kitchen deep cleans that include oven cleaning, carpet shampooing, and sanitization services.
Professionals bring industrial-grade equipment and eco-friendly solutions that cut through grease faster than household products. They also know how to handle hazardous materials safely, such as mold in hidden areas or broken glass under appliances. If you’re preparing your home for sale or moving out, a professional deep clean can boost your property’s appeal and help you secure your deposit.
How often should I do a kitchen deep clean?
Aim for a deep clean every 1 to 3 months, depending on how much you cook. If you fry foods frequently or have young children who spill often, monthly deep cleans are advisable. Daily maintenance wipes should still occur to keep up with routine messes.
Is it safe to mix different cleaning products?
Never mix bleach with ammonia or vinegar, as this creates toxic gases. Stick to one type of cleaner per task unless the manufacturer explicitly states compatibility. When in doubt, use simple ingredients like baking soda, vinegar, and dish soap, which are generally safe when used separately.
Can I use a steam cleaner for my kitchen?
Yes, steam cleaners are excellent for sanitizing surfaces without chemicals. They work well on tiles, sealed wood, and stainless steel. However, avoid using steam on unsealed wood, delicate electronics, or certain types of granite that can be damaged by high heat and moisture.
What is the most effective way to remove grease from cabinets?
Use a degreaser specifically formulated for kitchens. Spray it on the cabinet doors and let it sit for a few minutes to break down the oil. Then wipe with a microfiber cloth. For natural options, a mixture of warm water and a few drops of dish soap works effectively on light grease buildup.
Should I clean the inside of my microwave regularly?
Yes, food splatters inside the microwave can burn and create unpleasant odors during future heating sessions. Clean it weekly with a bowl of water and lemon slices heated for two minutes. The steam loosens grime, making it easy to wipe away with a cloth.