End of Tenancy Cleaning Checklist
-
Use a long-handled duster
-
Remove shades if possible to wash separately
-
-
-
Only do this after all dusting is done!
-
Hot soapy water + dish soap for 30 mins
-
Leave overnight for best results
-
Rinse then polish with vinegar solution
-
Landlords always check these!
-
Wrap with soaked cloth for 1 hour
-
Remove cloudy limescale deposits
-
Let fizz for 10 mins, flush with hot water
-
-
Avoid track marks
-
Damp carpets cause mold smells
-
-
Compare with initial inventory
-
Creates a digital trail for disputes
Deposit Protection Status
Complete tasks to see your estimated readiness.
Common Pitfalls
- Ignoring light switches & door handles
- Leaving personal items in drawers/cupboards
- Forgetting external areas (balcony/garden)
Handing over your keys and getting that full deposit back feels like a lottery ticket you’ve already won. But one missed spot behind the oven or a streaky window can turn that win into a £150 deduction faster than you can say "inventory check." It’s not just about tidying up; it’s about restoring the property to the exact condition described in your contract. Most tenants think scrubbing visible surfaces is enough. Landlords, however, have seen every trick in the book and know exactly where dirt hides.
If you’re moving out soon, you need a strategy that leaves no stone unturned. Forget random scrubbing. You need a system. These five golden rules are the difference between a stressful dispute and a smooth move-out. They aren’t just suggestions; they are the non-negotiable standards used by professional cleaners across the UK to ensure a 100% pass rate on inspections.
Rule One: The Top-Down Methodology
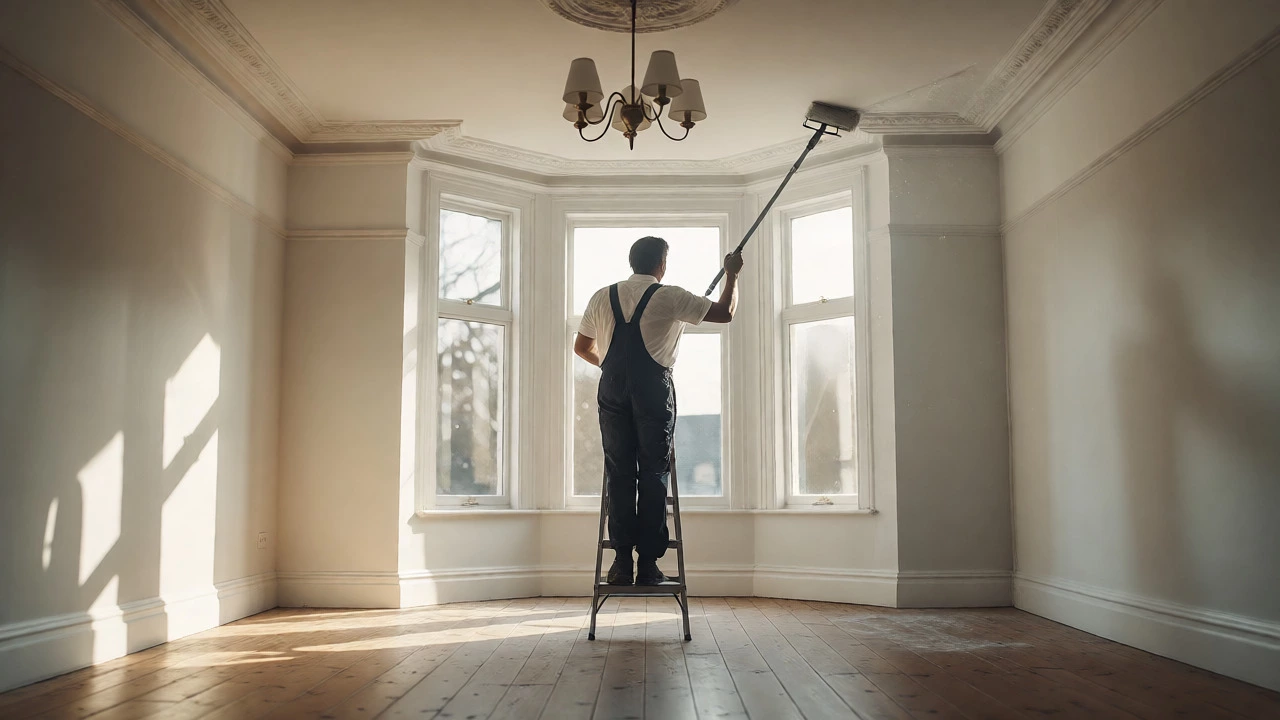
You might be tempted to start with the floors because they look the messiest. Don’t. Gravity is your enemy if you work bottom-up. Dust from ceiling lights, high shelves, and curtain rails falls onto freshly cleaned surfaces below. If you vacuum first and then dust, you’re just creating more work for yourself.
Start at the highest point in the room and work your way down. This includes:
- Ceiling corners and cobwebs (use a long-handled duster).
- Light fixtures and lampshades (remove shades if possible to wash them separately).
- Top of wardrobes and kitchen cupboards.
- Window frames and sills.
- Furniture surfaces and skirting boards.
Only after all the dust has settled should you touch the floor. This single change in order saves hours of re-cleaning. Professional teams follow this strictly because it guarantees that the final step-vacuuming or mopping-is truly the last thing done before leaving the room.
Rule Two: Degrease Before You Scrub
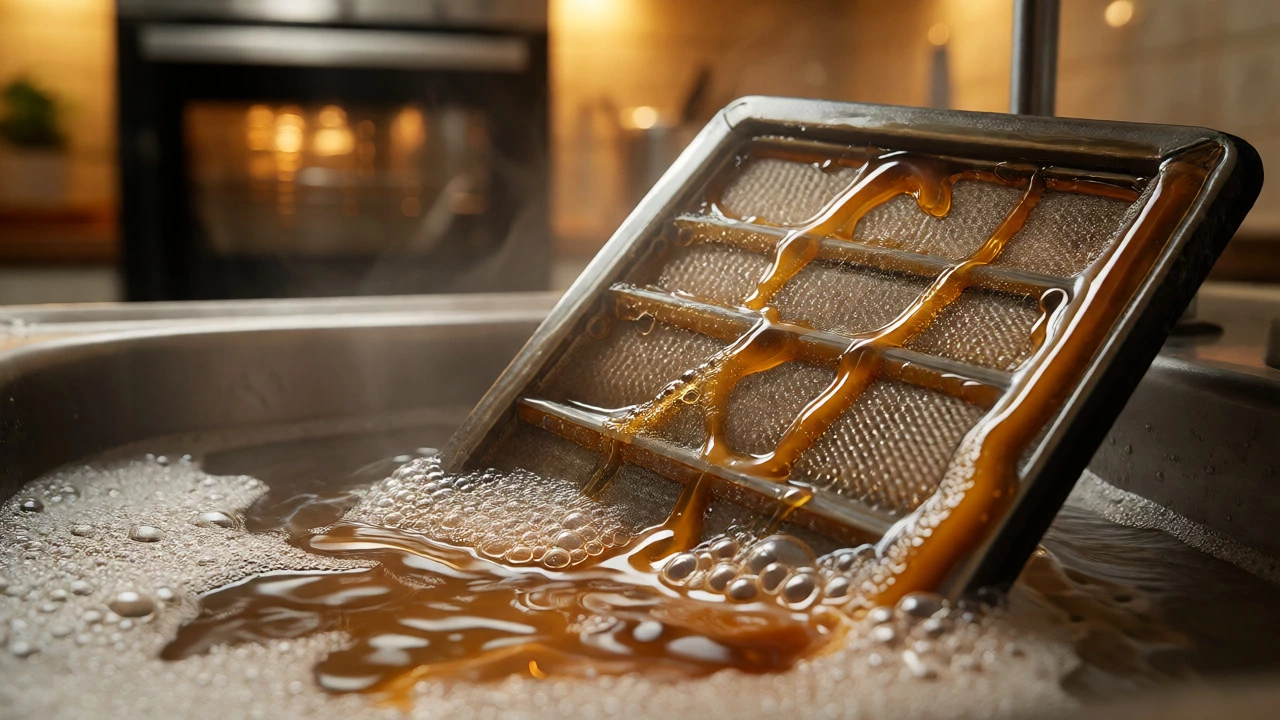
Kitchens are the hardest part of any end of tenancy cleaning. Unlike regular weekly cleans, you aren’t just wiping away crumbs. You are removing months or years of accumulated grease, oil splatter, and carbon buildup. A standard all-purpose cleaner won’t cut through hardened fat on an extractor fan or the sides of an oven.
The secret weapon here is time. Apply a heavy-duty degreaser to sticky areas and let it sit for at least 10-15 minutes. Let the chemistry do the hard work. While it sits, tackle other tasks. When you come back, the grime will wipe away with minimal elbow grease. Focus on these critical zones:
| Area | Common Issue | Recommended Action |
|---|---|---|
| Extractor Fan Filters | Clogged with thick grease | Soak in hot soapy water with dish soap for 30 mins |
| Oven Interior | Burnt food residue | Apply oven cleaner, wrap in foil, leave overnight |
| Cupboard Handles | Sticky film from hands | Wipe with warm soapy cloth, dry immediately |
| Tiles Behind Hob | Splattered oil | Degrease, rinse, then polish with vinegar solution |
Never skip the inside of the microwave or toaster. Landlords often open appliances during inspections. If the inside looks grimy, it signals a lack of care, even if the outside shines.
Rule Three: Limescale Removal is Non-Negotiable
In many parts of the UK, especially Bristol and the South West, the water is hard. Hard water leaves limescale deposits on taps, showerheads, glass screens, and tiles. White crusty rings around your tap base or cloudy glass doors are instant red flags for inspectors. Standard bathroom cleaners often fail against stubborn limescale.
You need an acidic solution. White vinegar or citric acid solutions are effective and safe for most surfaces. For heavy buildup, apply the solution directly to the affected area using a soaked cloth or paper towel. Wrap it around the tap or stick it to the showerhead. Leave it for an hour. The acid dissolves the calcium carbonate, allowing you to wipe it away effortlessly.
Don’t forget the drains. Hair and soap scum build up in shower trays and sinks. Pour boiling water down each drain followed by a half-cup of baking soda and a cup of vinegar. Let it fizz for 10 minutes, then flush with more hot water. This eliminates odors that could linger after you’ve left.
Rule Four: Treat Carpets as a Separate Project
Vacuuming isn’t enough. If you had pets or spilled red wine three months ago, those stains are still there, even if they’re faint. Landlords expect carpets to be professionally cleaned or at least deeply shampooed. If your contract states "professional carpet cleaning," do not attempt to DIY this with a rental machine unless you are confident in your results.
If you are doing it yourself, pre-treat stains before shampooing. Use a stain remover appropriate for the type of spill. Work in overlapping passes to avoid track marks. Crucially, allow ample drying time. Walking on damp carpets traps moisture, leading to mold smells that can cost you money later. Open windows and use fans to speed up the process.
Check under furniture. Movers often shift sofas and beds, revealing hidden dust bunnies or lost coins. Clean under everything. If the inventory list mentions specific carpet conditions, match them. If the carpet was stained when you moved in, take photos now to prove you didn’t make it worse.
Rule Five: Document Everything Before You Leave
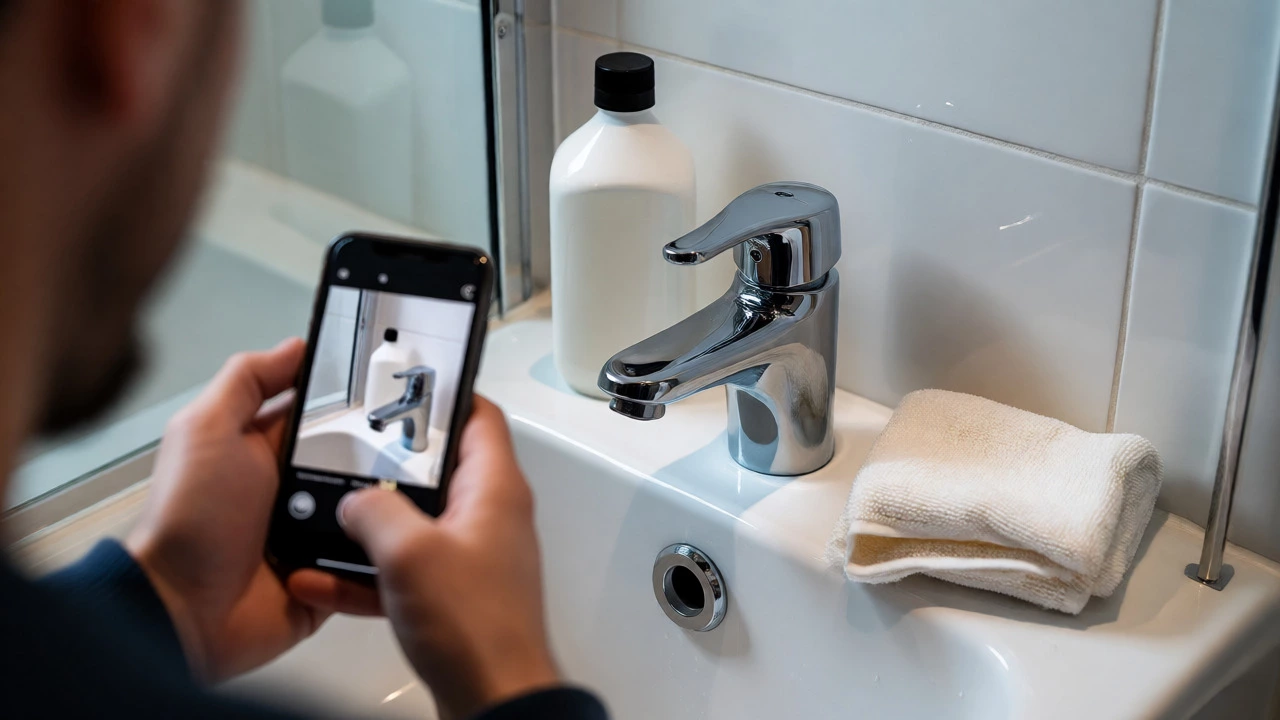
This rule protects your bank account. Once you hand over the keys, you lose access. If the landlord claims you broke a shelf or left a hole in the wall, you need proof. Take timestamped photos and videos of every room after cleaning. Include close-ups of previously damaged areas to show they haven’t changed.
Focus on these details:
- Inside ovens and fridges.
- Under sinks and behind toilets.
- Window tracks and sills.
- Skirting boards and door frames.
- Any existing wear and tear noted in the initial inventory.
Store these files in a cloud folder shared with your letting agent. Send them via email right after cleaning. This creates a digital trail. If a dispute arises, you can pull up the photo from September 10, 2026, showing the oven was spotless. Without evidence, it’s your word against theirs, and their word usually wins.
Common Pitfalls to Avoid
Even with the best intentions, tenants often miss specific areas. Here are the top three mistakes I see repeatedly:
Ignoring Light Switches and Door Handles: These get touched constantly. Fingerprints and germs accumulate quickly. Wipe them down with a disinfectant wipe. It takes two minutes but shows attention to detail.
Leaving Personal Items Behind: Check drawers, cupboards, and lofts. Leaving old mail, batteries, or cleaning supplies means the landlord has to dispose of them, often charging you for the service.
Forgetting External Areas: If you have a balcony or patio, sweep it. Remove cobwebs from outdoor lights. If you have a garden, mow the lawn and clear weeds. The exterior sets the tone for the entire inspection.
When to Hire Professionals
Should you hire a company? It depends on your time and confidence level. If you have a busy job, young kids, or a large house, DIY cleaning can take 12-16 hours spread over several days. That’s exhausting. Professional cleaning services specialize in end-of-tenancy jobs. They bring industrial-grade equipment and know exactly what landlords want. Many offer a "guarantee" where they’ll return for free if the landlord fails the inspection.
Weigh the cost against your deposit size. If your deposit is £1,500 and a cleaner charges £200, it’s worth it for peace of mind. Plus, you get your weekends back. If you choose DIY, stick to the five rules above rigorously. Consistency beats intensity.
Do I need to clean the inside of the oven?
Yes, absolutely. Most tenancy agreements require the oven to be free of grease and burnt-on food. This includes the racks, interior walls, and door glass. Use a specialized oven cleaner and let it soak to break down tough residues.
What happens if I don't clean the carpets professionally?
If your contract specifies professional cleaning, the landlord can deduct the cost from your deposit. Even if it doesn't specify, if the carpets are visibly dirty or stained beyond normal wear and tear, they may charge for cleaning. Always check your lease agreement first.
How far in advance should I book a cleaner?
Book at least 2-4 weeks in advance, especially during peak moving seasons (summer and end of term). Good companies fill up quickly. Booking early ensures you get a slot before your move-out date.
Can I use my own cleaning products?
Yes, but ensure they are effective. Cheap all-purpose cleaners often fail on limescale and grease. Invest in quality degreasers, descalers, and microfiber cloths. Using the right tools makes the job faster and yields better results.
Who checks the cleanliness after I leave?
Usually, the letting agent or a clerk from the management company conducts the final inspection. They compare the property's condition against the original inventory report. Be present if possible, or ensure your contact details are current for immediate feedback.