Oven Cleaning Method Selector
Select your situation below to find the most effective solution.
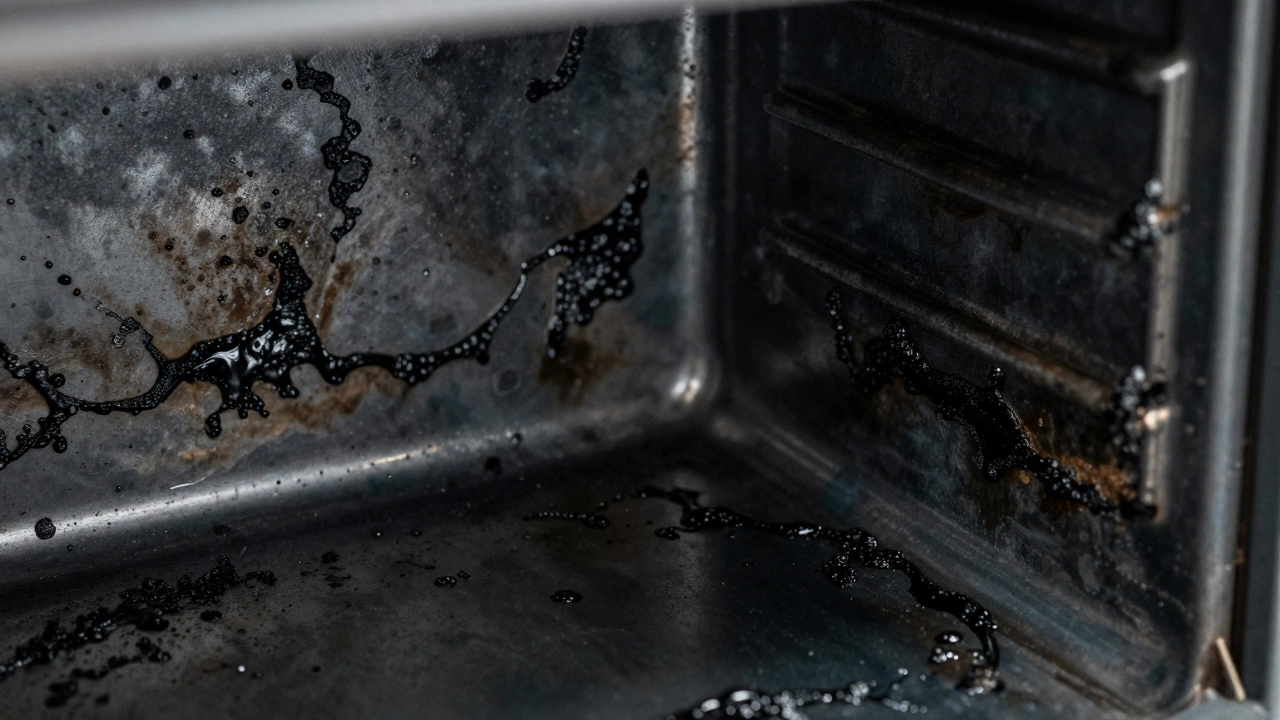
There is nothing more discouraging than scrubbing your oven for twenty minutes only to find that the black, crusty mess remains untouched. You might wonder if you need industrial chemicals or a professional service to fix it. The truth is simpler. Baked-on oven grease is polymerized fat and food residue that has been subjected to high heat, creating a hard, plastic-like layer on metal surfaces. It doesn't just sit on top; it bonds with the enamel. To remove it, you don't just need soap; you need chemistry that breaks molecular bonds.
The Chemistry of Stubborn Grease
Before reaching for a bottle, understand what you are fighting against. When oil hits temperatures above 350°F (175°C), it undergoes polymerization. This process turns liquid oil into a solid, cross-linked structure. Regular dish soap works on fresh grease because it emulsifies liquid fats. It fails against baked-on grease because there is no liquid left to emulsify. You need an agent that can either dissolve this polymer or soften it enough to scrape away safely.
This is why abrasive pads often fail. They scratch the surface without removing the bulk of the deposit. Instead, effective removal relies on three mechanisms: alkaline hydrolysis (breaking down fats with bases), enzymatic action (biological breakdown), or thermal softening (heat). Choosing the right method depends on how bad the buildup is and what materials your oven interior is made of.
Top Solutions for Breaking Down Polymerized Fat
Not all cleaners work the same way. Here are the most effective agents for dissolving baked-on grease, ranked by their chemical potency and safety profile.
- Sodium Hydroxide (Lye): Found in commercial oven cleaners like Easy-Off. It is highly alkaline (pH 13-14) and rapidly saponifies fats, turning them into soap that wipes away easily. It is the fastest method but requires ventilation and gloves.
- Sodium Carbonate (Washing Soda): A strong base (pH 11) available at hardware stores. Less caustic than lye but still powerful enough to break down heavy carbon deposits when mixed with water into a paste.
- Sodium Bicarbonate (Baking Soda): Mildly alkaline (pH 9). It works slowly through abrasion and mild chemical action. Best for light-to-medium buildup or as a pre-treatment before using stronger agents.
- Vinegar (Acetic Acid): Acidic (pH 2.4). While acid doesn't dissolve grease directly, it reacts with baking soda to create mechanical agitation (fizzing) that helps lift debris. It also neutralizes alkaline residues after cleaning.
- Enzymatic Cleaners: Contain proteases and lipases that eat organic matter. These are slow-acting (overnight soak required) but safe for delicate surfaces and eco-friendly.
The Best DIY Method: Baking Soda and Vinegar Paste
If you want to avoid harsh fumes, the baking soda and vinegar combination is the gold standard for home cleaning. This method uses time rather than toxicity. Here is exactly how to execute it for maximum effectiveness.
- Remove Racks: Take out the oven racks. Soak them in warm soapy water in your bathtub or sink. Let them sit for at least two hours while you clean the interior.
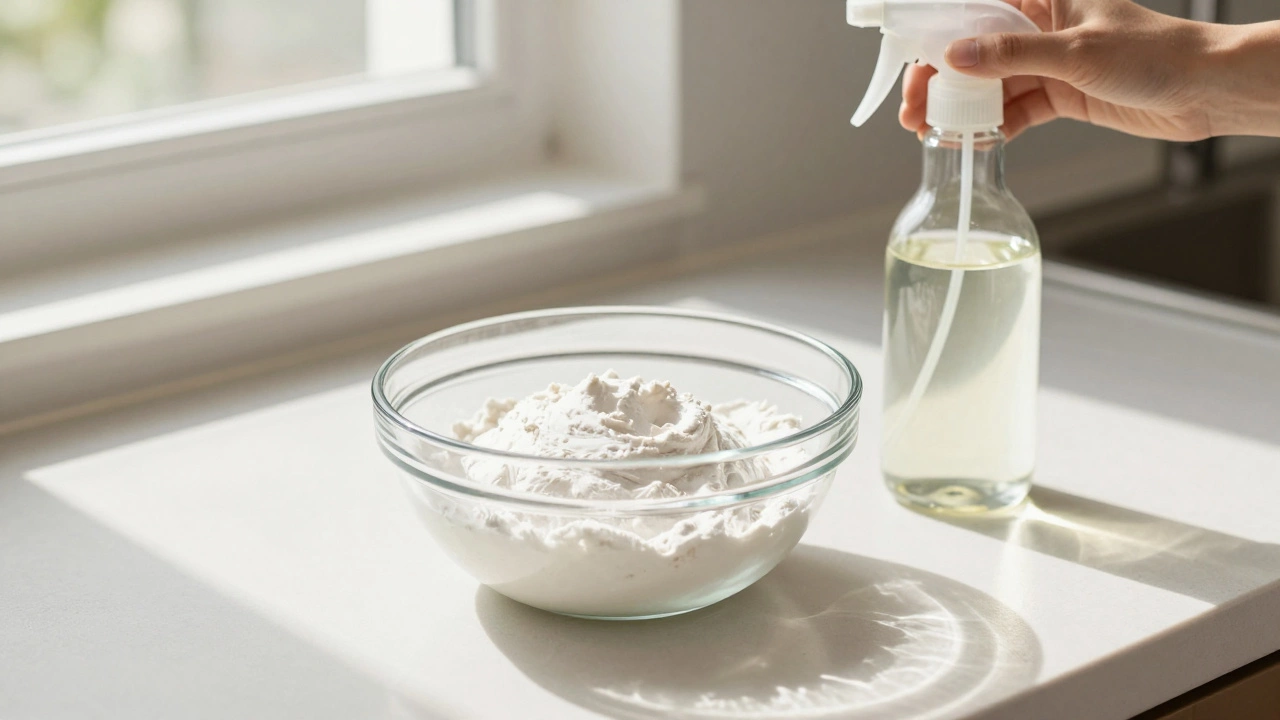
- Make the Paste: In a bowl, mix one cup of baking soda with about two tablespoons of water. Stir until it forms a thick, spreadable paste. Consistency matters; if it's too runny, it will drip. If it's too dry, it won't adhere well.
- Apply Generously: Spread the paste over all greasy areas inside the oven. Avoid heating elements and door gaskets. Focus extra attention on the back wall and bottom floor where grease pools. Use an old spatula or your fingers (with gloves) to ensure full coverage.
- Wait: Let the paste sit for at least 12 hours, preferably overnight. This waiting period allows the mild alkali to penetrate the polymerized layers.
- Add Vinegar: After the wait, spray the dried paste with white vinegar. It will fizz vigorously. This reaction helps loosen the bond between the grease and the oven surface.
- Scrub and Wipe: Use a non-abrasive scrub pad or sponge to wipe away the softened grime. For stubborn spots, use a plastic scraper or an old credit card. Finish by wiping the interior with a damp cloth to remove any residue.
When to Use Commercial Oven Cleaners
Sometimes, DIY methods aren't enough. If your oven hasn't been cleaned in years, or if there is thick carbonized buildup, a commercial aerosol oven cleaner containing sodium hydroxide is the most efficient choice. Brands like Easy-Off or Scrubbing Bubbles contain surfactants that help the active ingredient cling to vertical surfaces.
| Method | Speed | Effectiveness | Safety/Risk |
|---|---|---|---|
| Baking Soda & Vinegar | Slow (12+ hours) | High for moderate grease | Very Safe |
| Commercial Spray (Lye-based) | Fast (30-60 mins) | Very High for heavy grease | Caustic, requires ventilation |
| Self-Cleaning Cycle | Medium (2-4 hours) | High for ash/carbon | High heat risk, smoke |
| Steam Cleaner | Medium (1 hour) | Moderate | Safe, no chemicals |
When using these sprays, never mix them with other cleaners, especially those containing bleach or ammonia. The resulting gas can be toxic. Always wear rubber gloves and open windows. Apply the spray, let it sit for the recommended time (usually 30 minutes), and then wipe away with paper towels. The grease should come off in sheets.
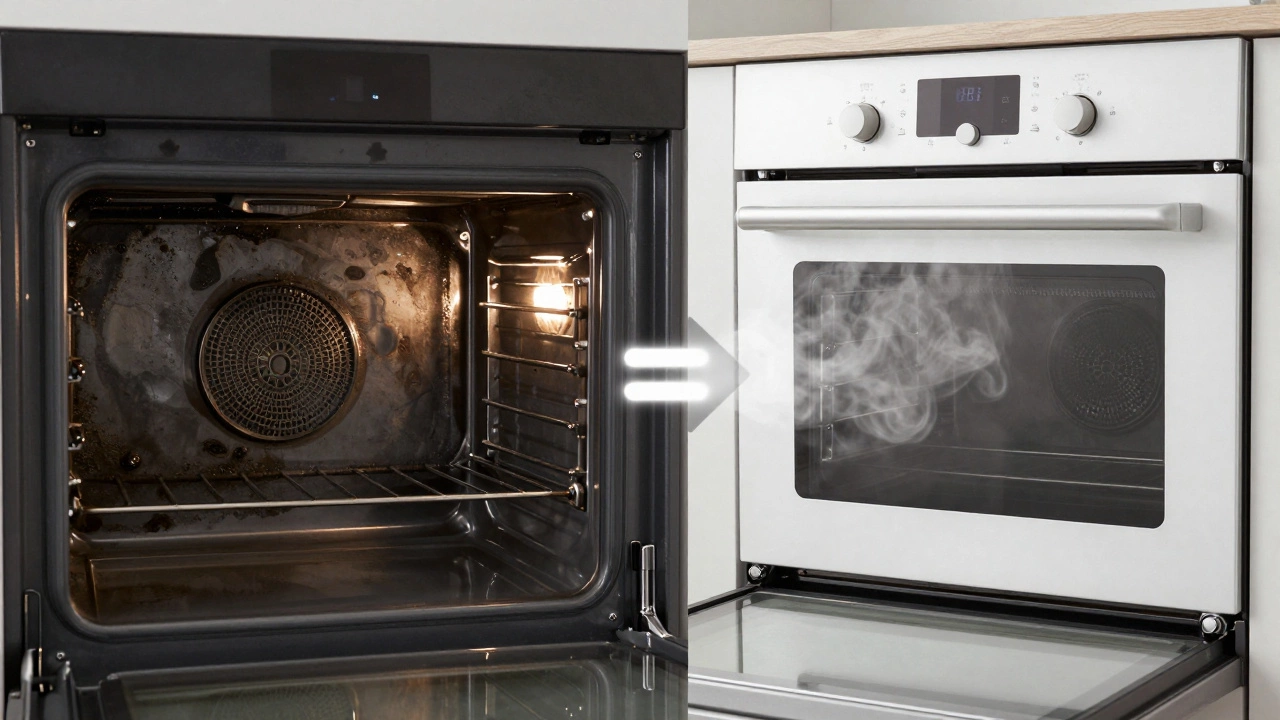
Using the Self-Cleaning Cycle Correctly
Many modern ovens have a self-cleaning feature. This cycle heats the oven to around 900°F (480°C), turning food residue into ash. However, it does not "dissolve" grease in the traditional sense; it incinerates it. There are critical rules for using this feature effectively.
First, remove large pieces of food manually before starting the cycle. Burning large chunks creates excessive smoke and can trigger your smoke alarm. Second, do not use this cycle if your oven has significant grease buildup on the door seal. The heat can melt the gasket, leading to expensive repairs. Third, the cycle takes several hours and makes the kitchen extremely hot. Ensure your range hood is running during the entire process.
After the cycle finishes, the interior will be covered in fine gray ash. This ash is easy to wipe away with a damp cloth. Note that frequent use of the self-cleaning cycle can degrade the enamel coating over time, making it more prone to chipping in the future.
Avoiding Common Mistakes
Cleaning an oven isn't just about picking the right product; it's about avoiding actions that damage your appliance. One major mistake is using steel wool or wire brushes on enamel interiors. These tools leave microscopic scratches that trap future grease, making cleaning harder next time. Stick to nylon scrubbers, plastic scrapers, or wooden spoons.
Another error is neglecting the oven door. The glass window often accumulates grease on the inner pane. If your oven has removable glass panels, take them out and soak them in hot soapy water. If they are fixed, use a razor blade held at a 45-degree angle to gently scrape off baked-on spots. Never press hard; let the blade do the work.
Finally, don't ignore the racks. They collect drips from spills. Soaking them in a mixture of hot water, dish soap, and baking soda usually restores their shine. For rusted racks, a coat of clear nail polish on small spots can prevent further corrosion, though replacement is often cheaper and safer.
Maintaining a Cleaner Oven
The best way to deal with baked-on grease is to prevent it from forming. Wipe up spills immediately after the oven cools down. Keeping a crumb tray underneath the lowest rack catches falling debris, which you can simply slide out and wash every few weeks. Line the bottom of the oven with aluminum foil or a silicone baking mat (if compatible with your model) to catch splatters. Replace these liners monthly.
Regular maintenance reduces the need for deep cleaning. A quick wipe-down with a vinegar-water solution once a month keeps light grease from polymerizing. By addressing issues early, you save time, money, and effort in the long run.
Can I use bleach to clean my oven?
No, you should not use bleach to clean your oven. Bleach is ineffective against baked-on grease and can react dangerously with other cleaning agents. It may also damage the enamel coating over time, causing discoloration and weakening the surface.
How long should I let baking soda sit in the oven?
For best results, let the baking soda paste sit for at least 12 hours. Overnight is ideal. The longer it sits, the more it penetrates the hardened grease layers, making removal easier.
Is it safe to use a razor blade on my oven glass?
Yes, it is safe if done correctly. Hold the razor blade at a 45-degree angle and use gentle pressure. Never force the blade, as this can scratch the glass. Ensure the glass is cool and dry before scraping.
Why does my oven smell bad after cleaning?
A bad smell after cleaning usually indicates residual cleaner or trapped moisture. Run the oven at 350°F for 15-20 minutes to burn off any remaining odors. Ensure all cleaning residues are thoroughly wiped away before reheating.
Can I use the self-cleaning cycle every week?
No, frequent use of the self-cleaning cycle can damage the oven's enamel and internal components due to extreme heat stress. Limit its use to once or twice a year, depending on usage levels.