Most people think cleaning a kitchen is just about wiping counters and washing dishes. But if you’ve ever spent an hour cleaning only to find grease on the stove, dust on the cabinets, and mold in the sink trap, you know it’s not that simple. The order you clean in makes all the difference. Do it wrong, and you’ll just be redoing work. Do it right, and you’ll finish faster, with better results, and less frustration.
Start High, End Low
| Area | Why Clean First | What Happens If You Skip This |
|---|---|---|
| Ceiling, light fixtures, vents | Dust and grease fall downward | You’ll re-dirt the floors and counters |
| Cabinets and upper shelves | Grease and crumbs settle below | Dust ends up on appliances and countertops |
| Countertops and backsplash | Final surface before floors | Spills and crumbs get tracked onto clean floors |
| Appliances (outside) | Grease and fingerprints accumulate | Smudges transfer to hands and cloths |
| Floors | Final step - catch all debris | Dirty mop spreads grime instead of removing it |
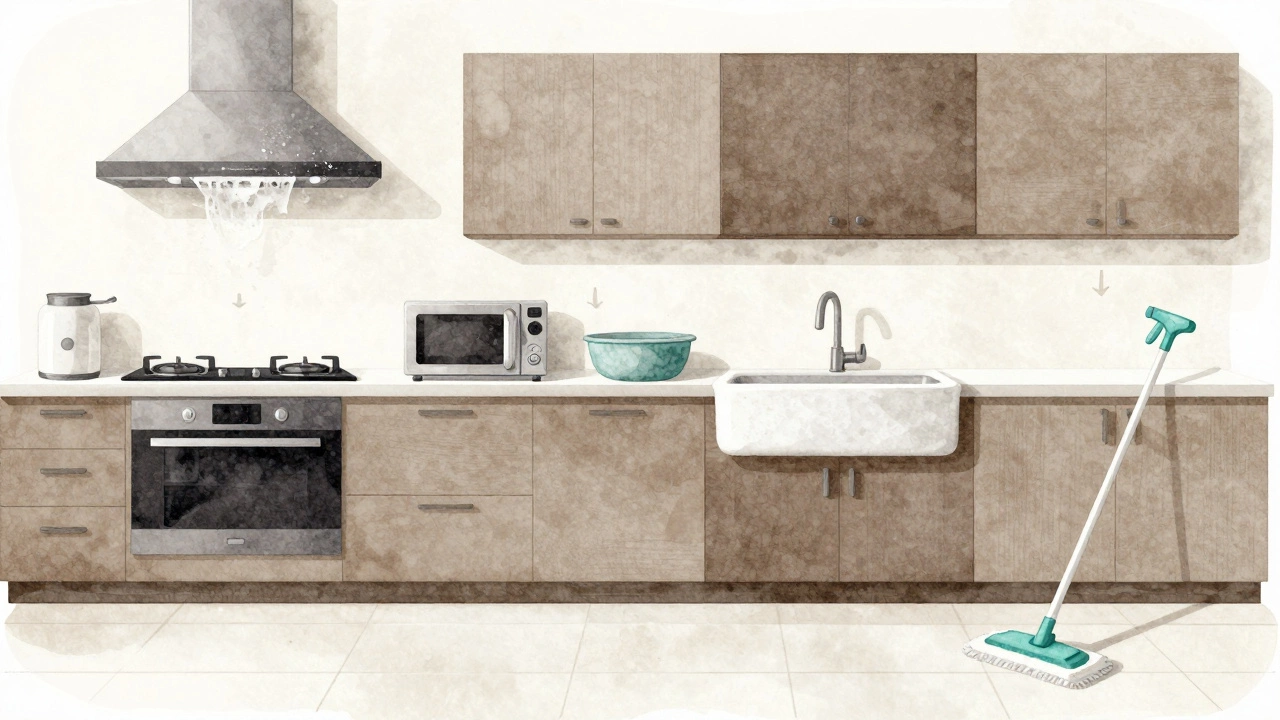
You never want to sweep or mop before cleaning above. Dust from the ceiling, crumbs from shelves, and grease from the range hood all fall. If you clean the floor first, you’re just setting yourself up for another round. Always begin at the highest point and work your way down. That’s the golden rule.
Step 1: Empty the Sink and Clear Countertops
Before you even touch a sponge, remove everything from the countertops. Dishes, spice jars, coffee makers, toaster ovens - all of it. Move them to a clean table or the dining area. This isn’t just about space. It’s about access. You can’t properly wipe down a counter if your blender’s still sitting on it. And you can’t see the grime hiding behind the kettle.
Empty the sink too. No dishes. No sponges. No food scraps. Rinse out any gunk in the drain. This step isn’t glamorous, but it’s the foundation. You’re creating a blank slate.
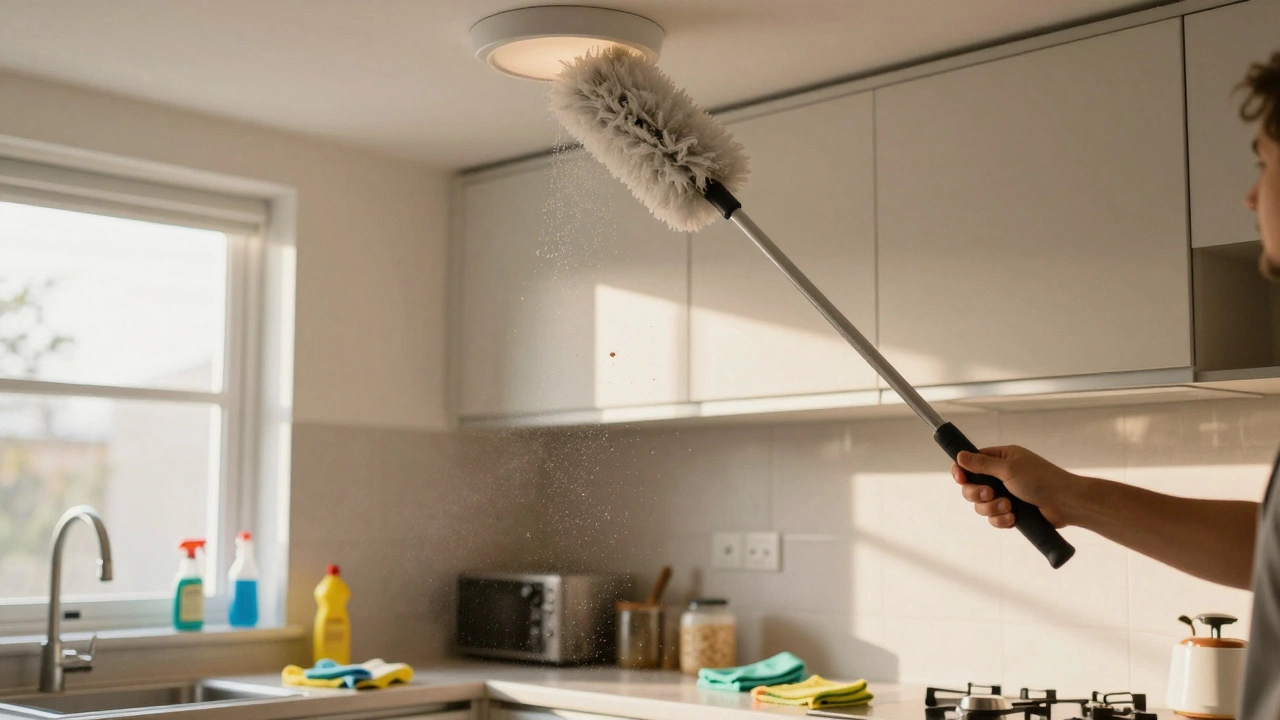
Step 2: Clean Ceiling, Vents, and Light Fixtures
Most people forget the ceiling. But in a kitchen, grease rises. Over time, it coats the light fixture, the exhaust hood, and even the corners of the ceiling. Use a microfiber duster on a telescoping pole. If the fixture is greasy, dampen the cloth with warm water and a drop of dish soap. Wipe gently. Don’t spray cleaner directly - it can drip into the bulb socket.
For the range hood, remove the filter (if it’s removable) and soak it in hot, soapy water. Scrub with a brush. While it soaks, wipe down the hood’s surface with a degreaser. Let it sit for five minutes, then wipe clean. You’ll be shocked how much brown gunk comes off.
Step 3: Wipe Down Cabinets and Upper Shelves
Open every cabinet door. Dust the tops of shelves. Wipe the fronts of cabinets with a damp cloth and a mild cleaner. Avoid harsh chemicals on wood finishes - they can dull the surface. A mix of white vinegar and water works well for most surfaces. For glossy painted cabinets, use a microfiber cloth with just water - fingerprints show up fast.
Don’t forget the edges where the cabinets meet the wall. That’s where grease builds up over months. Use an old toothbrush to get into the corners. It’s gross, but it’s necessary.
Step 4: Clean Countertops and Backsplash
This is where most people start - and that’s why their kitchen never really gets clean. Now, with everything cleared, you can actually clean the surface properly.
For granite or quartz: use a pH-neutral stone cleaner. For laminate: a mix of water and dish soap. For tile backsplash: scrub grout lines with a paste of baking soda and water. Let it sit for 10 minutes, then scrub with a toothbrush. Rinse thoroughly.
Wipe in one direction. Don’t go back and forth - you’re just spreading dirt. Dry with a clean towel. Wet surfaces attract dust and fingerprints.
Step 5: Clean Appliances (Outside First)
Stove, fridge, microwave, dishwasher - wipe them all down. Use a degreaser on the stove top and control panel. For stainless steel, use a dedicated cleaner or a damp microfiber cloth with a drop of olive oil to avoid streaks.
Don’t skip the fridge. Wipe the door handles, the sides, and the top. People forget the top of the fridge - it collects dust, old food labels, and even dead bugs. Use a vacuum with a brush attachment to suck up the debris.
For the microwave, heat a bowl of water with lemon slices for 3 minutes. The steam loosens splatters. Then wipe the inside with a cloth. No scrubbing needed.
Step 6: Deep Clean the Sink and Drain
The sink is the dirtiest place in the kitchen. Studies show it can harbor more bacteria than a toilet seat. So don’t just rinse it. Scrub it.
Empty the garbage disposal. Pour half a cup of baking soda down the drain, followed by a cup of white vinegar. Let it fizz for 15 minutes. Then flush with boiling water. This clears grease and odor.
Scrub the sink basin with baking soda and a sponge. Pay attention to the faucet base and the drain ring. Those are germ hotspots. Rinse and dry with a towel. A dry sink stays cleaner longer.
Step 7: Clean Inside the Fridge and Pantry
Now that the outside is clean, tackle the inside. Take everything out. Check expiration dates. Toss anything old. Wipe shelves with warm, soapy water. Use a toothbrush for corners. Line shelves with removable liners - they make future cleanups easier.
For the pantry, group items by type. Wipe down shelves. Discard dusty or expired items. Label containers. This isn’t just cleaning - it’s organization. A tidy pantry means you’ll waste less food and find things faster.
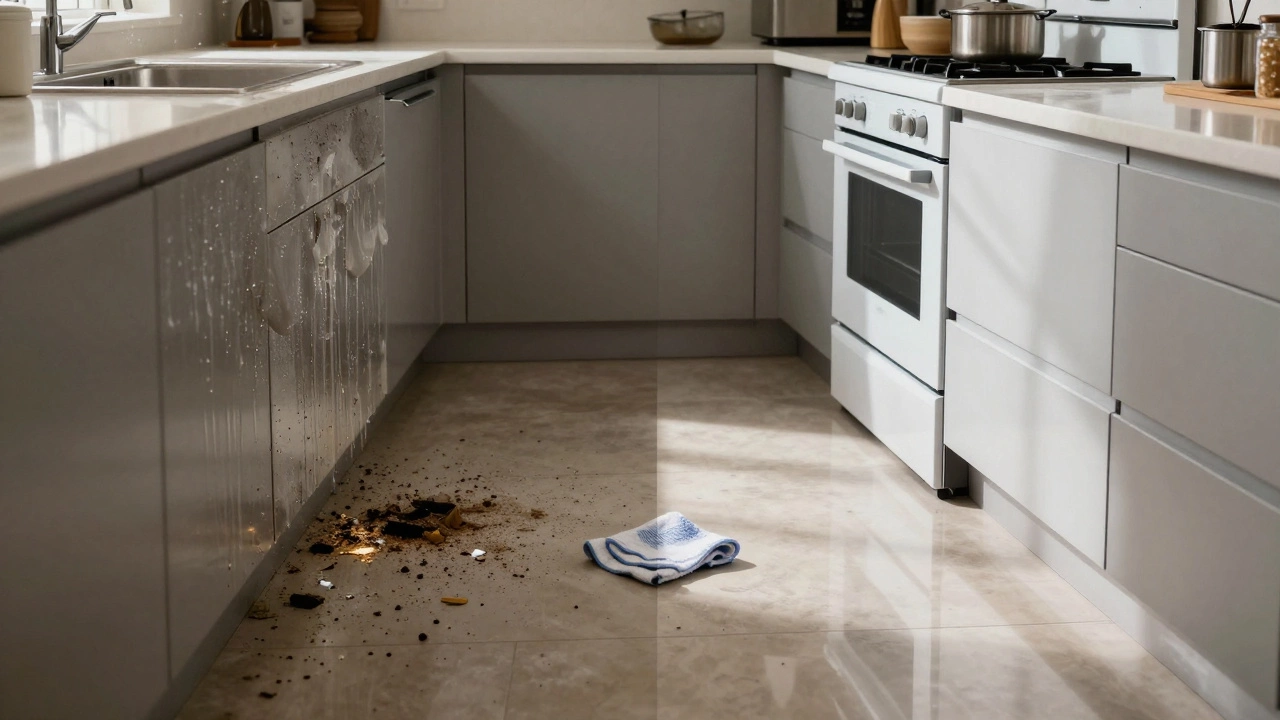
Step 8: Vacuum and Mop the Floor
This is your final step. Sweep or vacuum first - don’t skip this. Crumbs, flour dust, pet hair, and grit all hide in corners. Use a vacuum with a brush head for edges and under the fridge.
Then mop. Use warm water and a floor cleaner designed for your surface. For tile, avoid too much soap - it leaves a sticky film. For hardwood, use a damp mop, not a soaking wet one. Always mop in the direction of the wood grain.
Let the floor dry completely before walking on it. Wet floors attract dirt faster than you think.
Why This Order Works
This isn’t just a list of chores. It’s a system. You’re not cleaning randomly. You’re moving from contamination zones to clean zones. Each step removes debris that would otherwise land on surfaces you’ve already cleaned.
Think of it like painting a room. You tape the edges first. You cover the floor. You paint the ceiling before the walls. Same logic. Order prevents waste - of time, effort, and cleaning products.
People who follow this routine say they spend 40% less time cleaning each week. And their kitchens stay clean longer. That’s not magic. It’s physics.
What to Do Weekly vs. Monthly
You don’t need to deep clean every week. Here’s a simple split:
- Weekly: Wipe counters, clean sink, mop floor, wipe appliance fronts, empty and wipe fridge shelves.
- Monthly: Clean inside cabinets, degrease range hood, scrub grout, clean light fixtures, deep clean oven.
- Quarterly: Wash windows, clean behind fridge, sanitize garbage disposal, wipe ceiling vents.
Keep a checklist taped to the fridge. Check off each task. It’s satisfying. And it stops you from forgetting the small things that turn into big messes.
Common Mistakes to Avoid
- Washing dishes before cleaning surfaces - dirty dishes drip and smear.
- Using the same cloth for counters and sink - you’re spreading bacteria.
- Spraying cleaner directly on appliances - it seeps into buttons and cracks.
- Mopping with dirty water - you’re just spreading dirt around.
- Ignoring the backsplash - grease builds up fast behind the stove.
One pro tip: keep two sets of cloths. One for surfaces, one for floors. And wash them after every use. A dirty sponge is worse than no sponge at all.
Final Thought: Clean to Prevent, Not to Fix
The goal isn’t to make your kitchen spotless once a month. It’s to make it easy to keep clean every day. A quick wipe after cooking. A quick sweep after breakfast. A quick rinse of the sink before bed.
That’s how real cleanliness happens - not in one marathon session, but in small, consistent habits. The order you clean in sets you up for success. Do it right once, and the next time will be easier. And the time after that, even easier.
What’s the fastest way to clean a kitchen?
The fastest way is to clean top to bottom in one go - start with ceiling and vents, then cabinets, countertops, appliances, sink, and finish with the floor. Skip cleaning dishes first - do them last. Use a degreaser on greasy spots and a vinegar-water mix for general wiping. Keep a microfiber cloth and a spray bottle handy for daily touch-ups.
Should I clean the oven before or after the rest of the kitchen?
Clean the oven after the main cleaning cycle, but before the floor. Oven cleaning creates a lot of debris and fumes. If you clean it first, you’ll spread grease and ash everywhere. Do it after wiping cabinets and counters, so you can easily vacuum up any fallout before mopping.
Can I use the same cloth for the sink and the countertops?
No. The sink has the highest bacteria count in the kitchen. Using the same cloth spreads germs to surfaces where food is prepared. Use one cloth for food prep areas, another for the sink and trash, and a third for floors. Wash them after every use.
How often should I deep clean my kitchen?
Do a full deep clean every 4 to 6 weeks. That includes cleaning inside cabinets, degreasing the range hood, scrubbing grout, wiping light fixtures, and sanitizing the garbage disposal. Between deep cleans, stick to weekly surface cleaning and daily wipe-downs.
What’s the most overlooked part of kitchen cleaning?
The top of the fridge and the area behind the stove. Grease and dust build up there slowly and are rarely noticed until it’s thick enough to see. Use a long-handled duster or a vacuum with an extension wand. Clean it once a month - you’ll be surprised how much dirt comes off.