Ever wondered how professional cleaners can transform a whole house in what feels like the blink of an eye? They don’t have magic wands, but they do have a playbook packed with pro strategies. Getting a spotless home quickly isn’t about frenzied wiping or rushing from room to room—it’s about knowing exactly where to start, what tools to use, and how to work smarter, not harder. Speed cleaning is about taking the chaos out of the process while delivering that fresh, sparkling feeling. Ready to learn the secrets?
Getting Set Up: Tools, Products, and a Game Plan
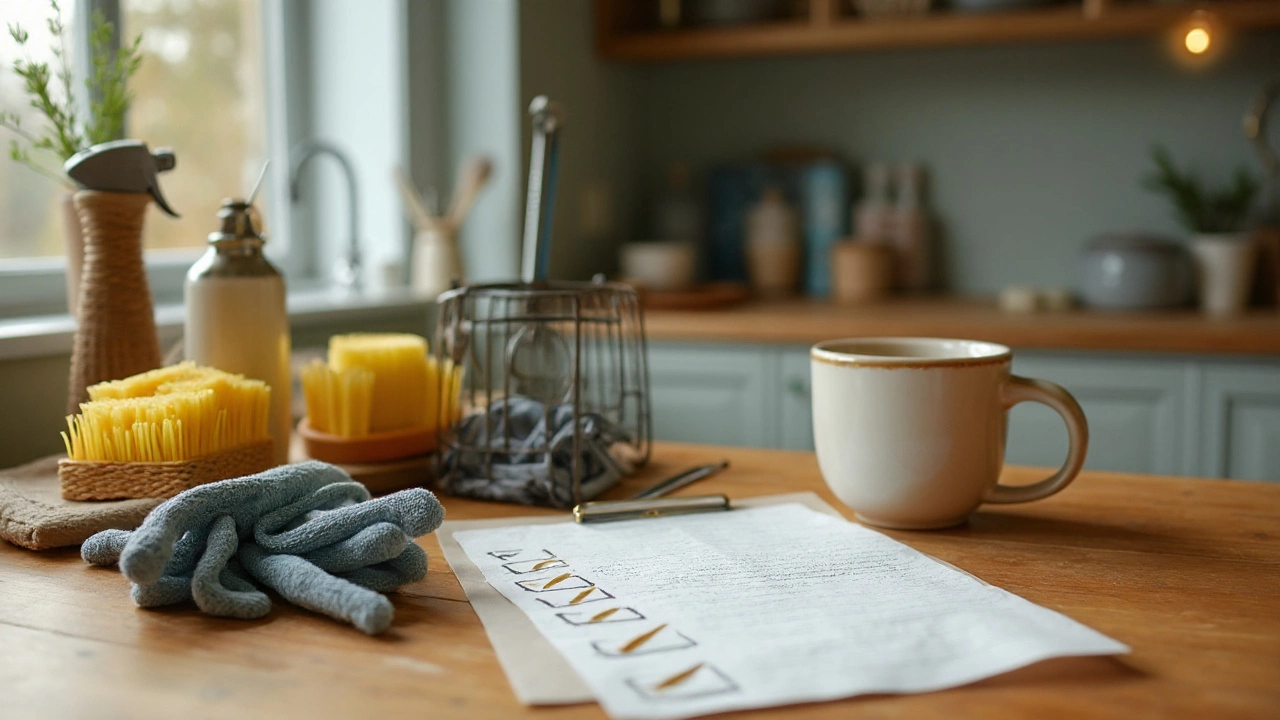
It all starts before you lift a single sponge. Pro cleaners rarely waste time shuffling back and forth for supplies, because they prepare a cleaning caddy with essentials for every surface. Want to match their speed? Pack an apron with pockets, or grab a shower caddy and load it with antibacterial spray, glass cleaner, microfiber cloths, a scrub brush, gloves, a squeegee, trash bags, and at least one all-purpose cleaner. Microfiber beats out cotton rags because it grabs dirt and dust without pushing particles around—and it dries surfaces faster. Use a commercial-grade vacuum if you have one, as they’re usually lighter and more powerful, but even an average upright will do the job if the filters are clean.
Set up a basic checklist for each area in your home so you’re not wandering in circles. Professionals almost always work top to bottom, left to right. That way, if you knock dust off a shelf, it lands on the floor you’ll vacuum later—no going back over clean spots. And don’t get lost in the details during your speed run: If something will take longer—a stained oven, grimy windows, or a cluttered closet—make a quick note and come back to it after your main clean. Save your energy for what shows.
Time-saving tip: Carry a small bucket or basket for misplaced items while you clean. Instead of running to put away every rogue toy or sock, toss them in the bin and return them after you’re done. This method trims lost minutes, especially in homes with kids or pets. Being able to grab, drop, and move on is a serious advantage in the race against the clock. One last setup step? Turn on some high-energy tunes. Studies out of the University of Texas proved that upbeat music increases cleaning speed by up to 13%—no joke!
Room-by-Room Fast Cleaning: The Sequence That Saves You Time
Pros never clean random rooms in random order. There’s a real method behind the madness. Most start at the farthest point from the entryway and work toward it. This way, you’re never treading dirt over clean floors. Bedrooms and living spaces lead the way, with bathrooms saved for last. Why? You won’t accidentally spread germs from the toilet to your kitchen counters. Here’s the rough order: bedrooms, living areas, kitchen, then bathrooms.
Start each space at the highest point—think shelves, curtains, or light fixtures—then move downwards. Knock out dust, cobwebs, and anything stuck high up first, and gravity does the reset for you. Swiffer pads or microfiber duster wands are perfect for this, and they let you skip the ladder in most cases. Once the dust lands, hit all horizontal surfaces: tables, desks, nightstands. Keep a tight pattern so you’re not doubling back.
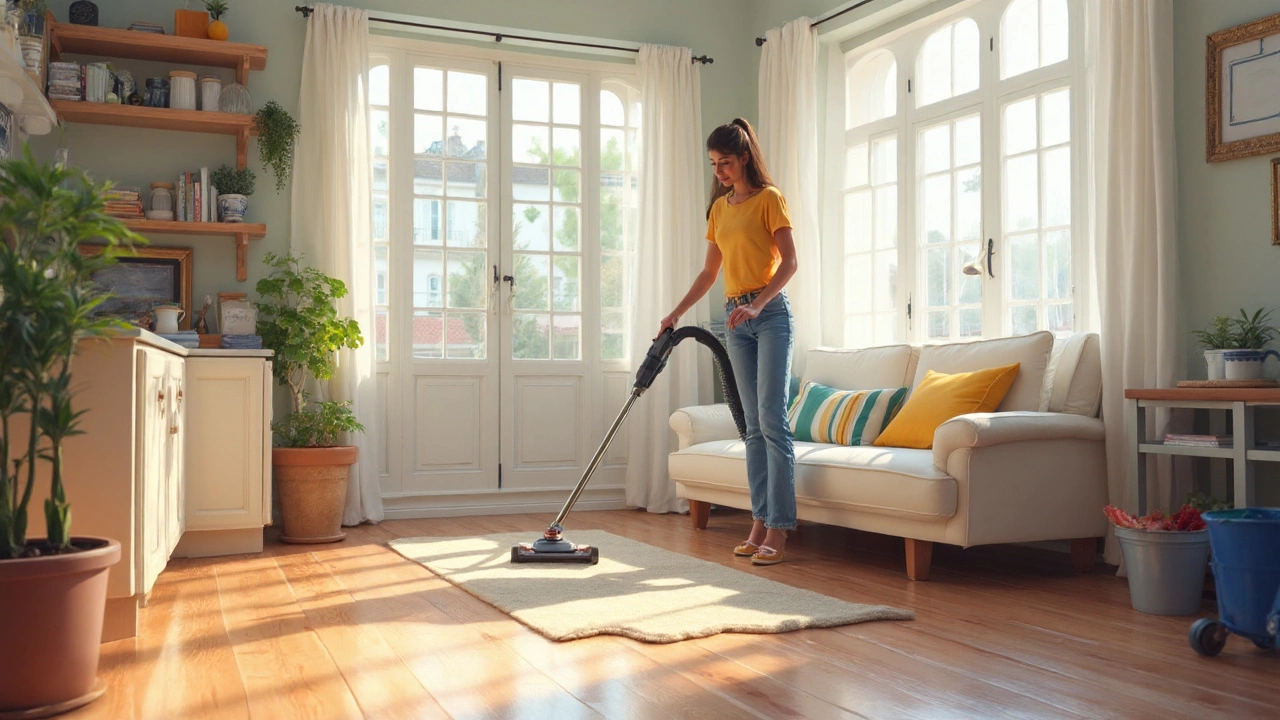
Save floors for the end. Make a single, thorough pass with your vacuum or mop, and don’t forget to check under furniture. Did you know that according to a survey from the British Cleaning Council, 62% of hidden dust and debris collects under sofas and beds? That’s where allergies come to visit, and clean pros never skip it.
Bathrooms—always last on the list—demand a slightly different approach. Apply cleaners to toilets, showers, and sinks first so chemicals can work while you tackle mirrors and wipe down counters. Everything’s easier to scrub when it’s been soaking for a few minutes, and that soaking time equals less elbow grease for you. Last, garbage out, toilet wiped, floor mopped, and you’re done—no backtracking required.

Tips and Hacks for Lightning-Quick Cleaning
Here’s where the fun starts and where pros win big against the clock. Micro-cleaning tricks can shave minutes you didn’t know you could save. For example, use two hands. Seriously—scrub with one, wipe with the other. It feels odd at first, but studies have shown it increases efficiency by nearly 25%.
Spray and walk away: Spritz your bathroom or kitchen surfaces with cleaner, then move to a different task while it sits. Come back and the gunk comes off with half the effort. In the kitchen, a damp microwave sponge zapped for 90 seconds kills 99.9% of bacteria, according to the USDA. That’s less time than commercial disinfectants, and it works.
Another pro trick? Squeegee your showers after every visit. It takes less than a minute and saves hours of future scrubbing. For floors, ditch the slow-and-careful style and vacuum in straight lines, overlapping each pass by a third. This covers the most ground in the shortest time. The same goes for mopping—use a figure-eight motion instead of circles or back-and-forth, and you’ll never miss a spot behind the door.
Here’s a handy comparison of common cleaning times for home pros versus average DIYers, based on industry surveys from 2024:
| Space | DIY Average Time | Pro Cleaner Average Time |
|---|---|---|
| Bedroom | 15 minutes | 7 minutes |
| Living Room | 18 minutes | 8 minutes |
| Kitchen | 25 minutes | 12 minutes |
| Bathroom | 20 minutes | 10 minutes |
Notice something? The gap is huge, and it all comes down to working methodically, minimizing foot traffic, and eliminating distractions. Set your phone to silent, forget the endless “quick breaks,” and focus until the last surface shines. For speed, nothing beats having everything at your fingertips.
Staying Consistent Without Losing Your Mind
The hardest part isn’t the first clean—it’s keeping it up so it never reaches disaster mode again. This is where most folks get tripped up. But here’s the deal: pros have habits, not just schedules. Instead of marathon Saturday cleans, do a nightly 10-minute pickup. Set a timer, blast your favorite song, and see how much you can tackle before the music ends. Put one thing away whenever you walk through a room, and swap your doormat every two weeks—17% less dirt gets tracked inside, according to a study by the International Sanitary Supply Association.
Don’t ignore the small stuff. Wiping out the bathroom sink after you brush, or giving the stovetop a once-over while your coffee brews, keeps messes from building. The trick is to hitch cleaning onto things you do daily, so it never feels overwhelming. Even pros don’t deep-clean every day—they maintain, and save the big guns for heavy rotations.
If clutter is your enemy, the old “one in, one out” rule is still gold: every time a new item comes into your house, send an old one out. This isn’t about minimalism unless you want it to be; it’s about giving every item a home so messes don’t multiply. And if you live with other people? Make it a team sport. Assign jobs or set a reward for finishing together—house pizza night, anyone?

Professional Shortcuts the Pros Don’t Want You to Know
Now, here’s the section every true pro guard as their ace card. There are some things cleaners just do differently, and I’m about to let you in on a few. First up: vacuum attachments aren’t just decoration. Use the edging tool for baseboards and corners before you do the main floor. This little move means fewer crumbs or dust bunnies rolled around later.
Pros seldom use expensive specialty products outside of a few must-haves. Most surfaces can be cleaned perfectly with a professional house cleaning all-purpose spray, dish soap, and warm water. Baking soda for scrub jobs, white vinegar for glass and deodorizing. Name brands matter less than technique. Look at commercial cleaning teams—they buy in bulk, dilute, and avoid heavy scents that linger.
Can’t reach a spot? Drape a microfiber over the business end of a broom for corners or high fixtures. To avoid streaks on mirrors or glass, wipe in columns with a dry cloth after you spray, and finish the edges first so drips don’t sneak down. For kitchen cabinets, buff sticky spots with a paste of baking soda and water, then wipe clean. You don’t need a hundred gadgets—just know how to use what you have.
Lastly, use lighting to your advantage. Open the blinds, turn on overheads, and check your work in full light. Daylight reveals missed spots, and pros usually work with everything illuminated. Dim corners hide dirt—don’t give them a chance.
Put these professional secrets in your back pocket, and you’ll be slicing your cleaning time with better results than ever.
