How to Fix Nail Holes Quickly and Cleanly
Got a few nail holes after hanging pictures or shelves? No need to call a pro – you can patch them yourself in minutes. All you need are the basics: spackling paste, a putty knife, sandpaper and a touch of paint. This guide walks you through the entire process, from prepping the hole to blending it with the rest of the wall.
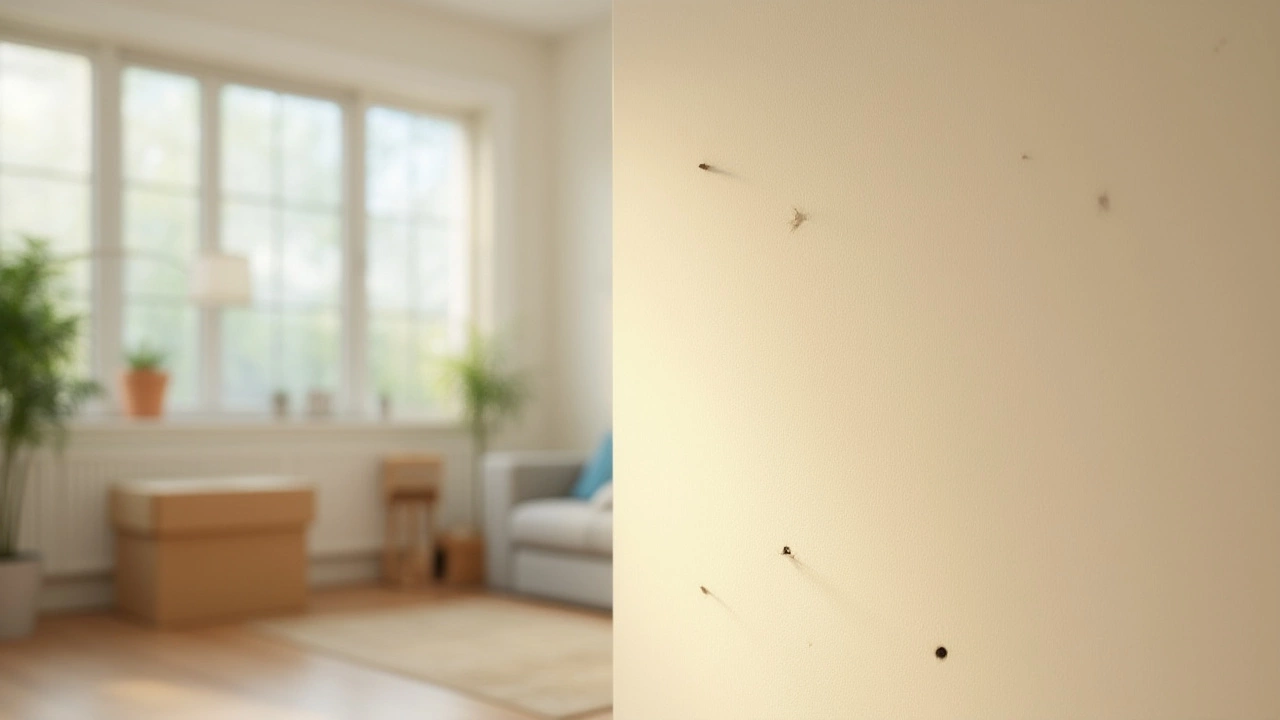
Why nail holes happen and what to expect
Whenever you drive a nail into drywall or plaster, the surface gets a small dent and a hole where the nail tip left the material. Most holes are less than a quarter inch wide, but even that tiny opening can catch light and look messy. The good news is that the surrounding wall is usually solid, so a simple filler can restore it without any structural work.
Step‑by‑step fix in under five minutes
1. Clean the area. Use a dry cloth to wipe away dust and any loose bits around the hole. A clean surface helps the filler stick better.
2. Apply spackling paste. Scoop a tiny amount of paste onto the tip of a putty knife. Press it into the hole and spread it a little beyond the edge. The goal is to fill the void and create a smooth, slightly raised surface that will sand down level.
3. Let it dry. Most lightweight spackling dries in 5‑10 minutes. If you’re in a hurry, check the label – some fast‑dry formulas set in under three minutes.
4. Sand smooth. Grab fine‑grain sandpaper (120‑ to 150‑grit works well) and lightly sand the patched spot. The surface should feel even with the rest of the wall. Wipe away any dust with a clean cloth.
5. Paint over. Dab a small brush with the wall’s paint color and cover the repaired area. One coat often does the trick; if the spot looks lighter, add a second thin coat after the first dries.
That’s it – you’ve turned an eyesore into a seamless wall in just a few minutes. If you have multiple holes, repeat the steps on each one; the process stays the same.
For larger holes (bigger than a nail), you’ll need a patch kit or a thin piece of drywall, but most everyday nail holes fall into the easy‑fix category covered here.
Keeping a small repair kit on hand – spackle, a putty knife, sandpaper and a matching paint swatch – saves time and money. Whenever you need to hang something new, you can fill old holes first, then enjoy a clean canvas for your fresh décor.
Remember, the key to a flawless repair is patience during drying and light sanding for a smooth finish. With these simple steps, nail holes will no longer be a nuisance, and your walls will stay picture‑ready for years to come.
Are Nail Holes Considered Normal Wear and Tear in California Rentals?
Wondering if nail holes count as normal wear and tear in California? Find out how state law handles them, plus tips to avoid losing your security deposit.
Read More