Pressure Washing Preparation Checklist
This interactive checklist helps you ensure you've completed all necessary preparation steps before pressure washing your home. Check each item as you complete it to avoid damage and ensure a safe, effective clean.
Preparation Checklist
Preparation Status
Items completed: 0 out of 0
When you’re gearing up for a deep clean, Pressure washing preparation is a set of steps that get your home ready for a safe and effective high‑pressure clean. Skipping this stage can lead to damage, wasted water, or even injury. Below is a practical, step‑by‑step guide that takes the guesswork out of getting your house ready.
Quick Takeaways
- Inspect all exterior surfaces for cracks or loose paint before you start.
- Clear the area of furniture, plants, and loose items; cover anything that can’t be moved.
- Gather safety gear: goggles, gloves, non‑slip boots, and a long‑sleeve shirt.
- Set up the pressure washer near a reliable water source and a grounded electricity outlet.
- Choose a dry, mild‑temperature day with little wind for the best results.
- Run through the final checklist before you fire up the machine.
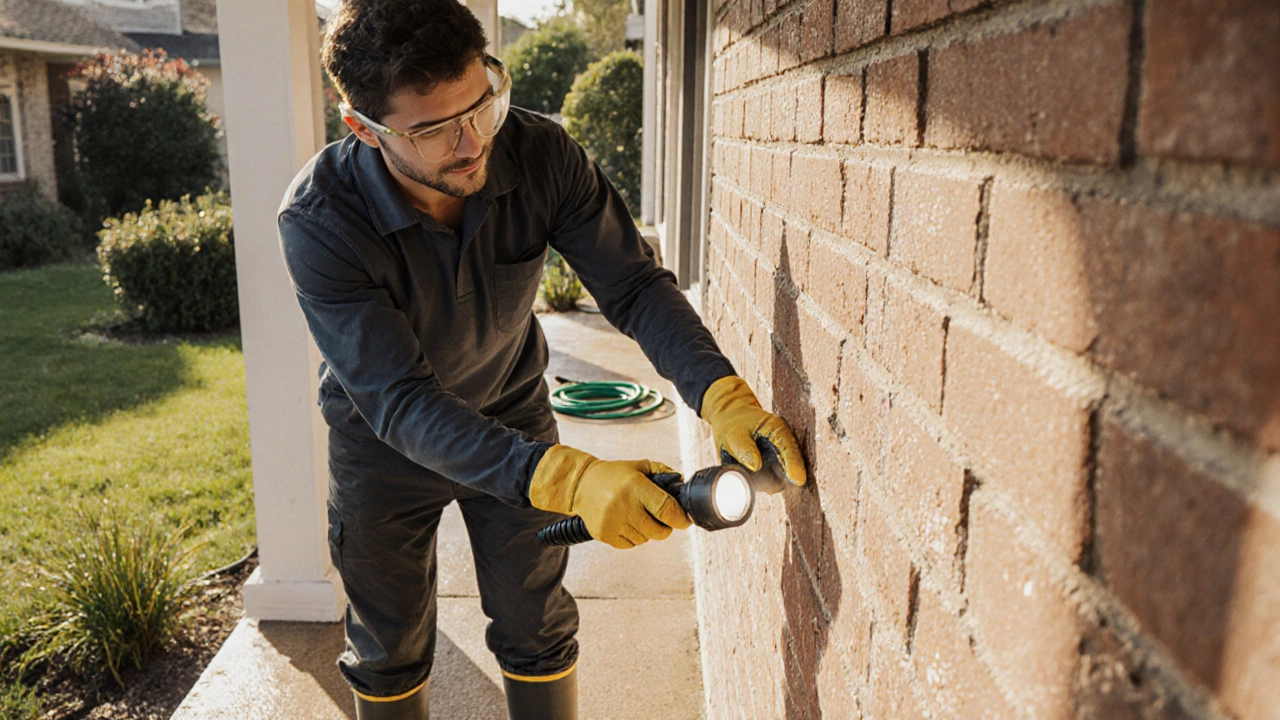
1. Safety First: Gear and Precautions
Before you even think about turning the machine on, suit up. Safety gear includes a pair of impact‑resistant goggles, sturdy gloves, waterproof boots with good traction, and long sleeves to protect your skin from high‑pressure spray. If you have children or pets, keep them inside the house until you’ve finished. A simple precaution, like turning off nearby outdoor electrical outlets, can prevent costly shocks.
2. Inspect and Repair Exterior Surfaces
Take a walk around your property and look for problem spots. Siding should be free of cracked panels, loose paint, or missing caulk. Any damaged area should be patched before pressure washing, otherwise the force can pry it apart. The same goes for deck boards or wooden surfaces. Replace rotted boards and tighten loose screws. For driveway, check for deep cracks; a quick sealant can stop water from seeping in and causing erosion.
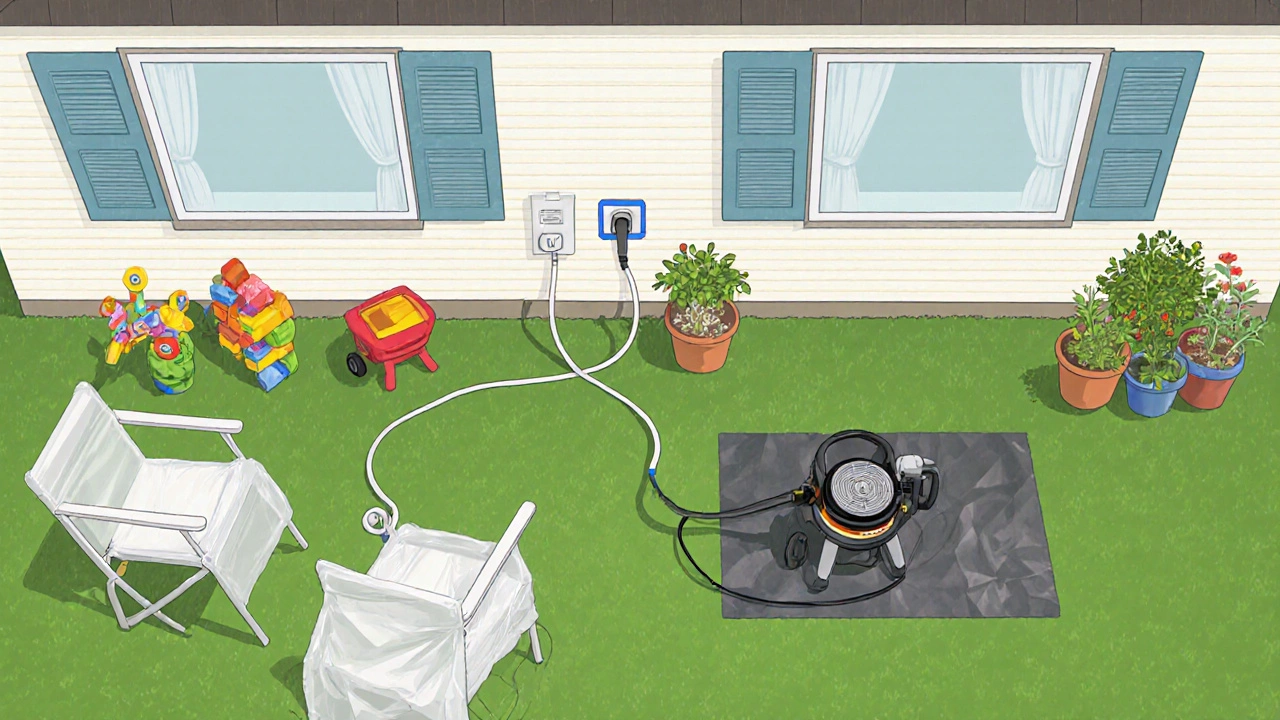
3. Clear the Area
Remove everything that could get knocked around: garden chairs, grills, potted plants, and kids’ toys. If removal isn’t possible, cover them with heavy‑duty tarps or drop cloths. When you’re dealing with delicate landscaping, a protective covering such as a UV‑resistant sheet helps shield foliage from the harsh spray. Don’t forget to pull in any outdoor electrical cords or extension leads.
4. Protect Nearby Items
Windows, doors, and light fixtures can be especially vulnerable. Apply painter’s tape around window frames to catch any stray water. If you have an electrical outlet close to where you’ll be working, cover it with a plastic bag and seal with tape. This simple step prevents water from seeping into the connection and causing a short.
5. Set Up Your Equipment
Now it’s time to bring out the pressure washer. Position it within a few feet of a reliable water source-a garden hose works fine as long as it’s not kinked. Connect the hose to the washer’s inlet, then attach the appropriate spray nozzle (typically a 25‑degree tip for general cleaning).
Plug the machine into a grounded electrical outlet that can handle the unit’s amperage. If you’re using a gasoline‑powered washer, place it on a flat, non‑flammable surface and keep a fire‑extinguishing blanket nearby.
6. Choose Weather and Timing Wisely
Ideal conditions are a dry, sunny day with temperatures between 10°C and 25°C (50°F-77°F) and light wind. Too much wind can scatter water onto areas you’ve already cleaned, causing streaks. If rain is forecast within the next 24hours, postpone the job; moisture can make surfaces slippery and reduce cleaning efficiency.
7. Final Checklist Before You Start
| Item | Completed? | Notes |
|---|---|---|
| Safety gear on | ☐ | Goggles, gloves, boots, long sleeves |
| Exterior surfaces inspected | ☐ | Repairs made where needed |
| Area cleared of objects | ☐ | Furniture, toys, plants moved or covered |
| Windows and outlets protected | ☐ | Tape, plastic covers applied |
| Pressure washer set up | ☐ | Hose connected, nozzle selected, power source ready |
| Weather checked | ☐ | Dry, mild, low wind forecast |
Run through this list once more right before you switch the machine on. If anything is missing, pause and fix it-this will save you time, water, and potential damage.
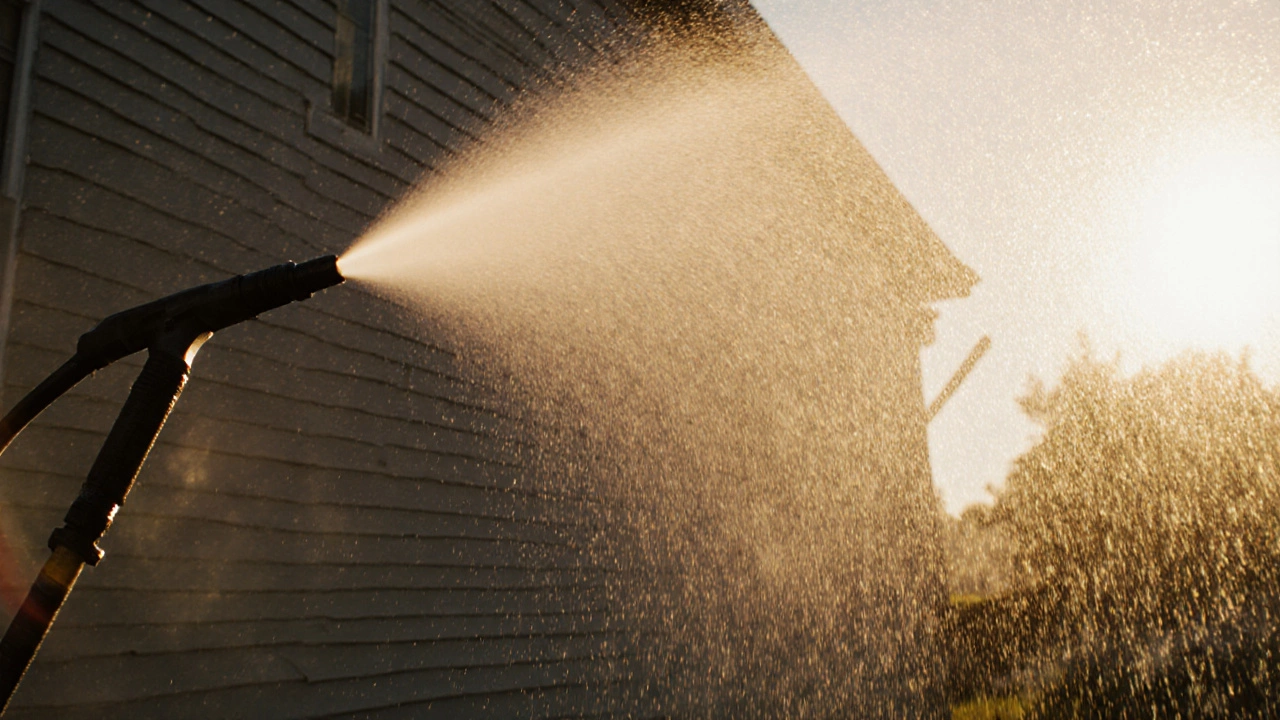
8. Starting the Wash
Begin at the top of the house and work downwards, keeping the nozzle about 12-18 inches from the surface. Use overlapping strokes to avoid streaks. For stubborn stains, switch to a wider‑angle nozzle or apply a biodegradable cleaning solution a few minutes before spraying. Rinse thoroughly and let the surface dry completely before moving furniture back inside.
Frequently Asked Questions
Do I need to move my car before pressure washing the driveway?
It’s best to park the car at least a few feet away. The high‑pressure spray can chip paint or loosen bolts if you get too close.
Can I use a pressure washer on painted wood?
Yes, but keep the nozzle at least 18 inches away and use a low‑pressure setting. Test a small hidden area first to ensure the paint doesn’t peel.
What is the safest nozzle angle for cleaning windows?
A 40‑degree nozzle works well for glass because it provides enough force to remove grime without risking cracks.
Should I turn off the water supply during the wash?
No. Keep the water running so the washer can maintain pressure. Shut off only after you finish cleaning each section.
How often should I repeat pressure washing on my home?
Most experts recommend a full exterior wash every 12‑18 months, or sooner if you notice heavy mildew, pollen buildup, or after a major storm.
By following these preparation steps, you’ll protect your property, get a spotless finish, and avoid costly repairs. Now you’re ready to fire up the machine and let the high‑pressure water do the heavy lifting.