
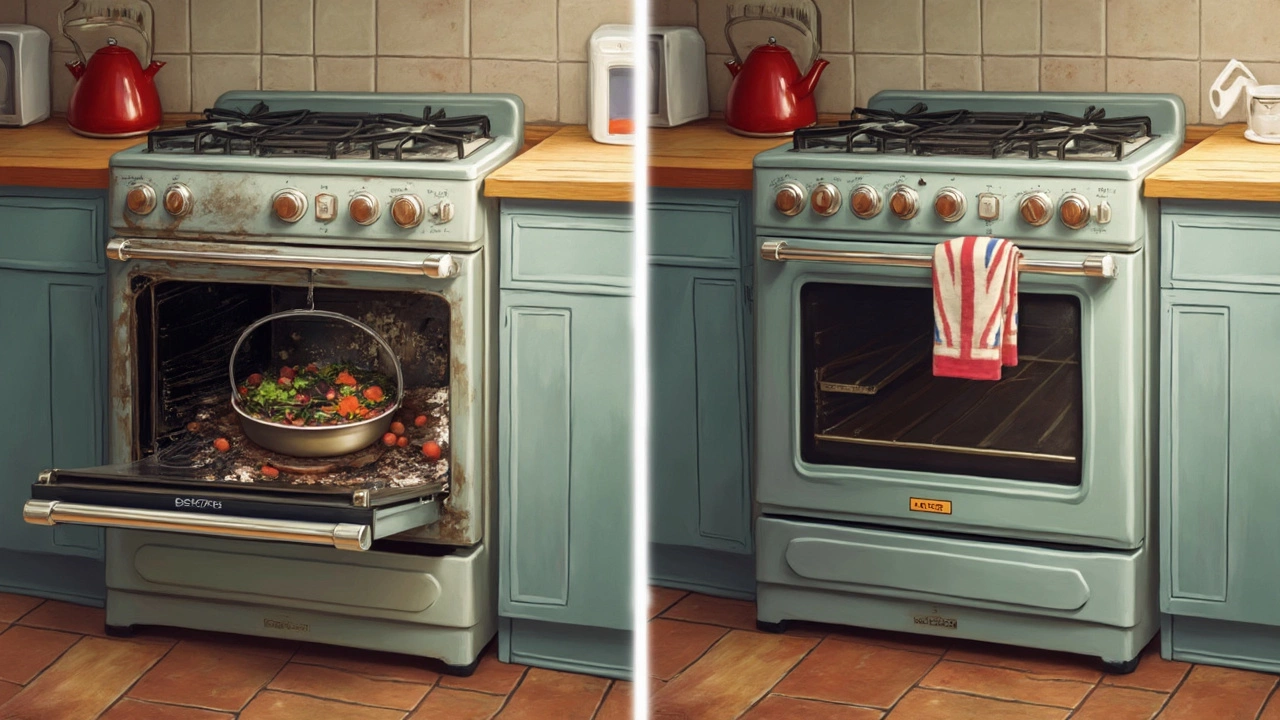
A dirty oven doesn’t just look gross—it can actually make your food taste weird, fill your kitchen with smoke, and sometimes even set off the fire alarm. If you open the door and see a mess of burnt food, black grease stains, and mystery crumbs, you’re not alone. Most people put off this job until the oven gets scary enough to demand attention.
The good news? You really don’t need a bunch of fancy stuff or harsh chemicals to get yours clean, even if it’s been a while (or, let’s be real, forever). Regular baking soda and vinegar from your cabinet can handle a shocking amount of grime. But before you grab anything and start scrubbing, it’s smart to have a game plan so things go faster and you don’t end up with damaged racks or a ruined oven window.
Stick with me—I'll show you exactly what to grab, what steps to follow, and a few tricks to deal with messes that refuse to budge. You’ll even find out how to avoid doing this sweaty job more than you have to.
- Why Ovens Get So Dirty
- What You Need Before You Start
- Step-By-Step Deep Cleaning
- Tackling Stubborn Spots and Odors
- Easy Ways to Keep Your Oven Cleaner, Longer
Why Ovens Get So Dirty
If you’re always wondering why your oven ends up so filthy, you’re not alone. Most of that mess comes from everyday cooking. Grease from roasting meat, bubbling casseroles, and cheesy pizzas will splatter—even if you’re careful. Anything that drips or spills lands on the oven floor, then bakes into a rock-hard mess at super high temps.
Here’s what really makes the inside of your oven a disaster zone:
- Grease splatters: Fat from meat or oil pops and sticks everywhere. It collects on racks, walls, the oven window—you name it. If it’s not wiped up quick, it turns into sticky gunk that’s tough to shift later.
- Food spills: Overflowing lasagna, potato wedges that roll off the tray, or pie filling that bubbles over usually leave burnt, crusty patches. They’re stubborn and get worse every time the oven heats up.
- Sugar and cheese: Sweet sauces and melted cheese cling like glue and carbonize fast, making them extra hard to remove during cleaning.
- Lack of regular wipe-downs: Most people close the oven and forget about spills. Even just wiping after big messes can stop a lot of grimy buildup, but who remembers to do that after dinner?
- Baked-on layers: High heat ‘bakes’ each new spill right into the one before it, creating thick, almost varnished-on coatings that simple cleaning sprays can’t touch.
Surprisingly, even the oven’s self-cleaning setting doesn’t fix everything. It might turn some grime to ash, but it can leave streaks and doesn’t deal with sticky or burnt sugar properly. Plus, those burnt bits at the bottom can actually make your freshly cooked food smoky or taste a little off when left uncleaned.
| Common Culprit | How It Makes a Mess | Cleanup Difficulty |
|---|---|---|
| Grease | Splatters and hardens on hot surfaces | High |
| Food Spills | Burns onto racks and oven floor | Very High |
| Melted Cheese | Sticks and chars fast | Very High |
| Sugar/Sweet Sauces | Carbonizes, gets sticky and black | Extreme |
Put simply, ovens get so dirty because everyday cooking is messy and most folks don’t clean up right away. The longer that gritty, greasy stuff sits, the harder it is to get off later—even if you’re using top cleaning products or a self-cleaning function.
What You Need Before You Start
Before you start scrubbing away at your dirty oven, it helps to round up exactly what you’ll need. You don’t want to be wrist-deep in grease, only to realize you’re missing an essential tool. Getting prepped makes the whole job quicker and, honestly, less annoying.
- Baking soda – This is your main cleaner. It’s gentle but surprisingly effective against baked-on mess.
- White vinegar – Great for dissolving both baking soda and stubborn grease.
- Spray bottle – Use this to spritz vinegar over baking soda and loosen debris.
- Scrubbing sponge or non-scratch scouring pad – Go for non-metal if you want to avoid scratching the enamel.
- Old toothbrush – Perfect for getting into corners, around door seals, and other awkward spots.
- Rubber gloves – Your hands will thank you. Oven cleaning isn’t gentle on skin.
- Plastic or silicone spatula – Helps safely scrape off big clumps of burnt food.
- Garbage bags or plastic sheeting – Good for soaking really dirty oven racks outside the oven.
- Paper towels or old rags – You’ll need plenty for wiping up grime and spills.
- Bowl of warm water – Makes rinsing easier and helps dissolve stubborn gunk.
If you’ve got a self-cleaning feature, check your user manual first—never use commercial oven cleaners during a self-cleaning cycle or you could end up with smoke and possibly a busted oven. For the rest of us, these basic supplies cover what you need for most oven cleaning jobs.
If you want to see how your cleaning alternatives stack up, here’s a quick comparison:
| Cleaner | Best For | Notes |
|---|---|---|
| Baking Soda | Everyday grease, stains | Safe and natural |
| Vinegar | Breaking down residue | Use with baking soda, avoid on aluminum racks |
| Commercial Oven Cleaner | Extreme buildup | Works fast, but usually with strong fumes |
Got everything? Great. You’re ready to take on the job without any last-minute runs to the store.
Step-By-Step Deep Cleaning
Ready to get your oven cleaning mission underway? If you haven’t cleaned your oven in ages (or ever), here’s a simple process that gets real results without fancy equipment or pro-grade chemicals. This works no matter how much burnt cheese or greasy gunk is stuck in there.
- Empty it out. Take out the racks, any trays, and that crumbly pizza stone. You need space to work, and these metal bits need cleaning, too. Put them in your sink if they fit or, if not, soak them in your tub with hot, soapy water.
- Mix up your cleaning paste. Combine a half cup of baking soda with just enough water to make a spreadable paste. No baking soda? Store-bought oven cleaners can work, but they’re usually loaded with strong fumes, so check your kitchen supplies first.
- Coat the oven interior. Smear the paste everywhere inside—bottom, sides, and back—but skip the heating elements. Really glob it onto any thick, black spots. Let it sit overnight, or at least 10–12 hours, so it can break down the grime.
- Deal with the racks. Scrub the oven racks with steel wool or a stiff brush after they’ve soaked. Baked-on grime looks impossible, but hot water and a little elbow grease takes it off.
- Wipe down everything. In the morning, grab a damp cloth and scoop out as much paste as you can. Then spray the inside with vinegar—a spritz bottle works great. The mixture will fizz. Wipe again until no white powder remains. Spot-check any stubborn junk, reapply paste, and go at it again if needed.
- Finish up. Once it’s clean, dry the surfaces with a towel and slide the racks back in. Give the oven door glass a good scrub using the same baking soda mix—but only use soft sponges so you don’t scratch it.
According to the U.S. Department of Agriculture, using abrasive scrapers or wire brushes on oven glass can lead to micro-scratches that build up and cause cloudy doors or cracks over time—so always go gentle on the window.
“Baking soda is effective and safe for oven cleaning, plus it won’t eat away at the finish or leave dangerous fumes behind.” — Good Housekeeping Institute
Some extra help: Here’s a quick table showing what works best for different oven messes:
| Mess Type | Best Cleaner | Soak Time |
|---|---|---|
| Burnt-on Grease | Baking soda paste | Leave overnight |
| Sugary Spills | Vinegar followed by baking soda | Let fizz 15 min |
| Stubborn Black Crust | Commercial oven cleaner (last resort) | 15–30 min (ventilate) |
Get all the crumbs, stains, and smells out, and your oven cleaning job is set. You’ll actually want to cook again—no clouds of smoke, no mystery odors, and nothing weird landing on your next casserole.
Tackling Stubborn Spots and Odors
Nothing’s more annoying than spending half an hour scrubbing, then realizing old burnt cheese and greasy patches are still stuck on. Those stubborn bits are the reason a lot of people just give up on oven cleaning altogether. But there are a few things you can do to break them down without wrecking your oven—or your arms.
Start with the racks. Take them out and soak them in hot water mixed with dish soap—let them sit for at least half an hour. If your sink’s too small, use the bathtub (line it with an old towel first so you don’t scratch it). For serious baked-on gunk, sprinkle baking soda on the tough spots, then spritz with vinegar until it foams. Leave it for 10 minutes, then scrub with a scouring pad.
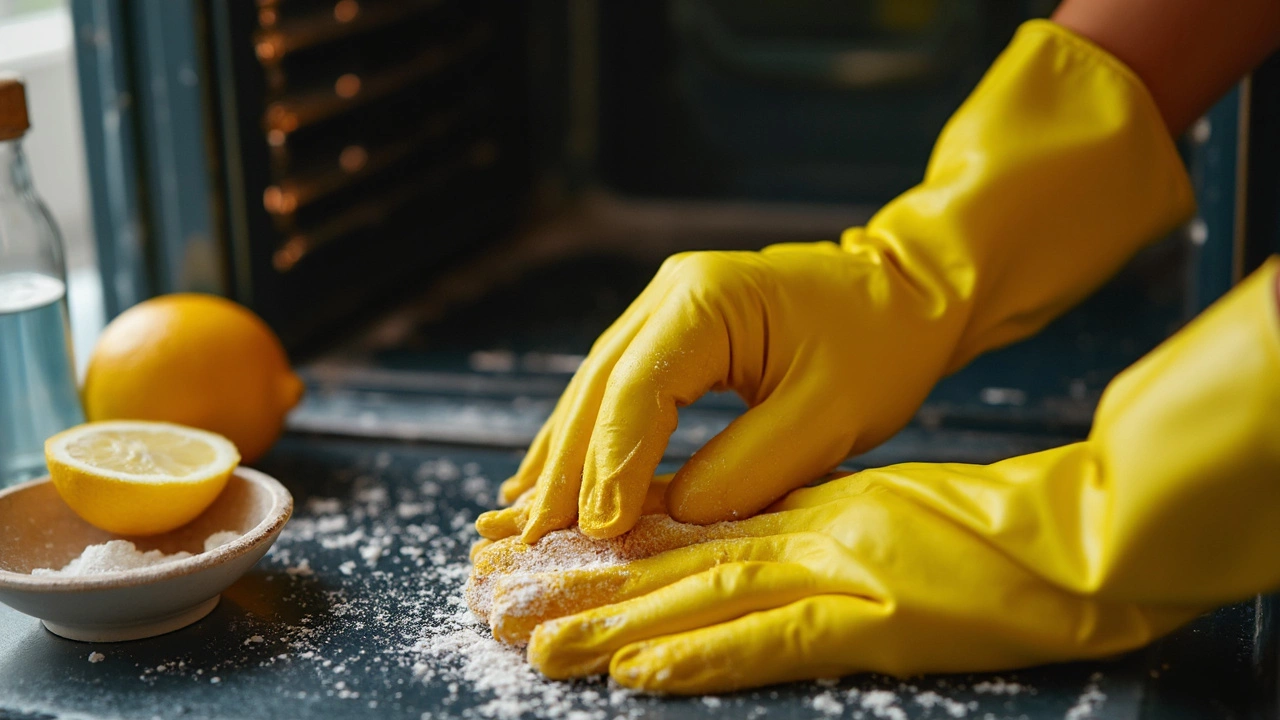
Inside the oven, target problem areas with a baking soda paste—just mix baking soda and a splash of water until it’s spreadable. Smear it on greasy corners, around the fan, and especially inside the door where brown streaks build up. Let it sit overnight if you can. The next day, spray the paste with vinegar and wipe clean with a damp cloth. For burnt spills that won’t budge, use a plastic scraper—metal can scratch the enamel.
If the oven still smells funky even after cleaning, chances are gunk is hiding in the vent or under the heating element. Carefully check for hidden spills and wipe them up. To wipe out odors, stick a dish of baking soda or a cut lemon inside (don’t turn the oven on, just let it sit overnight). This soaks up weird smells so your next pizza doesn’t taste like last month’s roast chicken.
Stuck on which products actually work if nothing else helps? Even store-bought oven cleaners have a hard time with old messes, but a popular trick is to heat your oven to 200°F (about 93°C) for 10 minutes, turn it off, and immediately start scrubbing—warm grime softens up and comes off easier. Double-check the product label if you use a commercial cleaner: some can’t go on stainless steel or the heating element.
| Tip | What It Does |
|---|---|
| Baking soda paste | Breaks down baked-on grease and stains |
| Plastic scraper | Lifts hard, burnt bits without scratching enamel |
| Dish of baking soda | Neutralizes lingering oven odors |
| Lemon juice | Freshens the oven naturally |
Just remember—never mix ammonia or bleach with other cleaners, and keep the kitchen aired out if you go with stronger store-bought stuff. That way, you breathe easy while your dirty oven finally looks (and smells) like new.
Easy Ways to Keep Your Oven Cleaner, Longer
If you’re sick of dealing with a dirty oven every few months, the best move is to stop the mess before it starts. It actually takes way less effort to keep it clean than to scrub off a year’s worth of burnt cheese. Here’s how you can make life easier for yourself from now on.
- Use oven liners—These are non-stick mats you can buy and cut to fit your oven’s bottom. They catch drips and crumbs so you’re not stuck chiseling off blackened gunk. Replace or wash them every so often.
- Cover your food—When baking casseroles or pies, slap some foil or a lid on top. This blocks bubbling or splattering that creates baked-on messes.
- Deal with spills ASAP—If something overflows while cooking, wait for the oven to cool, then wipe it up with a damp rag or a bit of vinegar. Fresh mess comes off easy. Wait a week, and it’s ten times tougher.
- Quick monthly wipe-downs—Every month (or even every two weeks if you bake a lot), wipe down the inside with a soft cloth and some dish soap or vinegar. It takes five minutes and stops big problems from even starting.
- Use a roasting tray or baking sheet—Put one under pies, pizzas, or whatever looks likely to bubble over. It’ll catch drips so the oven’s floor stays spotless.
Fun fact: According to a 2023 UK home survey, people who wiped out their oven every month spent 85% less time scrubbing at deep grime versus those who waited for visible buildup. That’s time you could spend on anything else—not hunched inside a greasy oven.
If your oven has a self-cleaning feature, use it every few months. Just remember to take out the racks first—self-cleaning cycles can discolor them or even warp the metal, and that’s a headache nobody wants.
Want your kitchen to stop smelling like burnt leftovers every time you preheat? These simple habits will help your oven cleaning turn into a quick maintenance task, not an all-day war.